Red Linus
Tagged: bike diy projectLast Autumn I had a windfall find: a red Linus cruiser bike with an internally geared hub. After plundering the rear wheel and using it all winter, I decided to rebuild the bike itself.
You can read about my winter adventure with the hub here.
As for the bike frame itself, my plan had been to fix it up with a rear derailleur and give it to my roommate. I figured a more upright cruiser bike with less fussy gearing would be more his speed than his previous bike, which was a too-small Kona COP special I had found in the trash when a neighbour moved out. Plus, his girlfriend’s dream bike is a cream-coloured linus cruiser, of roughly the same type, with step-through geometry. If I got this fixed up for him, then once day eventually they could have matching bikes! That’d be very cute.
After spending a winter with the internally geared hub I decided to ditch the derailleur idea and reinstall the hub on this bike.
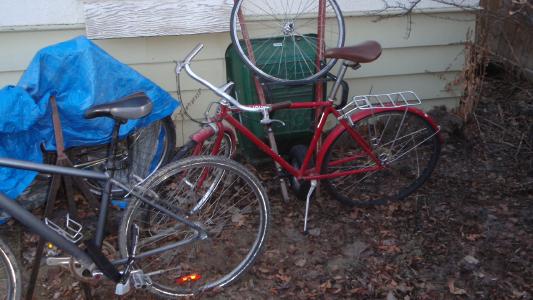
The frame spent the winter under a tarp in the back yard, with a spare wheel haphazardly thrown on the back. In May, I finally dug it out and started work.
The grips were absolutely welded on when I got it, and I had to cut the right one off in order to get the shifter off. I decided against cutting the left one. I didn’t have a matching grip anyways, so it may as well be unmatched with the original. Besides, I could still take the bars on and off.
Clean & Rebuild
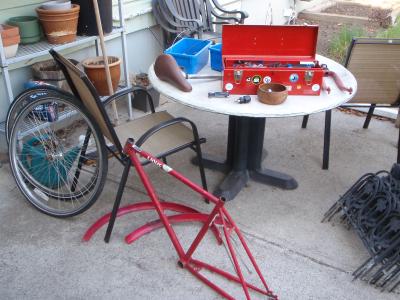
Generally, the first step is to just clean. Take everything apart, and clean. This was much needed for the frame, fenders, headset, and brakes.
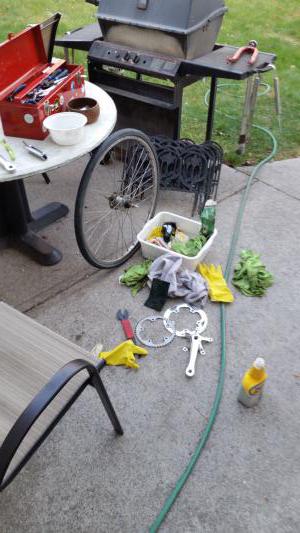
All I really use here is a lot of spare rags (usually old cut-up t-shirts and underwear) along with a wire brush, Zepp degreaser, and scouring pads. I rinse parts off with the hose and let them dry in the sun.
Once the cleaning is finished, it’s the simple and pleasurable experience of putting all the components right back on the bike. I kind of love doing this - usually when I’m building a bike it’s a little haphazard. I don’t know if certain parts are going to be compatible or not. But when reassembling a bike wholesale, I know everything works, so I can just turn on an audiobook and shut my brain off.
Sidenote: These dual pivot brakes are quite amazing. I’ve only worked with single-pivot road brakes, and so I’ve held a bias that single bolt mounted brakes are worthless. But these give a very nice amount of braking power, are easy to adjust, and look good to boot. Consider me a changed man. Maybe in the spring I’ll work on turning my fixie into a more standard road bike.
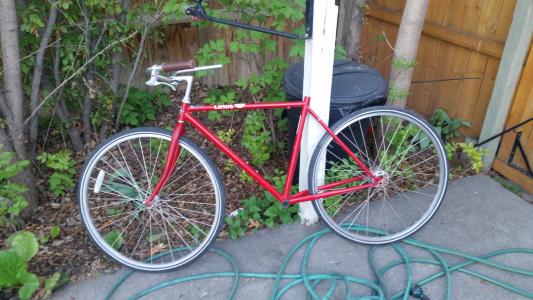
One problem that I had with the rear hub was that it had a lot of internal friction - when walking the bike, there was enough friction in the hub to push the pedals forward. I figured this was an issue unique to this hub, and I’d need to get it professionally cleaned up with new grease or something but I’m starting to think this is just a fact of the cheaper 3-speed Shimano Nexus hubs. A few weeks ago, while walking to the train station after a play, I spotted a lady walking a cream-coloured Linus bike with an internally geared hub (the dream bike!) and it had exactly the same issue. I asked her how long the bike has had that problem, and she said it had always had it. She told me where she got it, (a fairly upscale downtown bike shop,) and that she’d only had it for five or so years.
So there you have it. Maybe sticky rear hubs are just a fact until you get into the thousands-of-dollars price range.
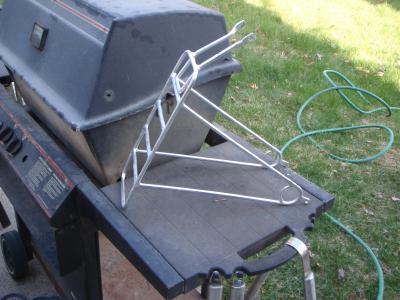
Another small hiccup I faced was that the rear rack seemed to be dented. Who knows why. This bike was part of a bike share program in days past, so there’s no telling how much abuse it’s been through.
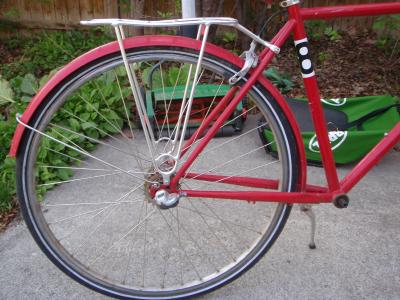
All it took was a hammer and a flat concrete surface, and it looked nice and straight.
Learning about Chain Width
As I mentioned, everything on this rebuild was original, save for one thing: the chain. I thoughtlessly grabbed a single-speed chain from the bicycle co-op, trimmed it to length, and installed it. But I noticed something odd while I was tensioning it: it simply wouldn’t properly sit on the front chainring.
This confused me, of course. I had been using this front chainring all winter and I’d had this problem a couple times, but I just powered through, assuming it was because my winter chain was (as always) completely stretched out and rusted and in generally terrible shape. But this was a new chain. So the problem must be the chainring, right? But it didn’t look worn down at all. I fiddled with it a bunch, and on closer inspection it wasn’t unable to sit because the distance between chain links was too great - it was unable to sit because the width of the links was too narrow. The teeth of the chainring were too wide.
A quick google search revealed to me that there are actually two types of single speed chains: wide and narrow. I had purchased a narrow chain. (1/2" x 3/32"). What this front chainring took was a wide chain. (1/2" x 1/8"). This 1/32" difference, it turns out, was a big one. I checked my fixie and realized that it was also using a wide singlespeed drivetrain as well. The new chain didn’t fit on that chainring either, and my fixie chain sat comfortably on the Linus chainring.
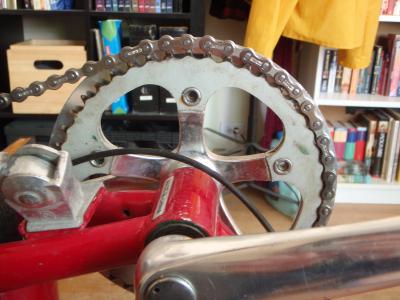
Unfortunately, I didn’t want to go back and purchase a new chain. I didn’t want to give my roommate my old fixed gear chain either - that thing was well-worn and I feel it’d be terribly rude. So I improvised, for the time being. I used an old single speed narrow crankset I had lying around. Lesson learned.
Someday I’ll give back his old crankset and reinstall it with a wide chain. But until then it’s going to be ridden with this cute little front crankset I plundered off an ancient-looking road bike.
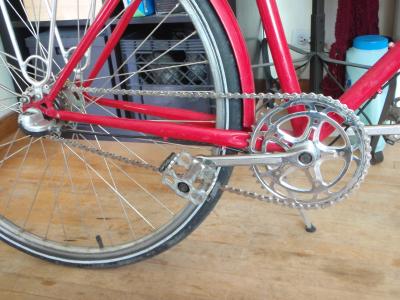
I think it’s cuter than the stock Linus crankset, but I’m biased towards older road bike parts.
The Finished Build
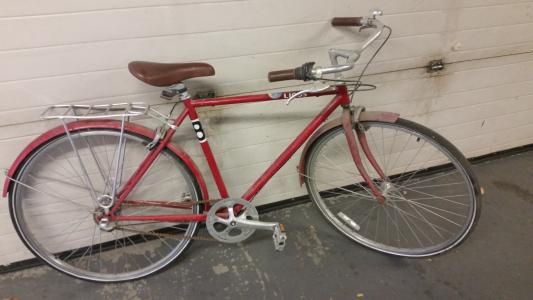
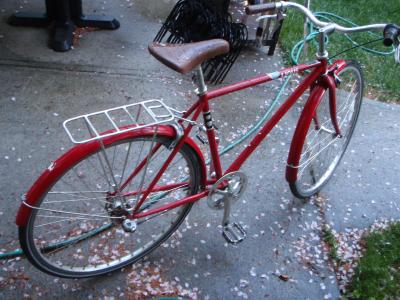
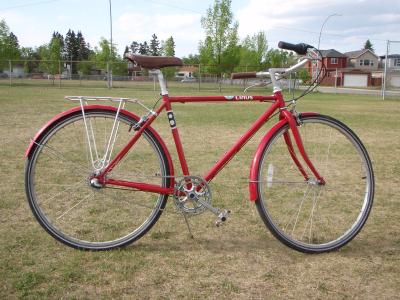
Below are some photos of the complete build! Mismatched grips and all. It rides very nice and upright, and can go surprisingly fast. Despite being ridden through the winter, the rear wheel doesn’t seem to really slow it down. I left the bike share stickers on. I don’t really know why - it just seemed sort of fun. Especially the #8 sticker.
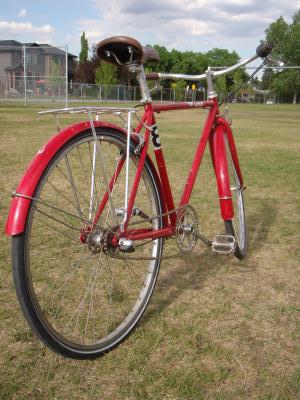
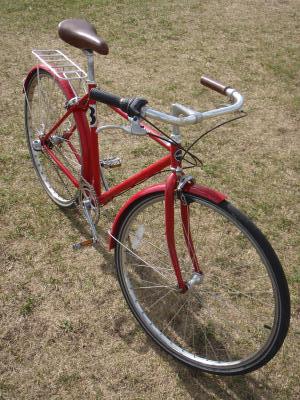
The bike has since been gifted to my roommate, who is now no longer my roommate. He and his girlfriend found their own place. Hopefully he finds good use for it!
Cost Breakdown
| Item | Cost |
|---|---|
| Linus Cruiser, as-is from Bike Co-op | $50 |
| (Narrow) Single Speed Chain | $15 |
| Misc. Parts bin Parts | $5 |
| Total | $70 |