The Raleigh Tangent
Tagged: bike diy projectMy mission to build bikes for my friends continues. You may remember from my post about The Purple Cruiser that my dad found a couple nice 90s Mountain Bikes in the trash and I stole parts from them. One of the frames was garbage, but the other, a Raleigh Tangent, seemed to be in very good shape.
It was a solid steel frame with very nice geometry.
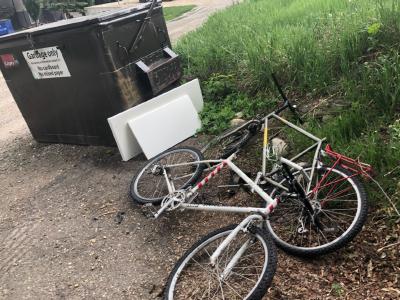
Now, I’ve finally built it into a bike, test-rode it, tuned it, and given it away. Here’s how that went.
The first step is always disassembly and cleaning. I had no immediate plans for this bike, and it was the bottom of my priority list. I even considered donating it, but figured that’d be a waste considering the nice condition it was in. I ended up cleaning it and then I put it in storage for over a year.
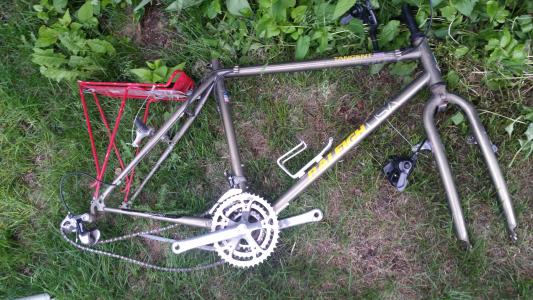
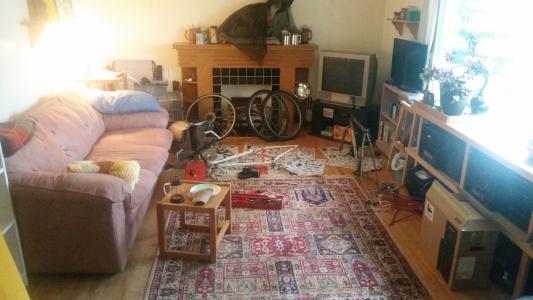
I think rigid steel frames like this are just beautiful. And the olive drab was a nice colour as well. Plus, the paint job was in extremely good condition. Maybe this bike was the less-loved out of the two my dad found. But that’s okay. Now is its time.
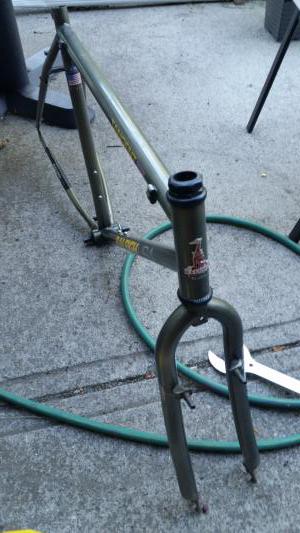
When I had worked a bit through my project backlog, and spring was beginning to approach, I decided it was time to mock the bike up and assemble it. Then I would find it a home. I figured I had at least one friend who was around average height who could use a newer bike. After asking around, I got a friend to tentatively agree to take it off my hands if I fixed it up. Free of charge, of course.
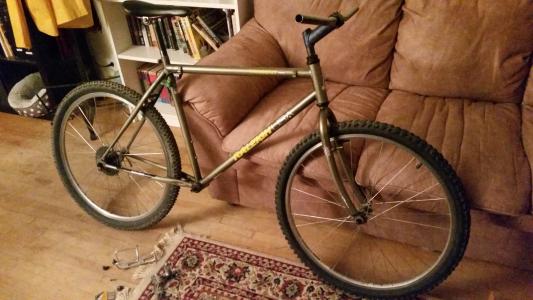
One of the stranger things about this bike was that it used a bottom-pull derailleur, but all the cable guide braze-ons ran from the top. At the base of the seat tube, there was a small pulley that turned the cable around. I had to clean that out and lube it up, as it seemed to be completely stuck. Not my first choice for a configuration, but I do like it when all the cables run along the same tube. Makes it feel cleaner in my opinion.
I was partially building a nice city bike for my friend, but also using this as an excuse to get rid of a bunch of parts I probably wouldn’t use. The bright pink bull horn bar attachments are one of those components I have a fondness for, but also won’t really use.
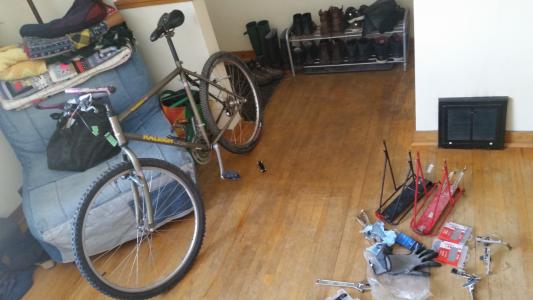
This time, I had the foresight when disassembling the bike to set aside the cable housing that was properly sized and configured for it, and label it with masking tape. I’d recommend doing this for any disassembly. (Of anything, honestly, but particularly bikes.) This saved me a bunch of rummaging around in my parts bins trying to find housing that was approximately the right size and type.
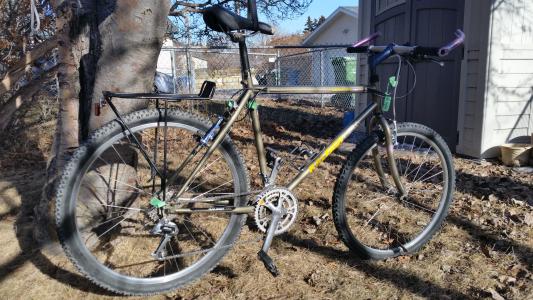
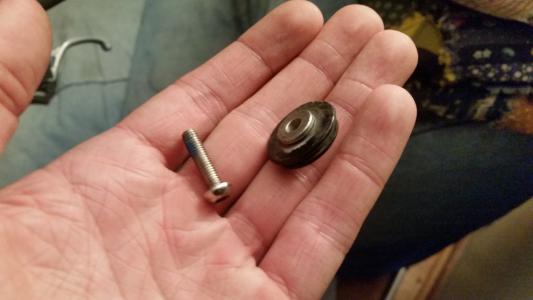
And of course, something with these builds always goes wrong. In this case, that blue stem that I was desperately searching for a home for finally gave up. I was taking the bike for a test ride, and realized that the bars weren’t being gripped tight enough. If I put my weight on the bar ends, I could rotate the whole handlebar setup forwards. I stopped to tighten the bolts on the stem and that’s when I learned that the stem’s threading was extremely stripped, and I couldn’t get the friction I needed. Oh well. I headed to the local bike co-op to buy a new stem.
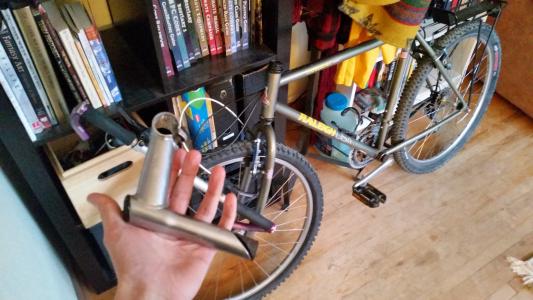
This was probably for the best. The new stem had geometry that was a bit more comfortable, and it made the cockpit look much cleaner.
The shifters were another sticking point - I did find a matching pair of shifter/brake lever components, but the top covers were either missing or smashed. I ended up digging through parts bins until I found am intact cover that roughly fit the right shifter, and patched up a hole in the gear display of the left shifter with a couple pieces of electrical tape. It’s not easy to read the gear display, but it should keep the moisture out.
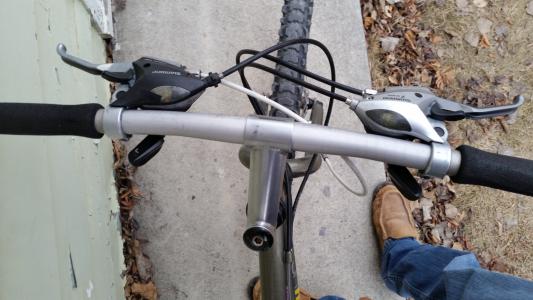
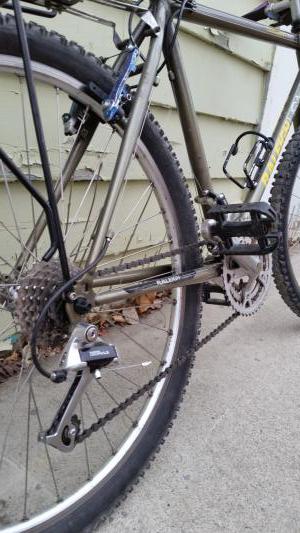
The v-brakes were from a dual suspension mountain bike I found in the trash ages ago. Its owner had tried to paint it blue by just blasting the bike with spray paint without doing any disassembly. Many of the parts were completely unusable or smashed apart, but I kind of like the effect that this haphazard paint job had on the v-brake levers.
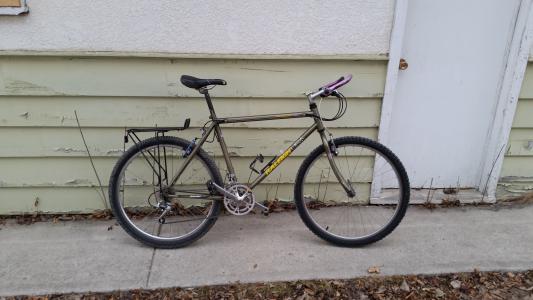
The bike’s already gotten some good use - transporting my friend and I to and from an anime convention. It currently lives on her balcony. A lovely home for a city bicycle.
Cost Breakdown
| Item | Cost |
|---|---|
| Frame, any unlisted used components | $0 |
| Chain | $10 |
| Brake Pads | $10 |
| Brake + Shifter Cables (Rear brake and shifter cable were new) | $5 |
| Stem (From bike co-op parts bin) | $5 |
| Total | $30 |