Bikezilla
Tagged: bike project diyTechnically, none of my bikes are the right size for me. That ends now. This is me finding a frame that fits and building a bike with my best parts. A new daily driver.
Most bikes that I find are sized for children or teenagers, which is fine for scavenging parts and cables, but doesn’t really help me when I need a daily driver that won’t kill my back or make my legs cramp. For years now, my daily driver has been the bicycle I got as a high school graduation present over a decade ago - A Rocky Mountain Metro 30. It’s been my companion for years. I’ve debated writing a post about it, but I wouldn’t know where to start. Everything on that bicycle has been replaced at least once. It’s had three wheels stolen from it. Or was it four?
But I digress. Even that bicycle isn’t quite the correct size. It’s just the closest out of anything I own. I ride it with the seat all the way up and the longest stem I can find, and if I attach bags onto the rack, I’ll occasionally end up kicking them with my heel as I pedal.
Someday maybe I’ll drop upwards of a thousand dollars on the perfect frameset, sized exactly for me and with the exact features I want. But I’m a cheap bastard, and I don’t want to spend that kind of money unless I know exactly what I want. Which I don’t. So in the meantime I’ve been keeping an eye out for cheap frames that hit most of my current criteria. Gathering data, as it were.
As with all things, if you’re patient and persistent, eventually an opportunity will arise. For me, that opportunity arose at the wall of miscelaneous frames at the bicycle co-op that I frequent.


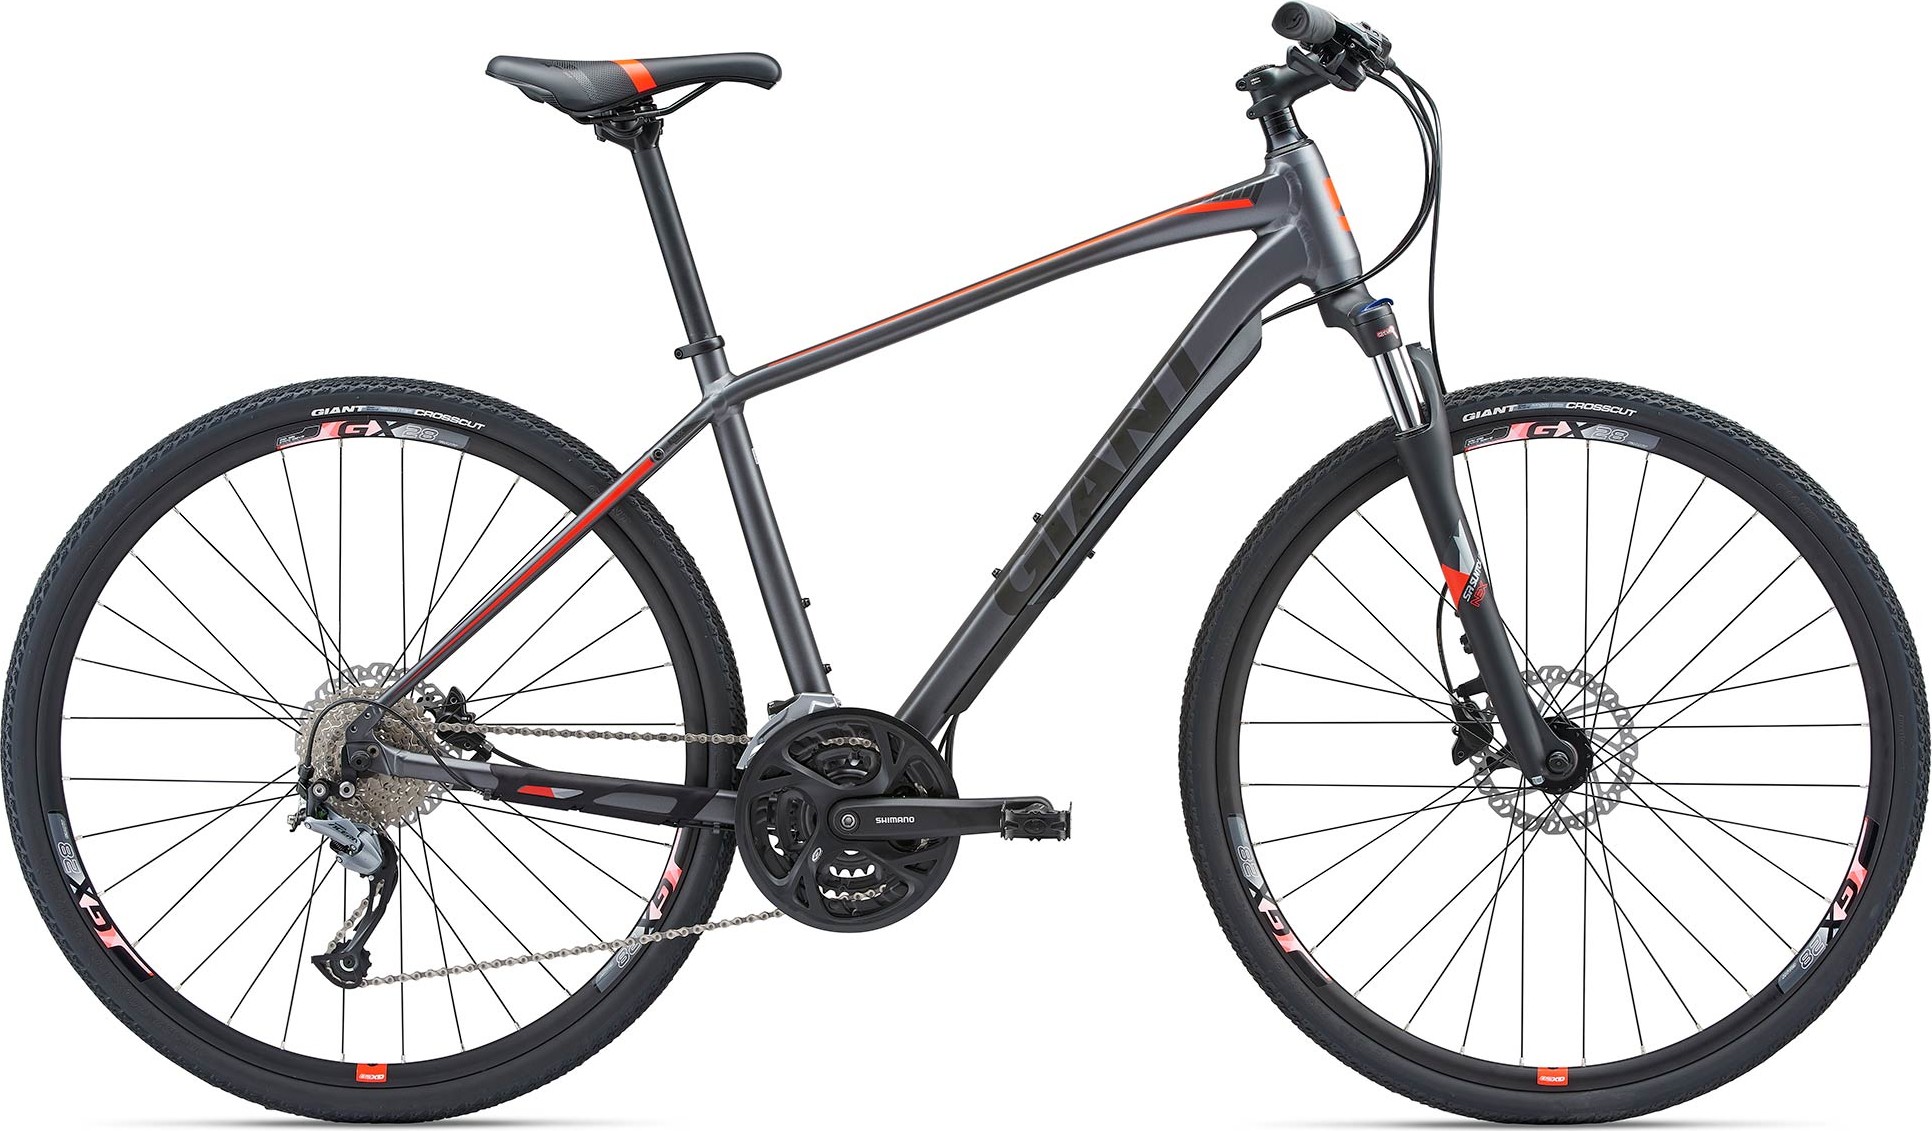
It didn’t look bad at all - it was made by a reputable brand, with 135mm rear dropouts designed for quick release hubs. Sized for 700C wheels. A mount for a rear disc brake that was mounted on the chainstay rather than the seatstay so it wouldn’t interfere with a cargo rack. A good number of mounting braze-ons. The same seatpost diameter as my rocky mountain. Honestly, it met nearly all of my criteria.
The only downside was, of course, the fact that this frame was ugly as sin. Charcoal grey with red highlights made this a strong contender for the ugliest bike I’ve ever laid eyes on. I was less than excited at the prospect of making this my daily driver. In my dreams, I ride a beautiful classic lugged steel frame bike, in a rich deep purple or a wacky bright orange. But I can’t deny that this frame would probably be a good stopgap. And in any case, aluminum had treated me well for the last decade. Form follows function, but it’s a close race.
So of course, I didn’t buy it immediately, even though it would have only set me back about $30. But I don’t make decisions fast when money is involved. The thing that really gave me pause was that I couldn’t seem to find the matching fork at the bike co-op.
I came back a few days later to pick up the frame, along with a fork sized for 700C wheels that I thought would work okay from one of their parts bins. But this is where I hit another snag.
The frameset still had its bottom bracket installed, and a single crank was attached to it. You can see it in the corner of the above pictures. I didn’t see this as any issue at all, so when I took the frame down to measure it, I grabbed a crank puller and attempted to remove the lonely crank.
It didn’t budge. At all. A closer inspection revealed that the threads were damaged. I kept trying, eventually doing damage to the thread.
One of my favourite things about working on a bike at the bike co-op is that if you’ve got an interesting problem, there are people to talk to. They’ll offer suggestions or assistance. I enlisted a couple people who attempted to use different crank pulling techniques. Some of them were probably ill-advised. One involved a claw hammer.
Eventually, someone suggested that I cut my losses and hacksaw the bottom bracket. I pondered this for a bit and then decided sure, it’s not like I had anything to lose. And I had a spare bottom bracket or two that would probably work.


I don’t have much to say about this - if you’re going to attempt it just be aware that bottom brackets spindles are very tough, and it takes a long time, and your arm will get tired. Take lots of breaks and keep at it, and make sure your frame is braced very well.
After going through the trouble of sawing the bottom bracket apart, I felt obligated to buy the frame. Sunk cost fallacy and all that. So that was the day I took it home. I’d need to mock the bike up with the stem and some wheels and test that the size felt alright. There were still a lot of unknowns about this thing, but I was prepared to make it into a project.

My roommates had just moved out, so I had an empty room on the main floor. I would also be leaving in a couple months time, so I figured I’d make use of the extra space for building the bike. It’s not as pleasant as working outside on a sunny day, but it makes it easy to work incrementally, rain or shine. Still, I hope someday I get to have a garage or a workshop for this.

The wheels I used were the brand new set that I had bought for my Rocky Mountain a year prior, which had its own complications. (The fork didn’t have braze-ons for disc brakes, which meant that the front had used v-brakes and the back had used discs.) Now I would finally get a full, new disc brake setup. This was a first for me.
And here the first problem reared its head - the steerer tube of the fork that I brought home was simply not long enough. It didn’t come up through the head tube far enough for the stem to get a solid clamp on it. It became apparent pretty fast that this setup wouldn’t be safe.

So it was back to the drawing board. It would need a different stem, no way around it. The head tube on this frame is actually quite long, I realized. Longer than any other bikes I had kicking around, at least. I would need to keep looking for a permanent solution.
In the meantime though, I would mock it up by swapping forks with My Apollo.
This, of course, had its own set of compromises. The new fork I found was sized for 700C wheels, but my Apollo is running 26" wheels on a fork designed for 650B wheels. Everything is wrong in multiple ways.
But that’s the beauty of bikes. “Close Enough” is often good enough. I would be running fat tires on the 26" and skinny tires on the 700C. Everything would easily fit. And disc brakes are the great equalizer - both would have 160mm rotors, so there were no concerns about rim brake sizing.


While I was at it, I took the opportunity to upgrade the drivetrain of the Apollo. I installed a third chainring on a downhill MTB crankset with some nice platform pedals. This also required swapping the bottom bracket from its square taper original to a new splined one. A definite upgrade in terms of look AND feel.


With this interim solution, it was time to continue the build. I had a set of 3x9 shifters, derailleurs, and a crankset that I scavenged from a womens Norco bike I found in a back alley a few years prior. That one had been in good working order - I think the bike had just been thrown out because both of its wheels got stolen. I had to buy a new 9-speed cassette and chain, but I was able to grab a secondhand cassette for cheap, and the bike co-op sells unpackaged chains at wholesale prices.

As I mentioned, I was pretty excited about the new brake setup. I had done a rear disc brake conversion on my Rocky Mountain a few months prior, and found that rear racks and disc brakes don’t always play nicely. I had to jury-rig some spacers and bend the rack out of shape to get it to fit. Not this time!

This time, my disc brakes would be mounted out of the way, AND I would have a nicer rack. I had gone to a fancier bike shop and picked up a heavily discounted rack for $8. It’s this one. Apparently it’s compatible with a proprietary bag mounting system. Unfortunately, all the compatible bags seem to be upwards of $200CAD. Oh well. It was still a bargain, and still usable with my existing bags.

From here it started coming together, though a bit haphazardly. One fun thing about this frame is that someone made some questionable paint choices - the G in GIANT is painted red on the non-drive side, and some of the nooks and crannies of the frame have little red highlights. I’m not entirely sure why. It feels amateurish and half-finished. But for that, it’s a bit endearing. Moreso than if it was pristine, in my opinion.
There were a few other parts here and there around the bike co-op that had splashes of red on them. I had to wonder if they were from this bike initially. I bought a disc caliper (those are fairly rare at the co-op so I feel motivated to snatch them up when they come in) which had similar red colouration. Who knows, maybe it was initially from this bike, and I’m reuniting them.

I also needed a replacement bottom bracket. I had one lying around from another disassembly, but it likely isn’t the right spindle length. Yet another thing that I can fix later, if need be. I did make note of the original bottom bracket’s sizing, in case I need to hunt down a proper replacement.

Another snag came from my efforts to do cable routing. This frame had next to zero cable stops and braze-ons built in. I believe it was initially designed for hydraulic disc brakes. I got confused enough to try to track down my specific model, and found some product images.
All the product images seem to show this bolt-on plastic enclosure on the bottom of the downtube. I searched around the bicycle co-op a while but I couldn’t find it. So I just had to cut extremely long lengths of cable and improvise on securing them to the frame.
My final solution was to grab random hardware odds and ends, and bolt them to the frame where the plastic enclosure would have gone. It worked reasonably well, though it’s not as streamlined as it could be. Not that it really matters - as long as the cables function correctly and don’t flap around or pull when you steer too far.

And with that, the bike was rideable! I did the usual assembly bits, took it out for a spin, adjusted all the cables, et cetera. The suspension fork worked nicely, and I started making an effort to use it as my daily driver. Incremental improvements soon followed.

It’s an ugly bike! But it’s functional, stable, and, since it’s the first bike I’ve ever owned that actually fits me, quite comfortable.
The other upside to having a large bike that fits me is that certain problems I have with smaller bikes have just vanished. If I hang big bags off the rear rack, I no longer kick them accidentally while pedaling. There’s enough clearance on the front that I can hang a deep basket off the handlebars. This is ideal for getting groceries. It’s spacious and lovely and I don’t want to go back to crumpling up on smaller bikes.

But the fork itself doesn’t fit perfectly. Plus, it’s a loaner fork from my Apollo. I’d rather keep the frameset united with its original fork. I kept an eye out for a better option. One that would allow me to re-donate the lame low-end suspension fork that I had picked up in the interim.
Finally, I found a fork that I couldn’t pass up. For $5, it was a rigid steel fork with extremely good tire clearance and a disc mount. Despite being on the heavy side, this was an immediate buy - a fork like this had been my white whale for quite some time. I still have no idea what kind of bike this came from, but I don’t really want to question it. It’s mine now.
The only question that remained was - would it fit? The frame’s geometry was designed with a suspension frame in mind, and this rigid fork was not suspension corrected. I read some forum posts and the general consensus was that it was a bad idea to replace a suspension fork with a rigid one.
But I figured I’d try it anyways. Worst case, it would be a learning experience.

I also picked up some spiffy bright orange grips for the thing. I figured if it was going to be ugly, I may as well commit to the bit and stick some fun colours on it. If I find mathcing pedals I’ll install those as well.

The new fork made the steering much much more sensitive. It also reduced the pedal clearance with the ground, but it’s still got better pedal clearance than my rocky mountain, which will pedal strike if I go over a rise the wrong way, so I’m well equipped to ride with it. It also made the riding position much more aggressive - less upright than a standard hybrid bicycle. Closer to a road bike.
Still, with some adjustments to the seat and handlebars, I think I like it better than the blue fork from the Apollo. I’ve since gotten used to the jumpy steering. It’s probably very telling that this bike spent the last couple months before winter as my daily driver. I’m quite happy with how it turned out.

It is currently sitting in the laundry room of my new suite, along with My Folding Bike, and I’m excited to dig it out again soon when spring rolls around. I’ve named it “Bikezilla” because it’s absolutely massive. I’ve also considered “Bikenstein” since it’s made by haphazardly putting together parts from dead bikes. But that describes every bike I own, so I went with the former.
Cost Breakdown
| Item | Cost |
|---|---|
| Giant Roam Frame | $30 |
| Fork | $5 |
| Disc Brake Calipers | $10 |
| Rack | $8 |
| 9-speed chain | $20 |
| Resin Brake Pads | $10 |
| Disc Rotors | $30 |
| Cables | $10 |
| Cable Housing | $10 |
| Orange Grips | $15 |
| Total | $157 |