Trug
Tagged: bike project diyThere is a vehicle trend these days of luxurious, heavy, loud, obnoxious lifted pickup trucks. It’s caught on among suburbanites and inner city dwellers for some reason. In my city, you can’t go anywhere without seeing a vehicle with a front grill so tall they can’t see the car they’re tailgating.
My friends and I have started calling them “Trugs.” Not to be confused with trucks, which are workhorse vehicles meant for hauling and carrying large loads. Trugs are needlessly large, inconvenient, and dangerous luxury vehicles marketed as symbols of masculinity, independence, and freedom. On rare occasions you’ll even see their beds being used, but mostly they sit empty.
Anyways, I’ve been looking to build a mountain bike with front suspension to do some light trail riding.
Discovery and Disassembly
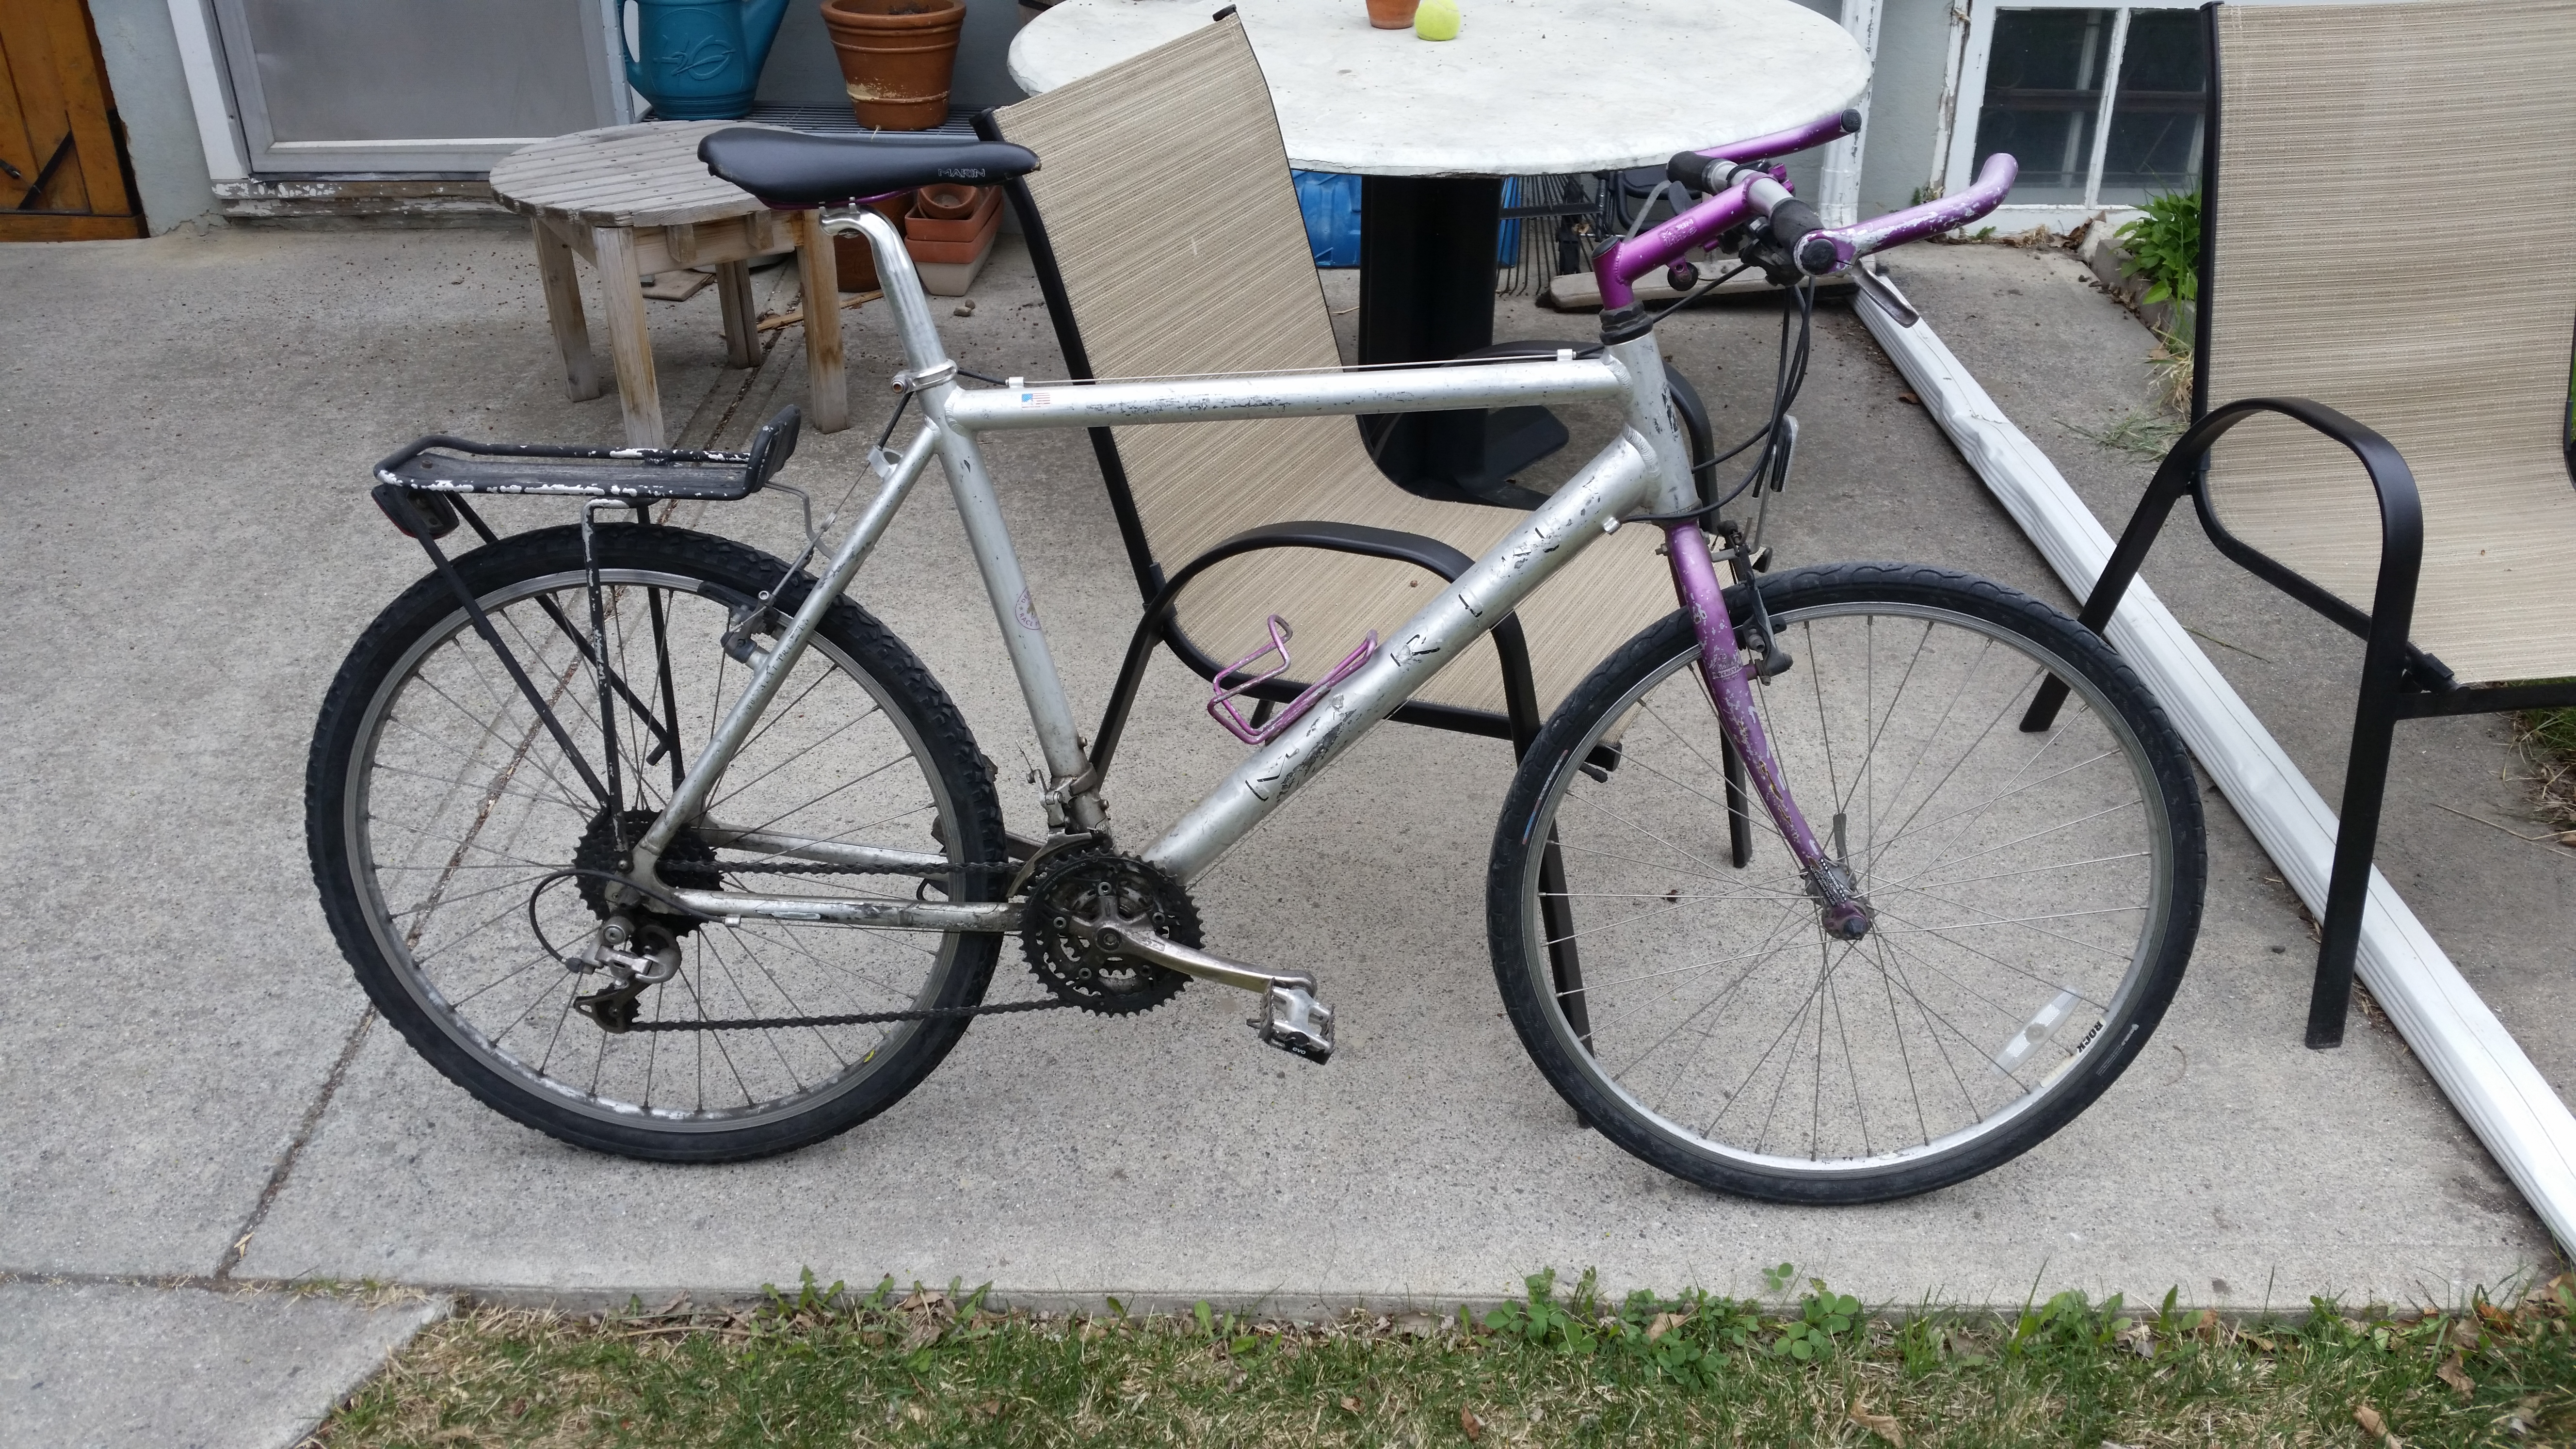
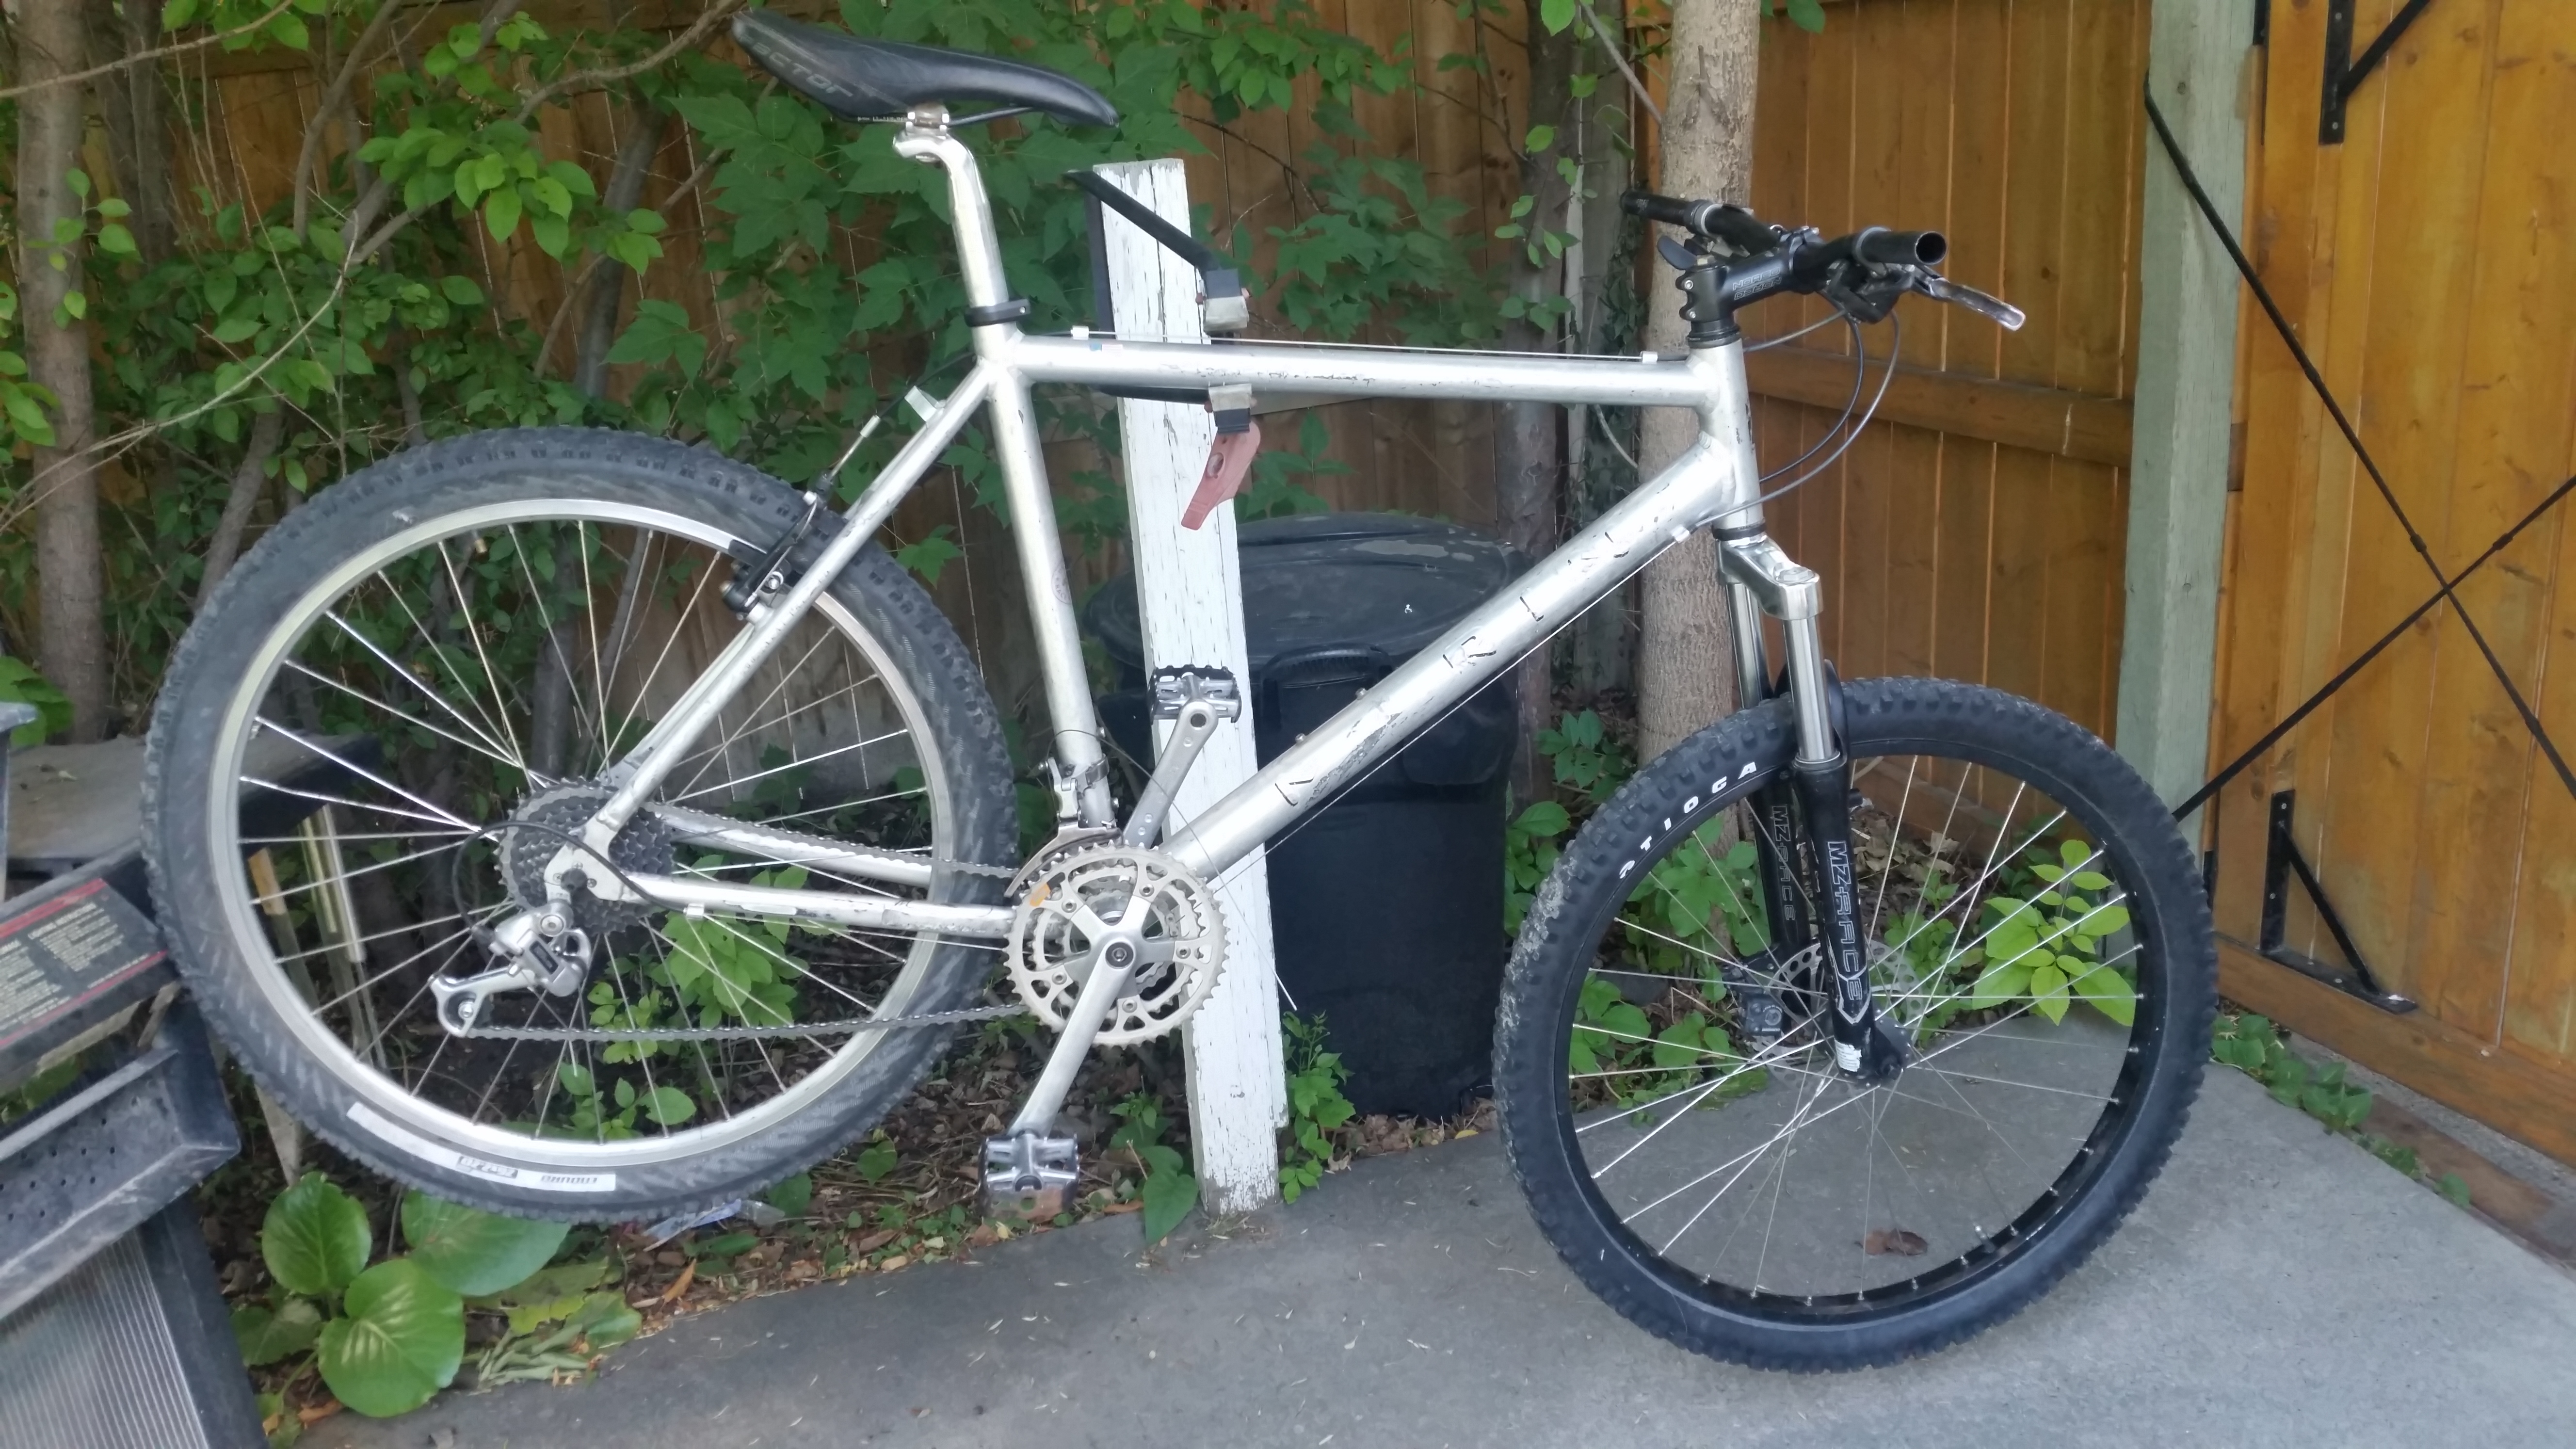
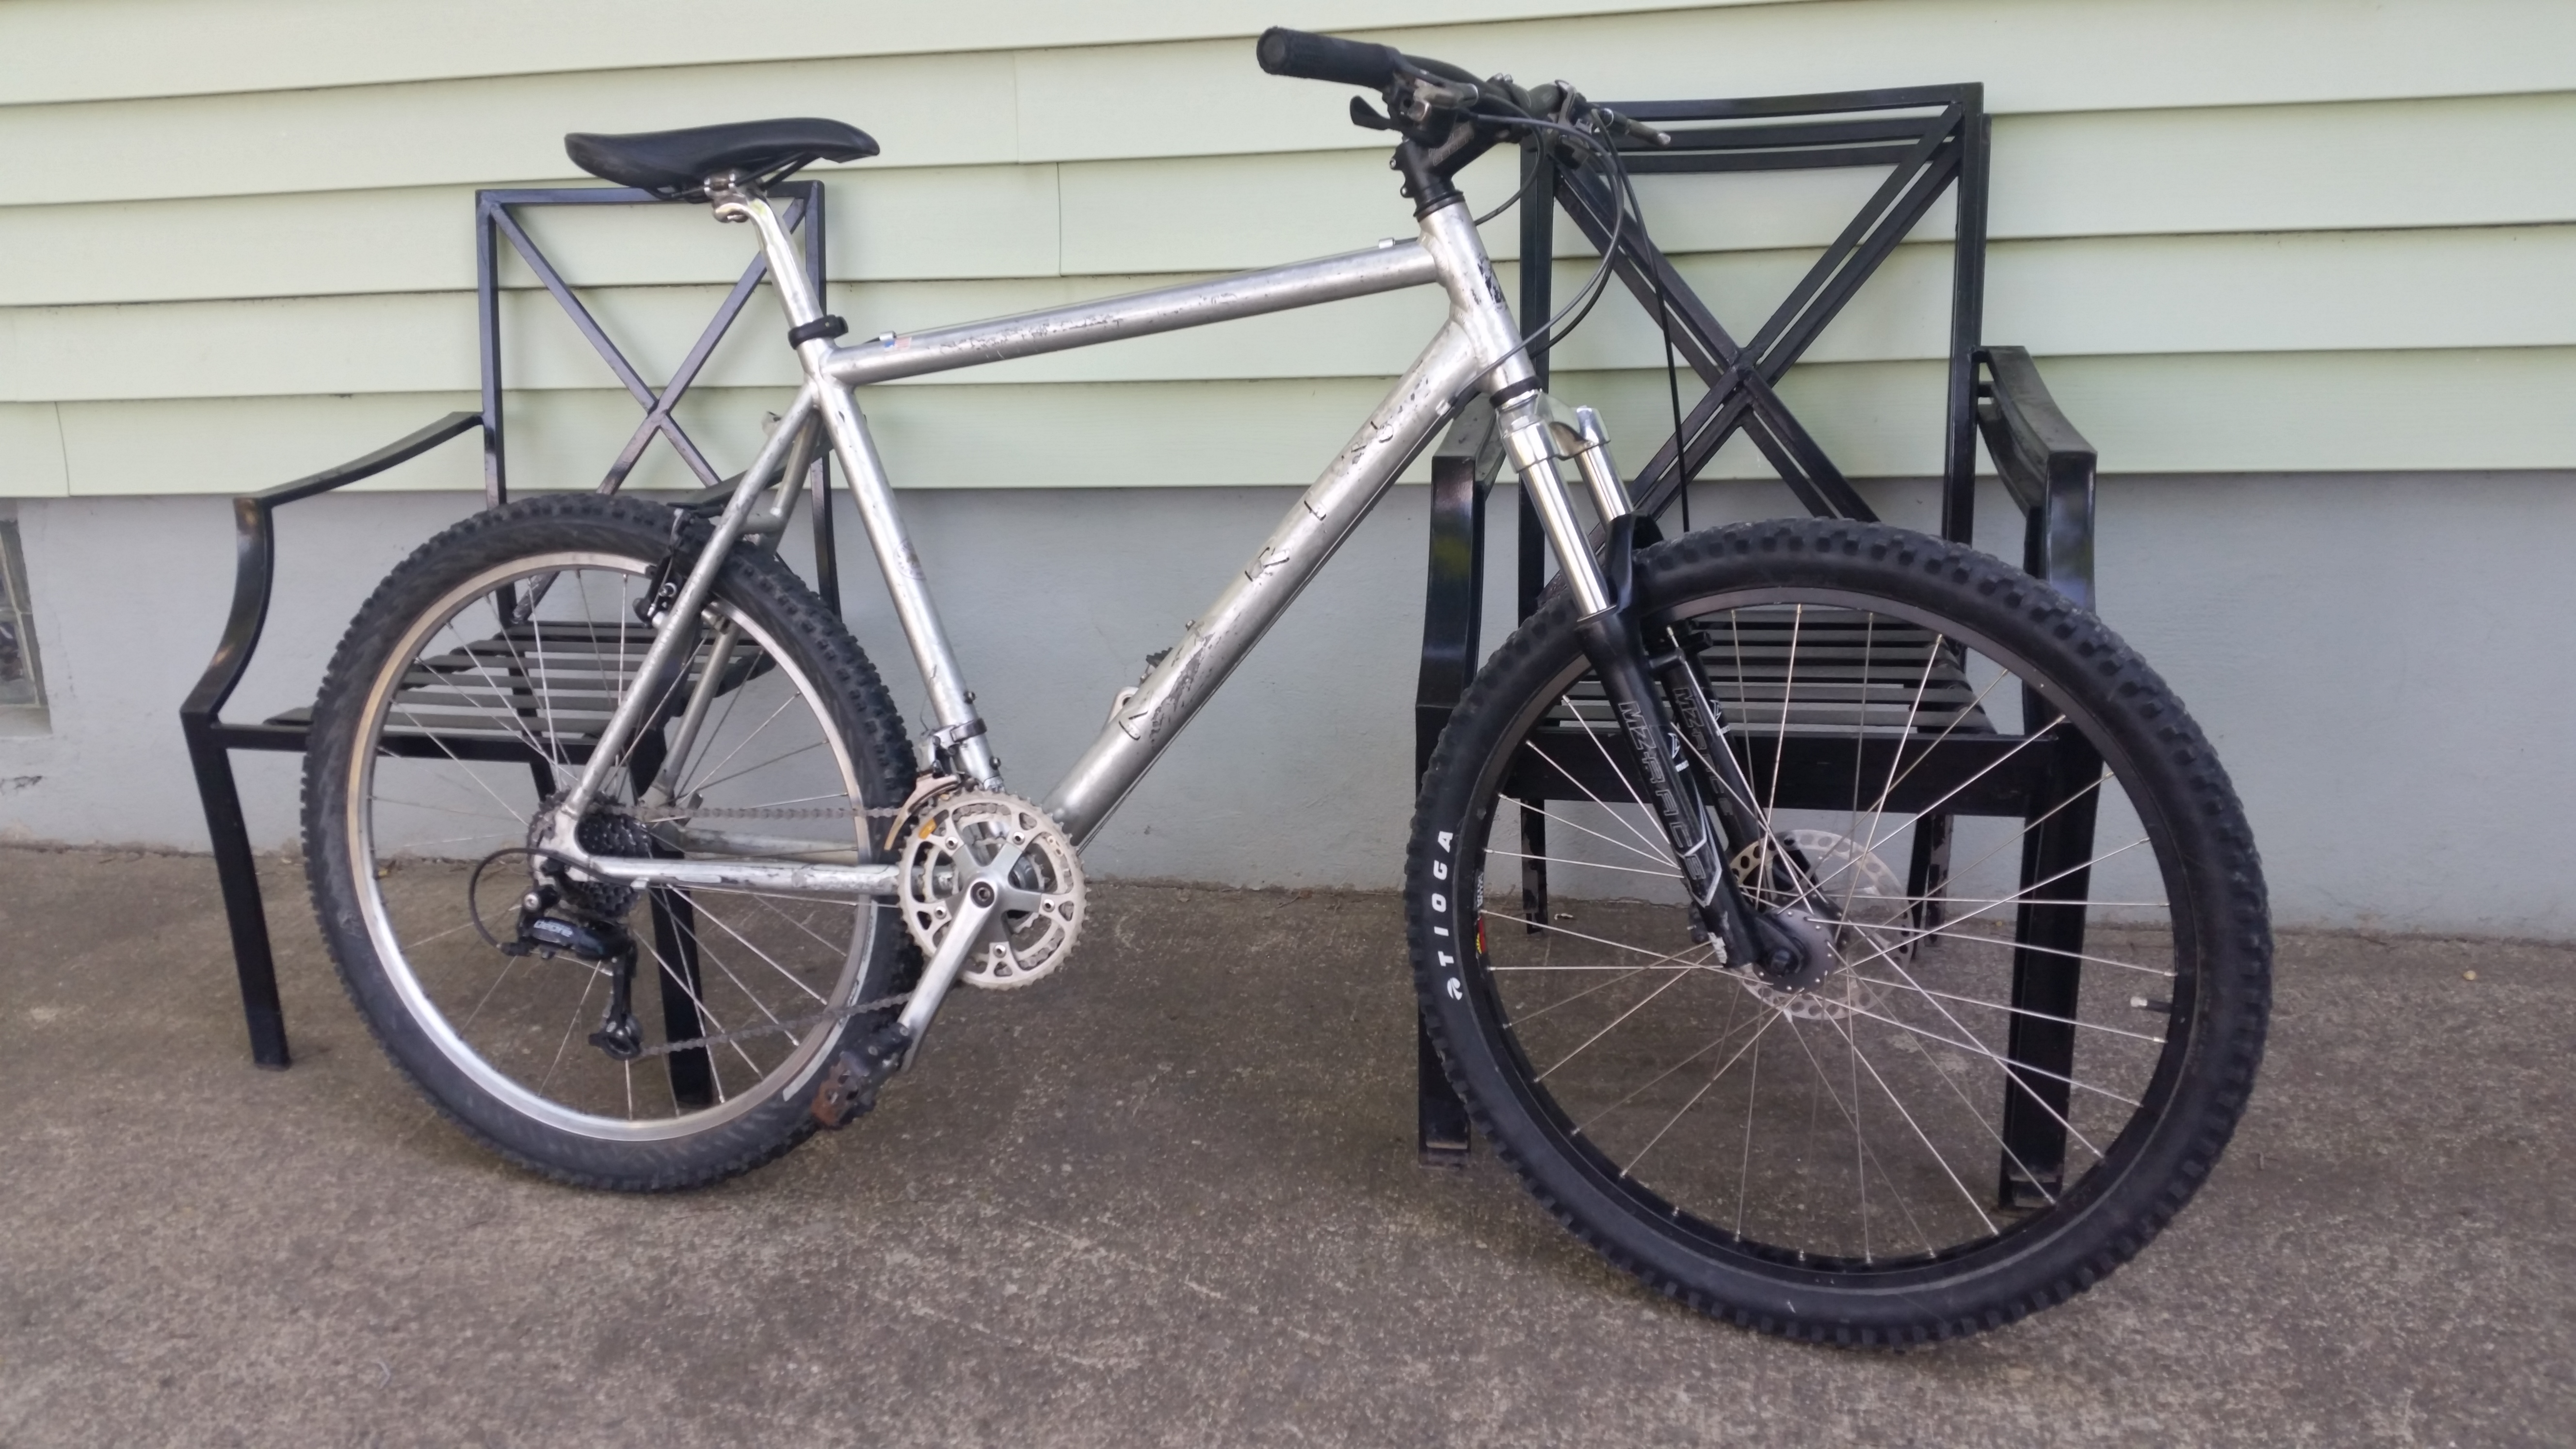
In May this year I found a beautiful bike in a back alley. It was an extremely lightweight, extremely well-loved Aluminum Marin bike with 26" road-slick tires. There were lots of odd little idiosyncrasies to it, and it had clearly seen better days.

It was so nice that I wasn’t sure if they put it out intending to give it away, or someone had simply carelessly leaned it up out back. A further inspection showed that it didn’t have air in the tires and the rear shifting didn’t work. It had also been ridden into the dirt from the look of things. Everything was worn out, and the parts that were less worn out were clearly replacements for parts that had completely worn out. The entire frame had and scrapes and dents and what little paint was there was peeling.
Taking it home was an ordeal - my bike was already pretty heavily laden with other things, including an overnight bag and a change of clothes and two computers. Luckily, I found it at the top of the nasty hill on my commute, so I mostly just had to push it along flat ground.
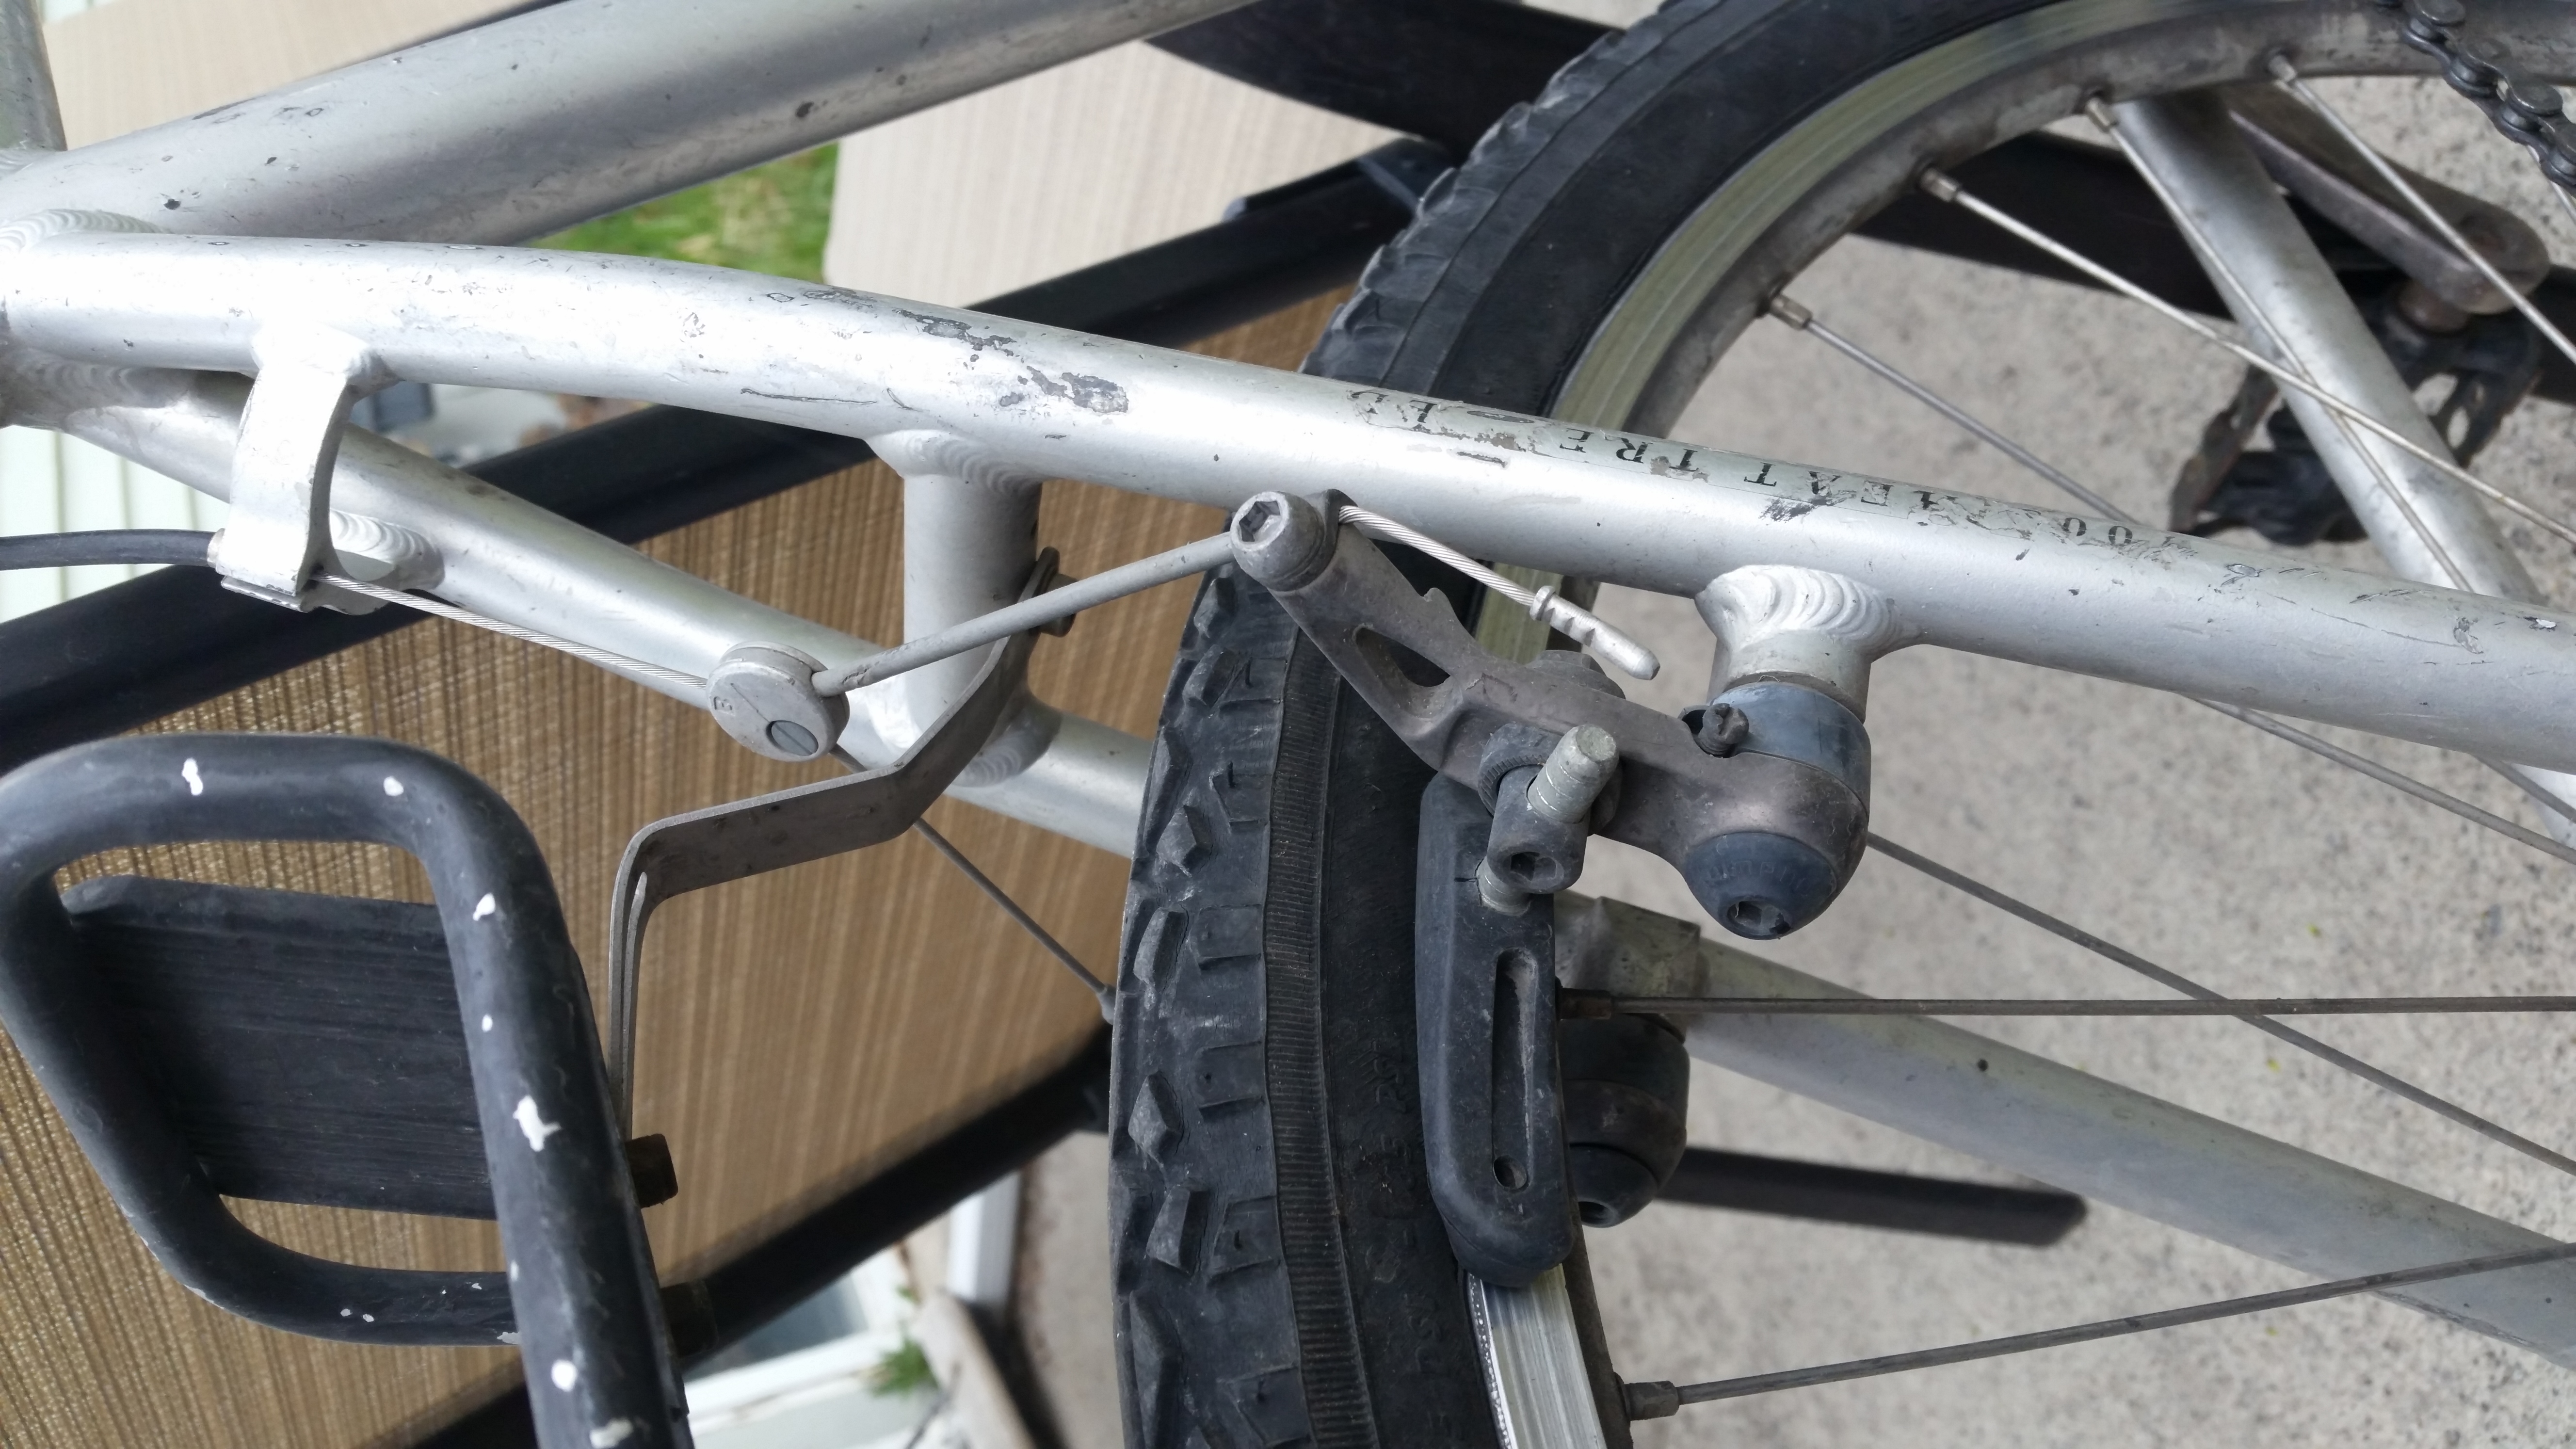
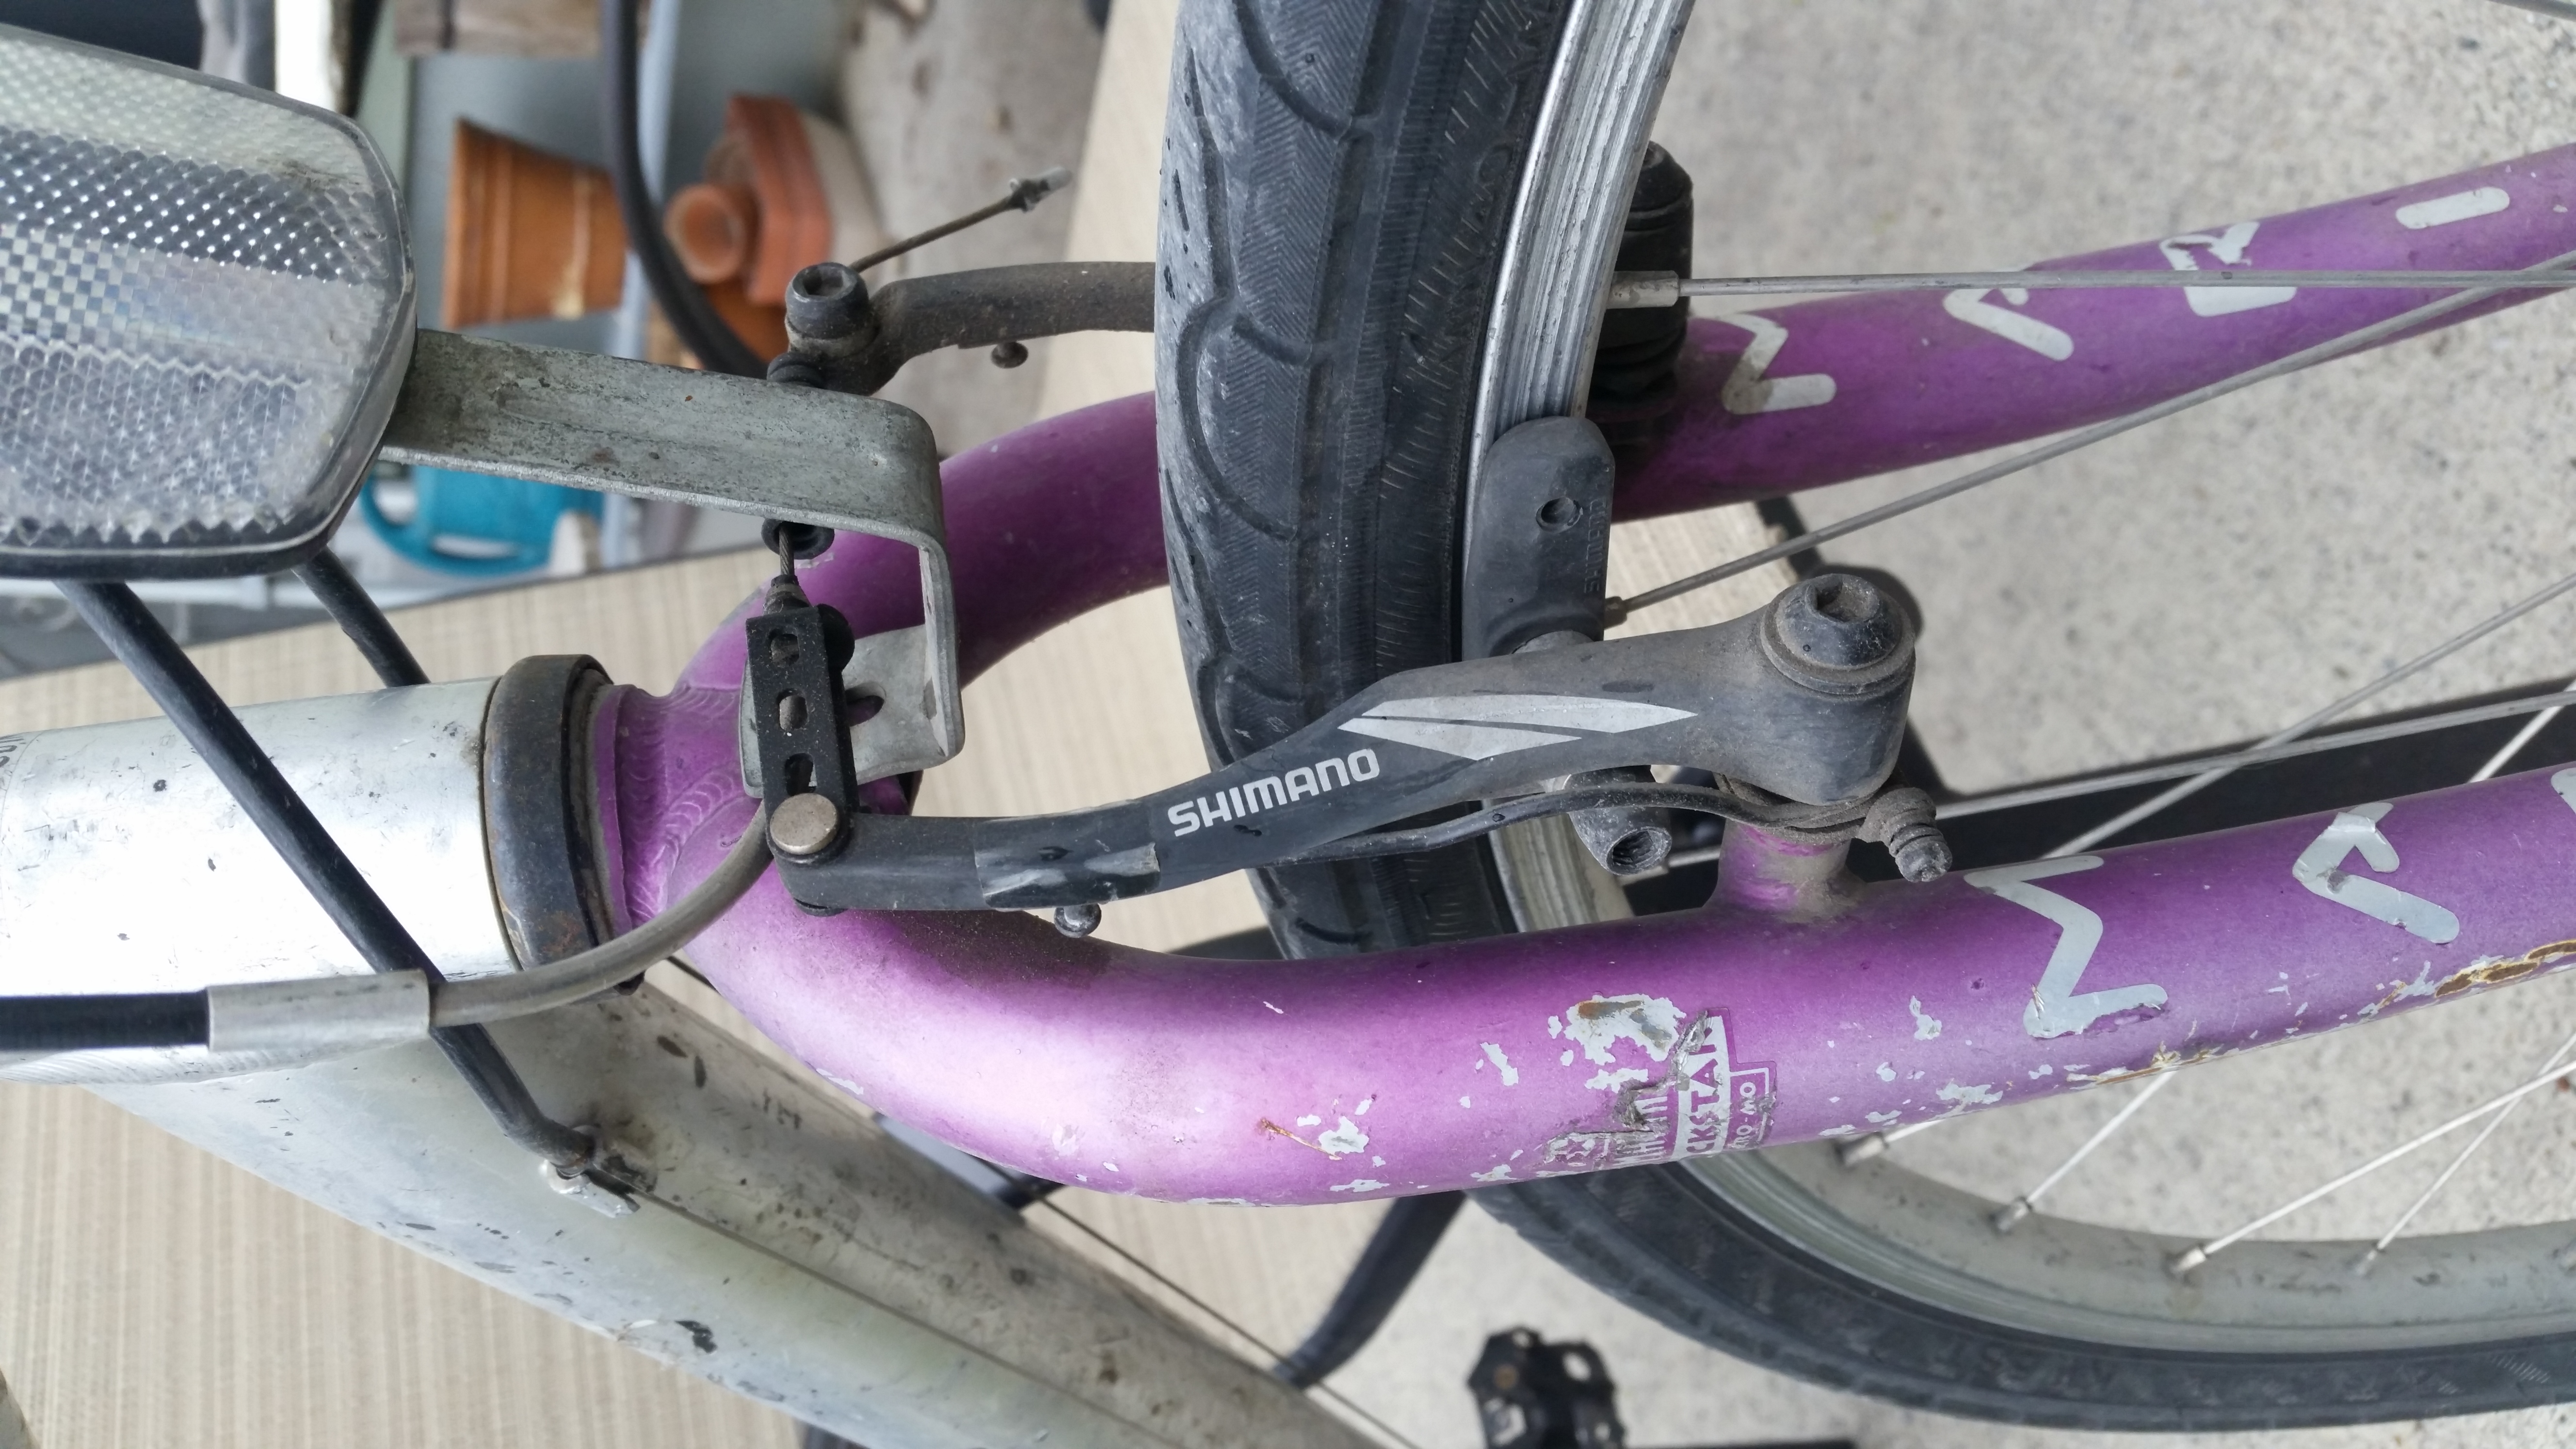
When I got it home, I noticed the sides of the tires were fraying and falling apart. Interestingly, the brakes were also mismatched, with the front sporting newer v-brakes and the back hanging onto its original cantilever brakes. Both had pads that were alarmingly worn down.
Even more interestingly, the bike had integrated brake + shifter levers. But on the front brake/shift lever, the shifter was broken off and replaced with a newer aftermarket shifter. They kept the original STX brake lever, with a raw and ragged edge where the shifter had been snapped off. I don’t know if they manually removed it, or it broke off on its own, but this bike has clearly been through a lot.

This would be a recurring theme with this bike - everything about it was worn down, replaced, and worn down again. Most of it was mismatched. The front and rear wheels were from different product lines, the rear cassette wasn’t original, the drivetrain had parts from many different groupsets, and I was surprised to find that not even the pedals matched.
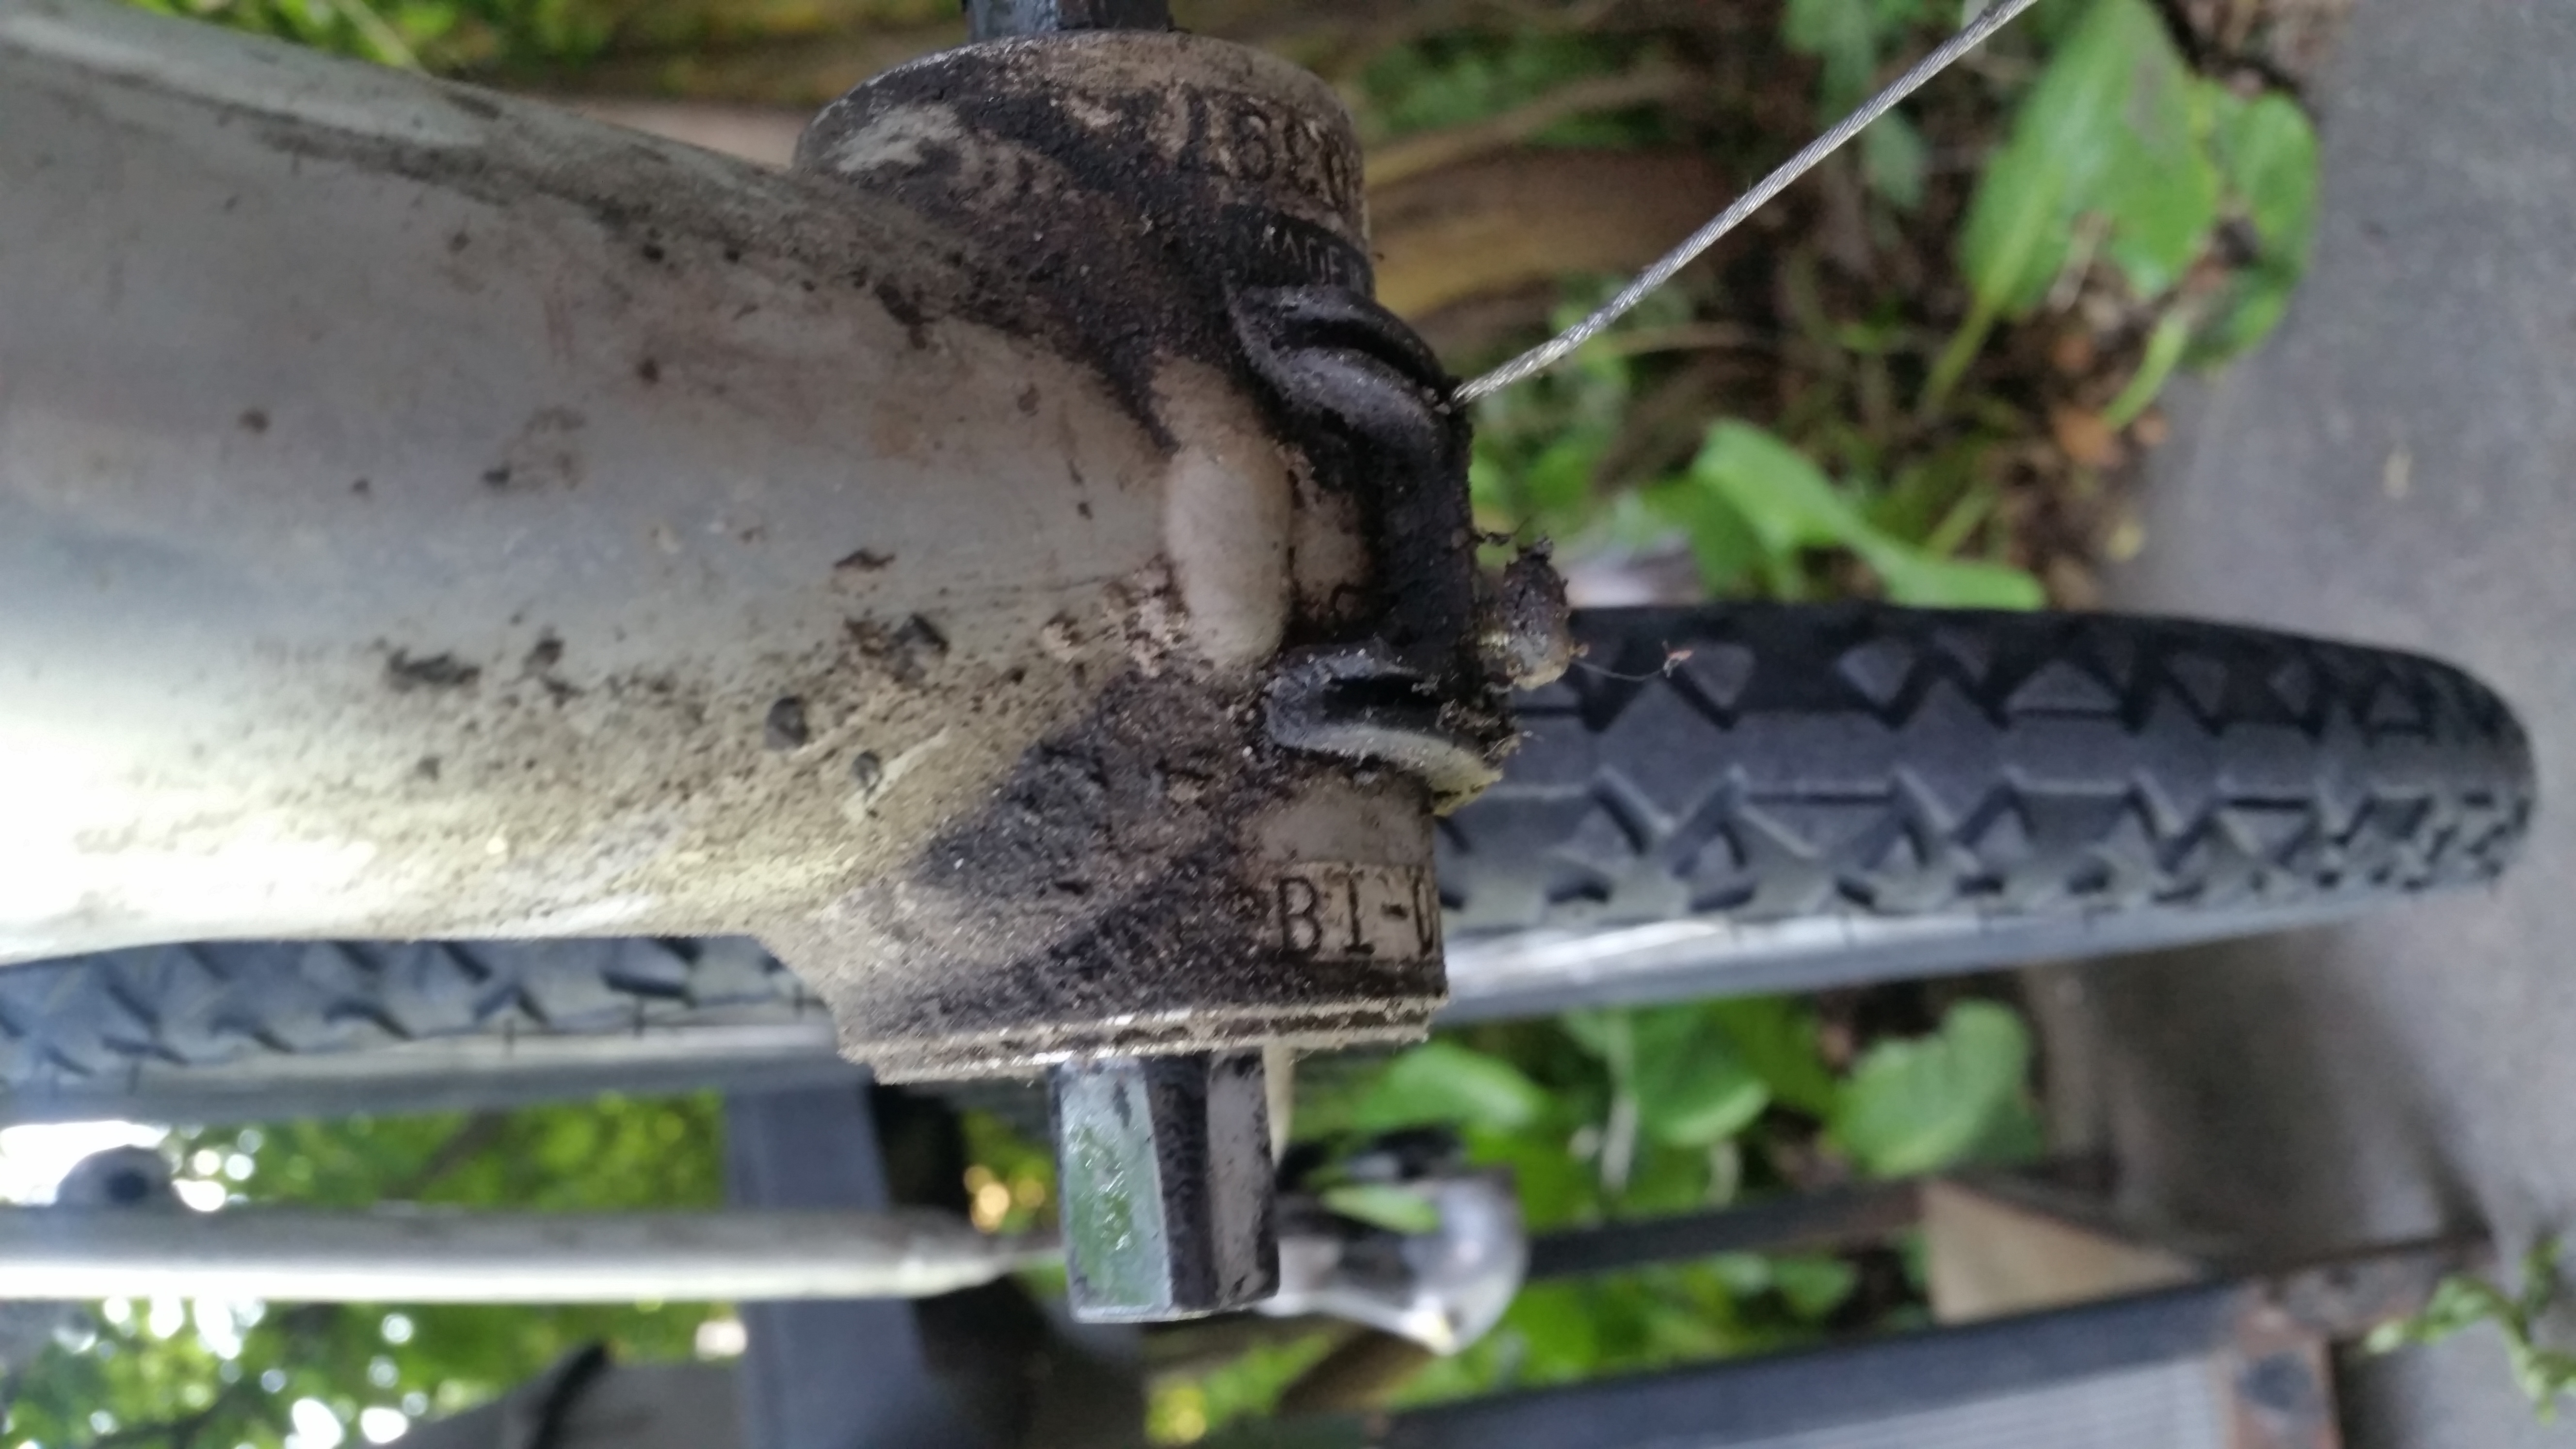
There was a lot of general wear and tear, but most concerning was the fact that the cranks barely had any clearance with the frame - either they or the bottom bracket must have been replaced as well. They were so close to the frame that there was visible wear in the chainstay where either the cranks had been scraping against it, or, more likely, they had filed the frame away a bit to give the cranks enough clearance. I would replace the bottom bracket with a slightly wider one when I rebuilt the bike.

The sticky rear shifting seemed to be mostly due to buildup of filth within the shifter itself, and on the bottom bracket.
I ended up stripping the threading on the seatpost clamp (It was already kind of giving out) and bought a completely new one.
Disassembly was rather difficult - lots of stubborn and stuck parts, and the stem was so stuck that I couldn’t pry it out, even after dislodging the quill and hammering it down. I ended up taking the frame and stuck stem to my parents place, with the intent of simply hacksawing the stem apart. My dad was convinced he could save it though, and with the help of their table mounted vise we saved the stem. Maybe I’ll clean it up and find a use for it later.


The Suspension Fork
Last year, our neighbours across the alley moved out. When they left, they left a large pile of furniture, books in boxes, that sort of thing. They also left behind a half-functional bike. It was a Kona COP Special. (COP as in Canada Olympic Park, not Police.) Apparently Kona had partnered with a large bike shop in my city and done a limited run of entry level downhill mountain bikes for riding our olympic course. It was bright orange with a single rear hydraulic disc brake, it had a 2x drivetrain with a 3x shifter and very aggressively set limit screws, and it was quite small. I asked my roommate if he wanted it, since he didn’t have a bike. We made sure it was being given away and then he used it for a couple rides before realizing it was just a bit too small to be fully comfortable.
So we disassembled it. We’ll build him another one on a larger frame some time soon. Maybe I’ll make a post about it, maybe not. I didn’t really take any pictures of it or the frame that I found.
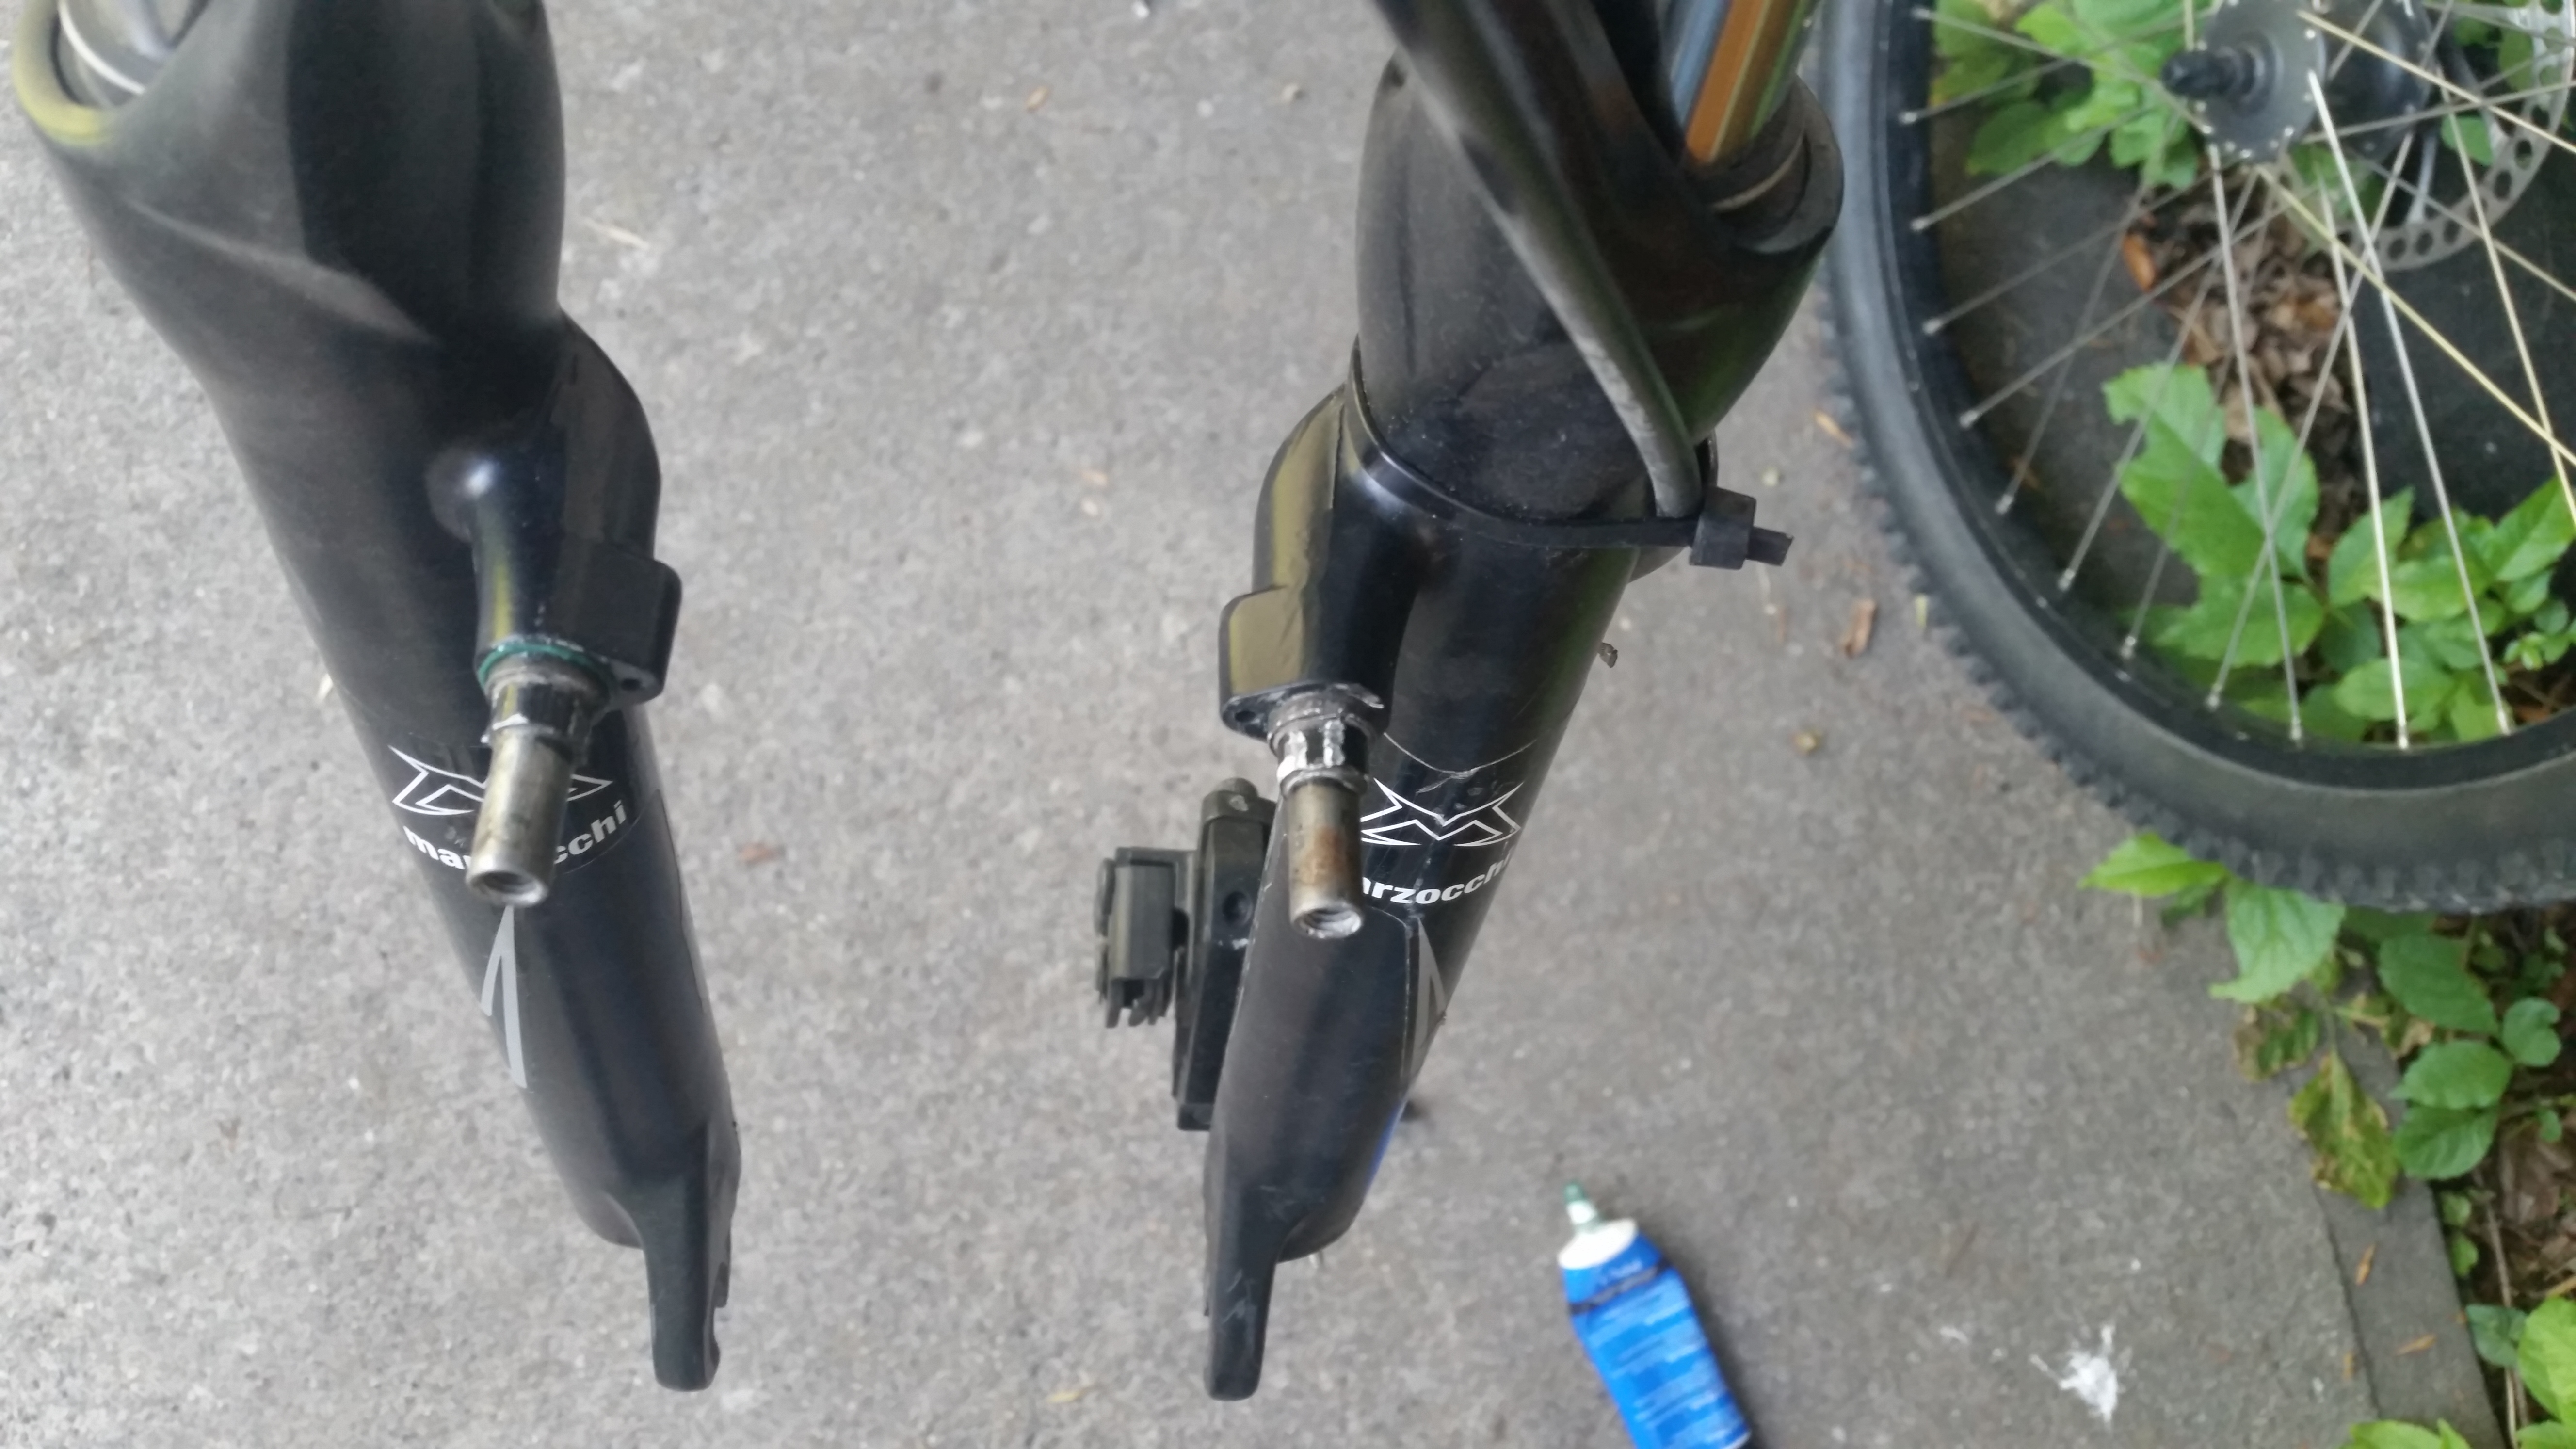
Regardless, now I had a suspension fork of reasonable quality with no plans for use, and I also had this Marin bike frame ready to go. The suspension fork also had mount points for V-brakes, so it would work with the Marin bike’s 26" wheelset.
Or so I thought. The first hurdle was uncovering the V-brake mounts. They had plastic stoppers, and those plastic stoppers had apparently never been removed. They were almost flush with the frame. Getting them out took a lot of prying and scraping. Not ideal.


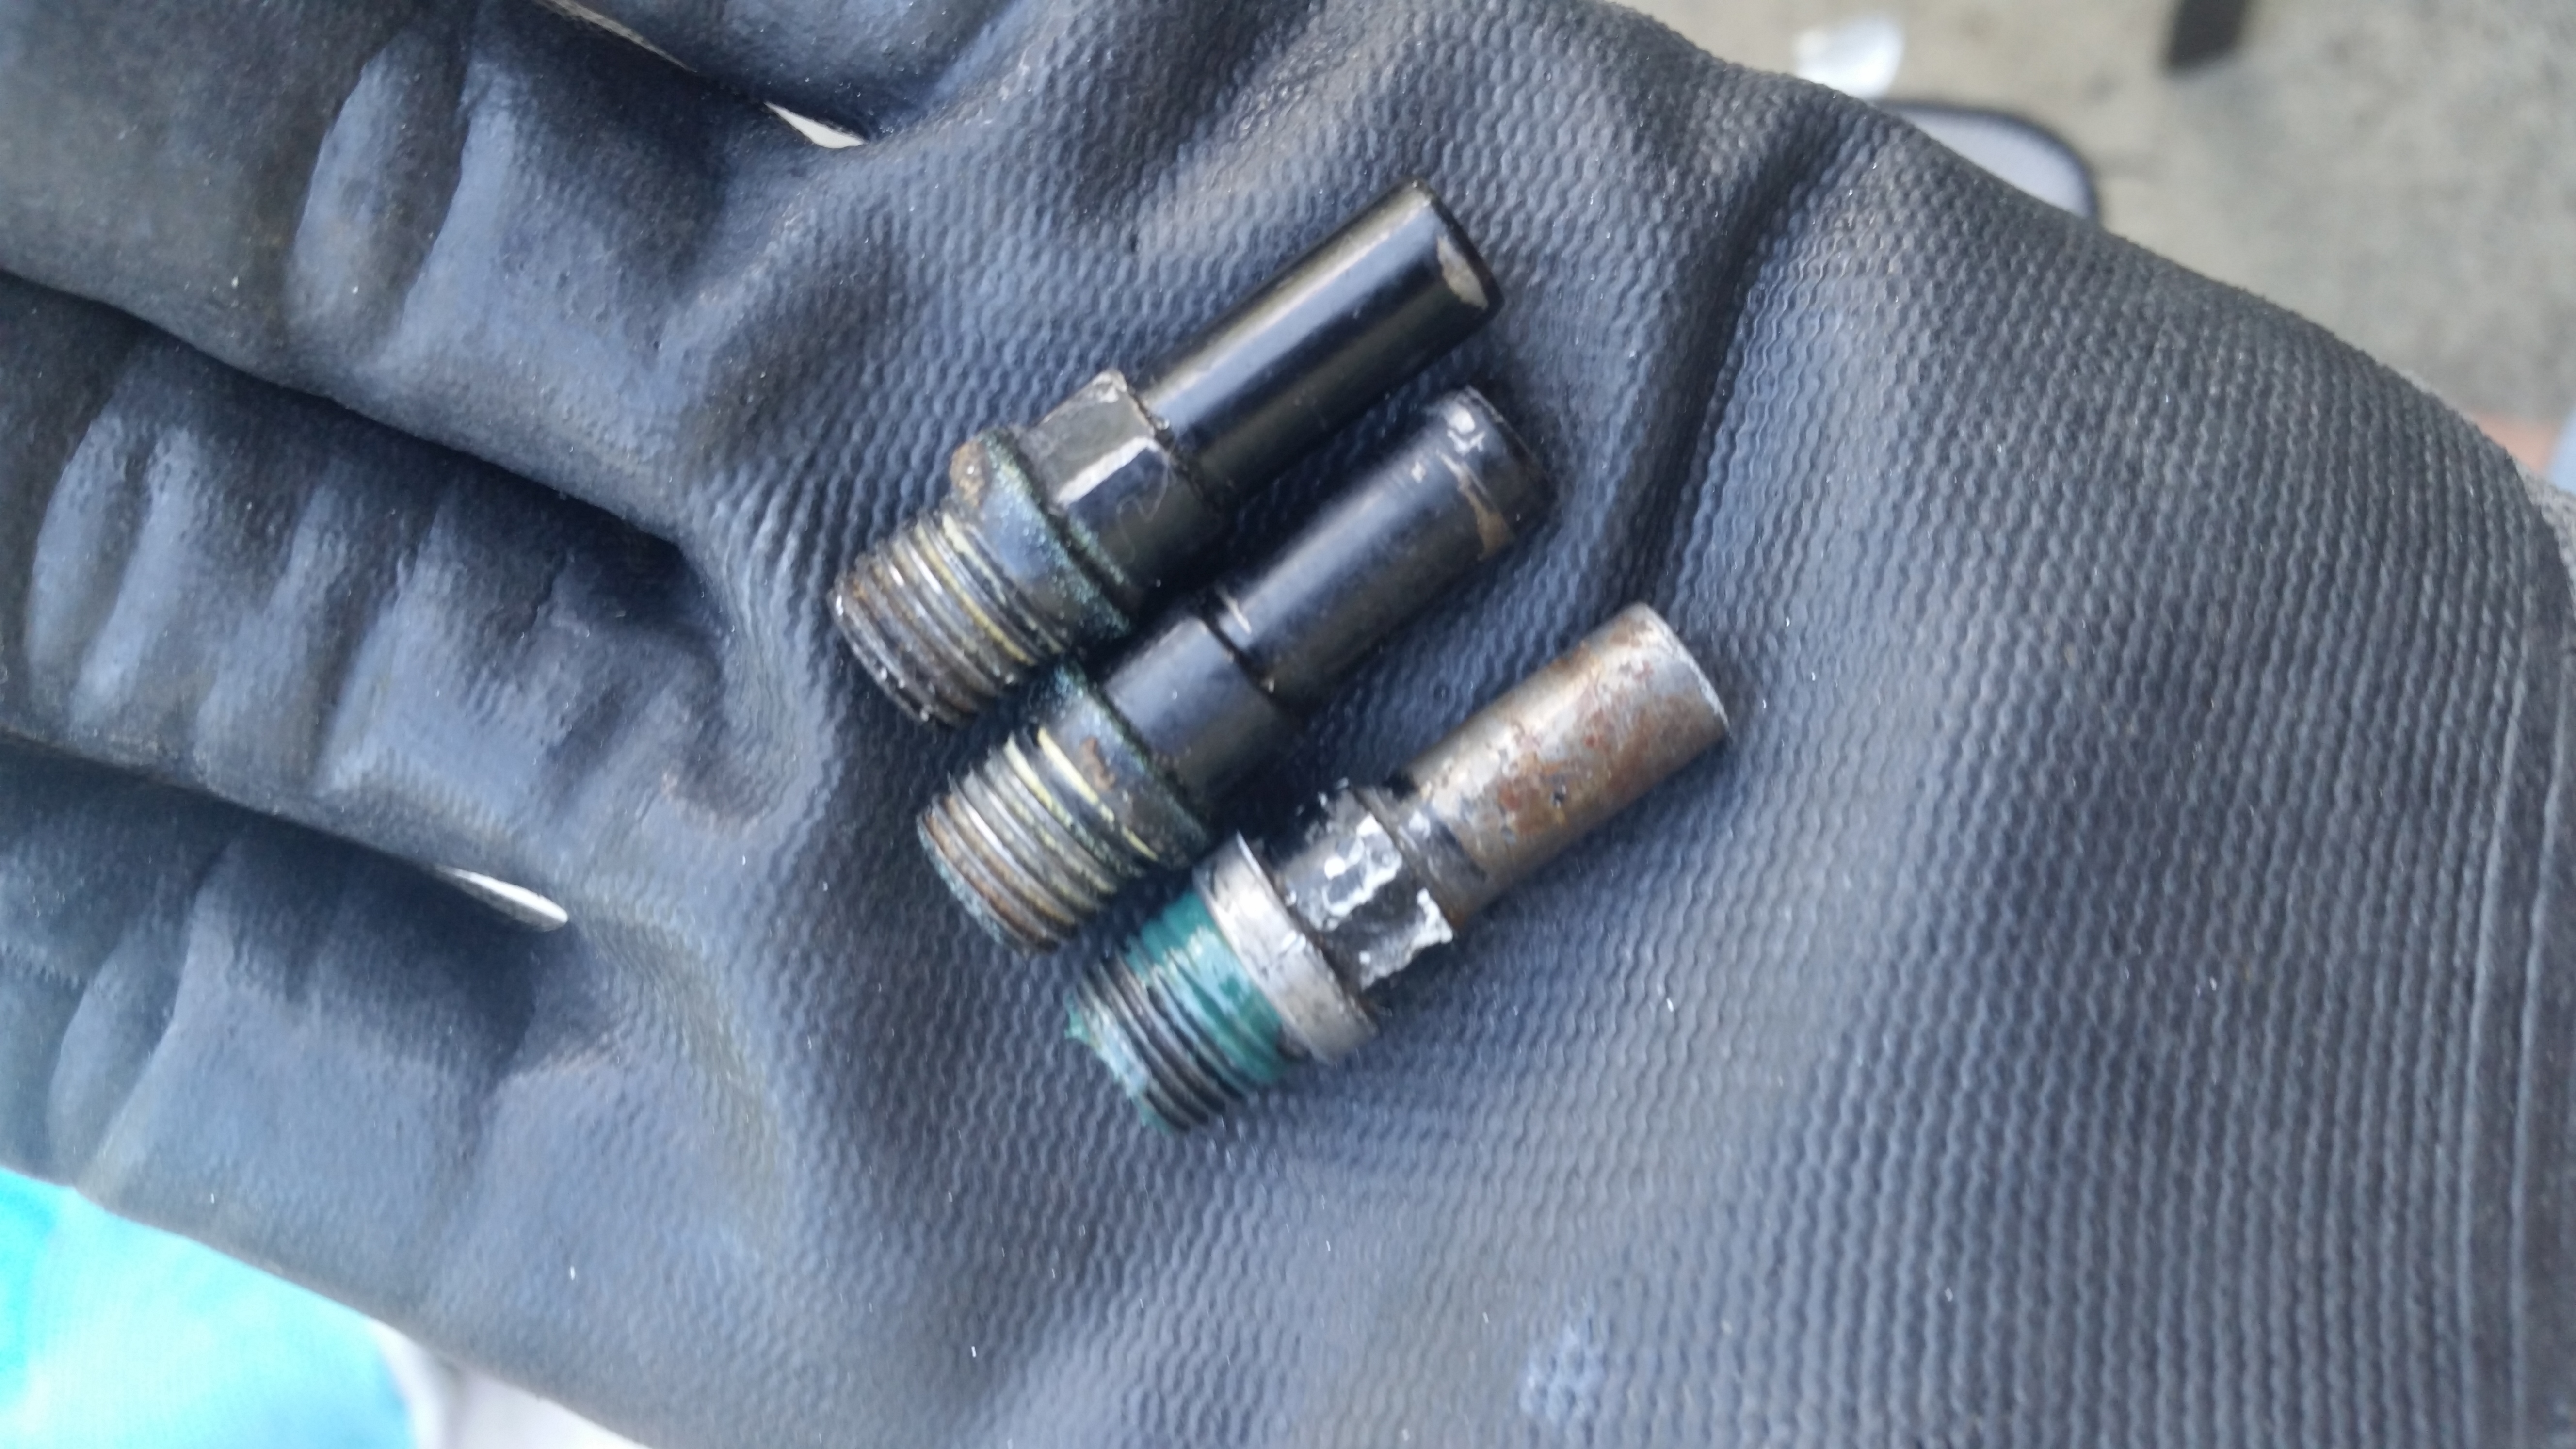
Then I realized I didn’t have the hardware I needed. I would need specific bolts to mount the v-brakes. This fork would need some that could screw in. They look something like this:

I checked a couple frames I had lying around, but their brake pivots were frame braze-ons, not bolts.
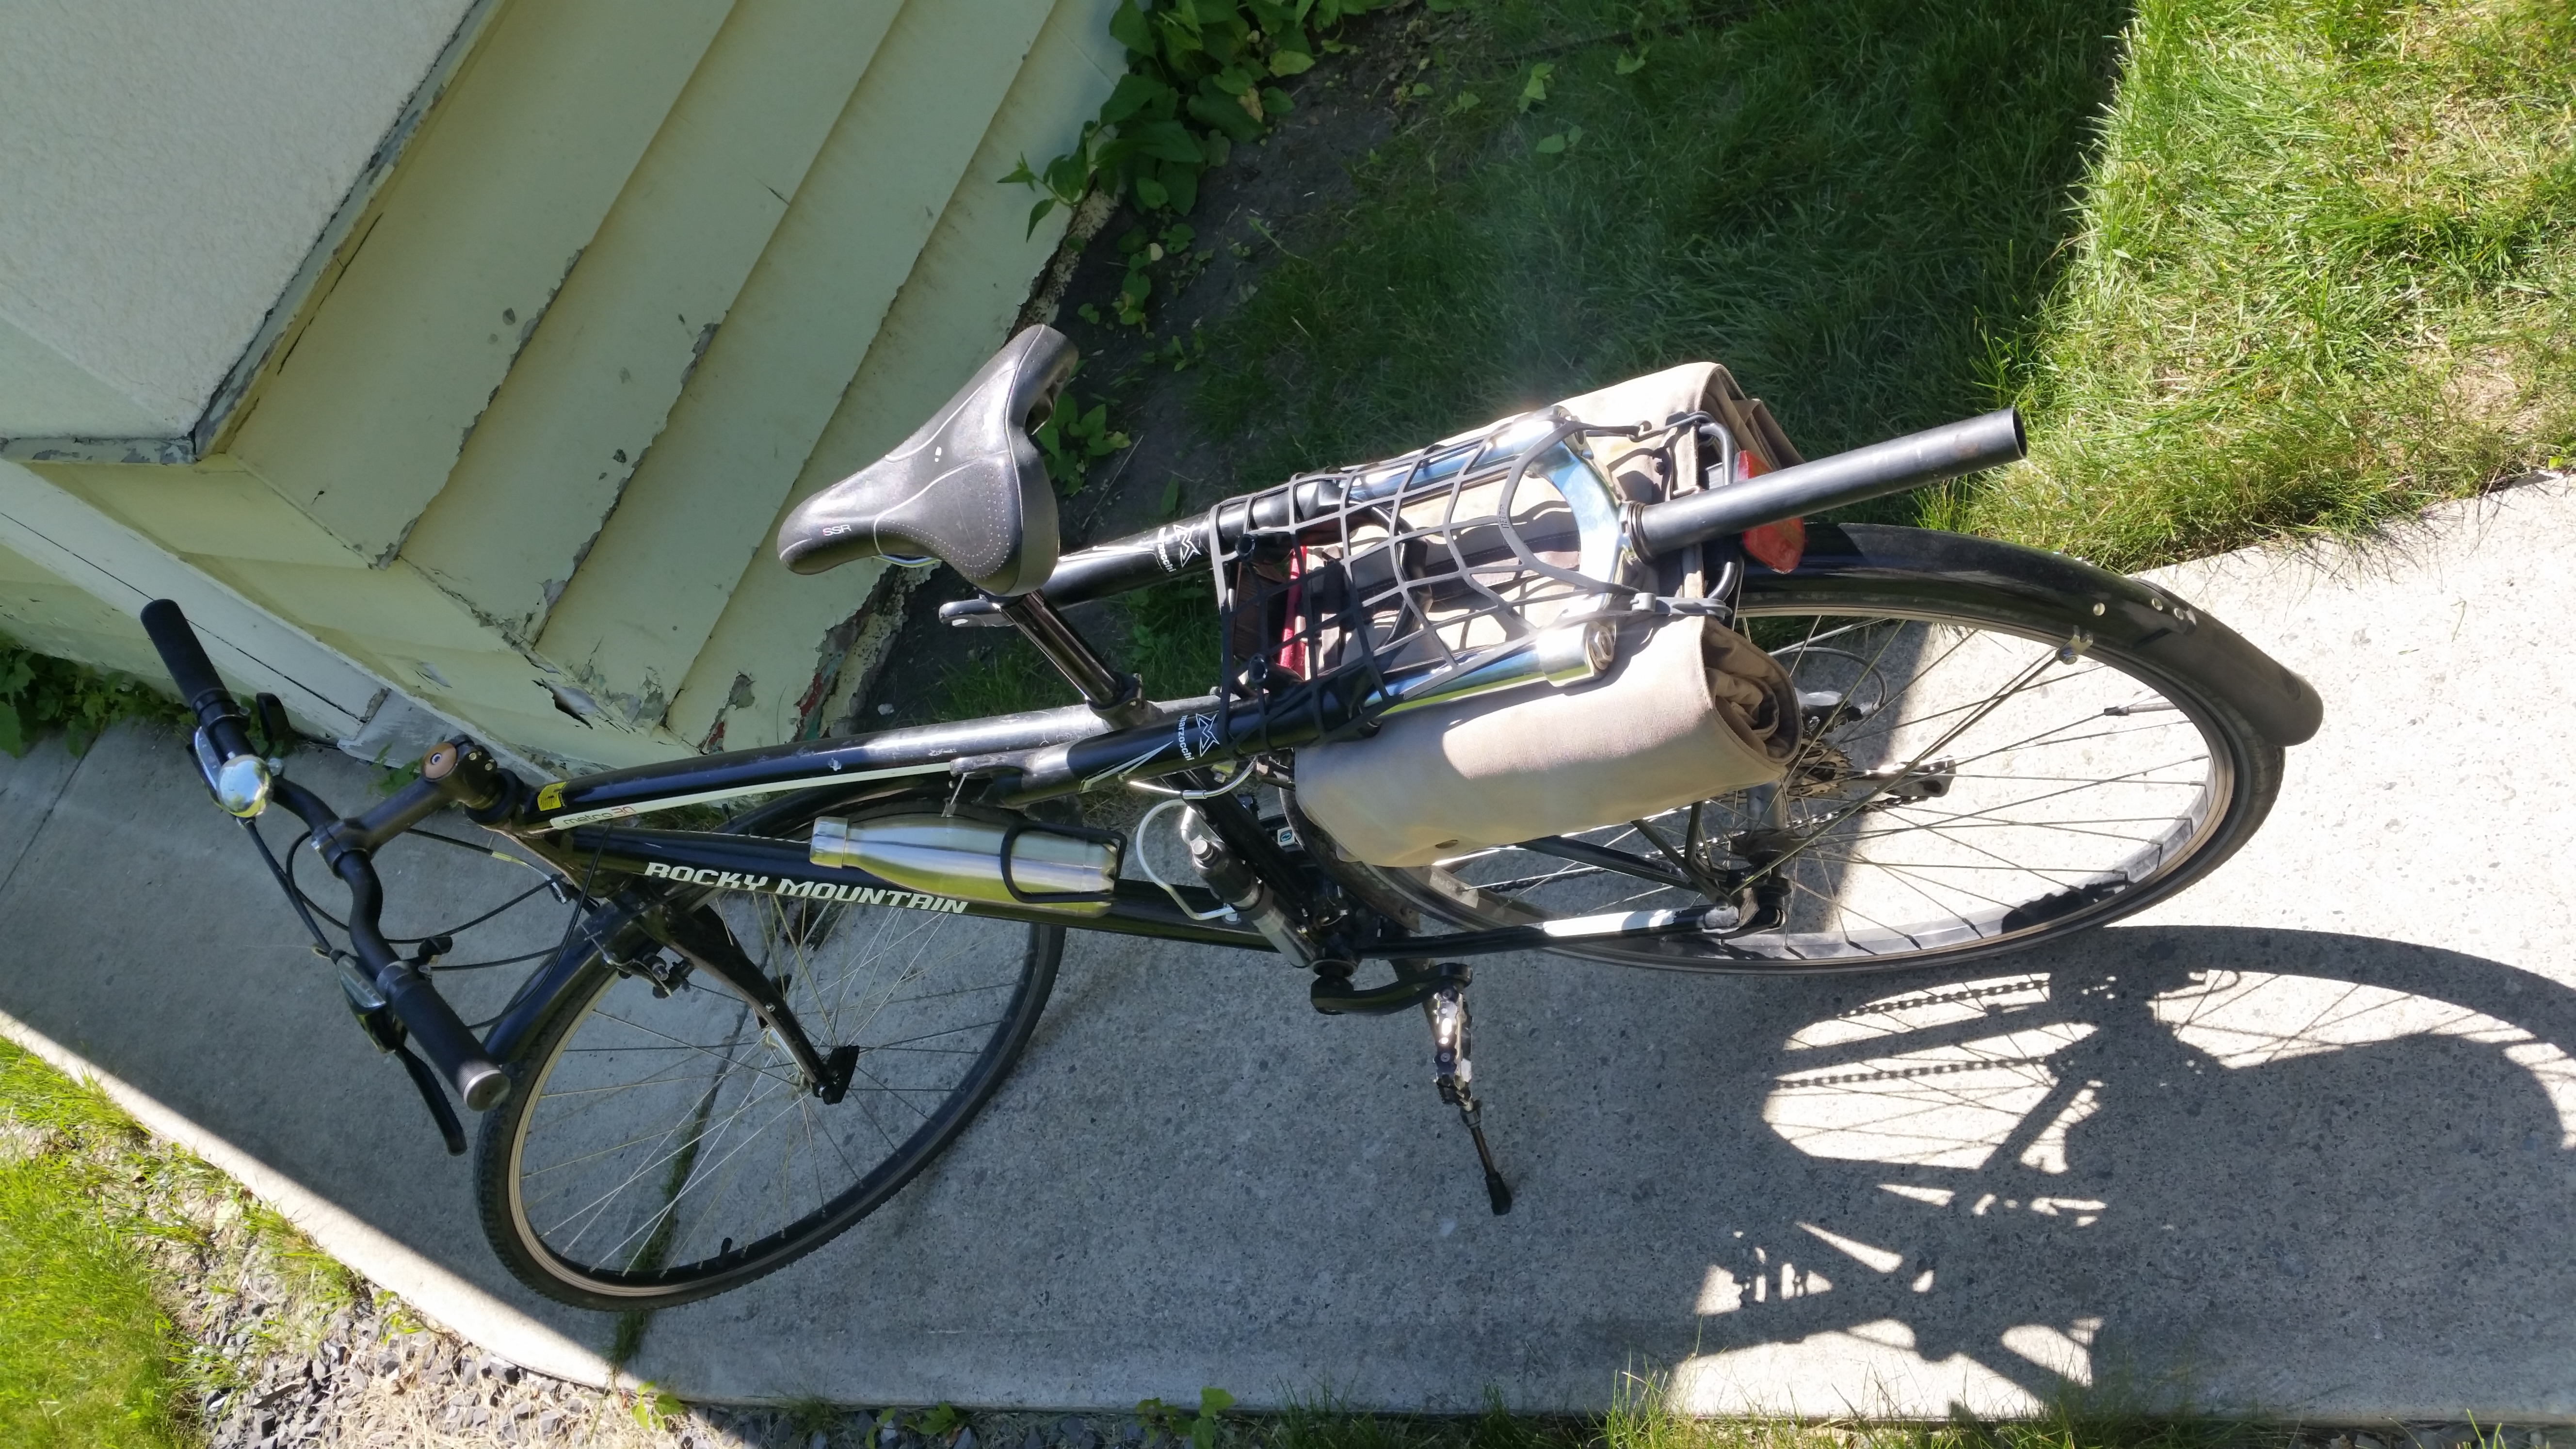
Not knowing exactly what it was that I needed, I loaded the fork up on the back of my bike.
I took my suspension fork to 3 different bike shops trying to find the right hardware for mounting. Of the three, only one had cantilever brake pivot bolts, and the threading was in the wrong size. (They had M10 bolts with a 1.25mm distance between threads. I needed M10 bolts with a 1mm distance between threads)
Sadly, this is how a lot of my bike shop trips go. I ask if they have specific hardware, they say no, and I’m left to keep wandering around back alleys until I find a bike I can strip for parts. Bike shops are great if you want to spend eighty dollars on a carbon fiber seat post so you can cut 13 grams of weight from your fancy road bike. They’re not so great when you need specific hardware to repair older bikes.
Defeated, I soon resigned myself to borrowing my roommate’s front wheel with its disc brake rotor, and using a single mechanical disc brake I had salvaged last fall.
It wasn’t a high quality thing, and the brake pad needed replacing - it also likely needed cleaning, as the spring took seconds or even minutes to fully reset and stop rubbing on the rotor after braking. But I kept telling myself it was temporary, until I found my pivot bolts.
I didn’t have much trouble installing the fork - it seemed to be a compatible width, though I don’t think I had quite the right hardware for going threaded to threadless. It seems to work fine though, and it’s using brand new bearing cages.


I brought it inside, stuck the cleaned up wheels on, put the seat on, and tried to adjust it to fit me.

This is where I first realized that what I was doing might be kind of stupid.
The geometry of the original frame is that of a 90s mountain bike - the top tube should be parallel to the ground, and it’s meant for a rigid fork. Adding the suspension fork meant adding a good 10cm or so of height to the front of the bike. Now it was significantly taller - tall enough that it was technically too tall for my inseam. But the bike was still too small for me. When adjusted for me, the handlebars would feel too close, and the distance from seat to pedal would be too short while the distance from seat to ground would be too long. The bike felt awkward and top-heavy. But I didn’t let this stop me. I figured having some extra ground clearance on the pedals would be good for going off road. Less chance of bottoming out.
Given the very stupid geometry of the bike, and the embarrassing chrome-and-black manly appearance, and the fact that it had way more lift and suspension than it needed to mimic off-road aesthetics, there was only one name that really felt right for this bike.
So I decided to name the bike TRUG.
Cleaning and Assembly
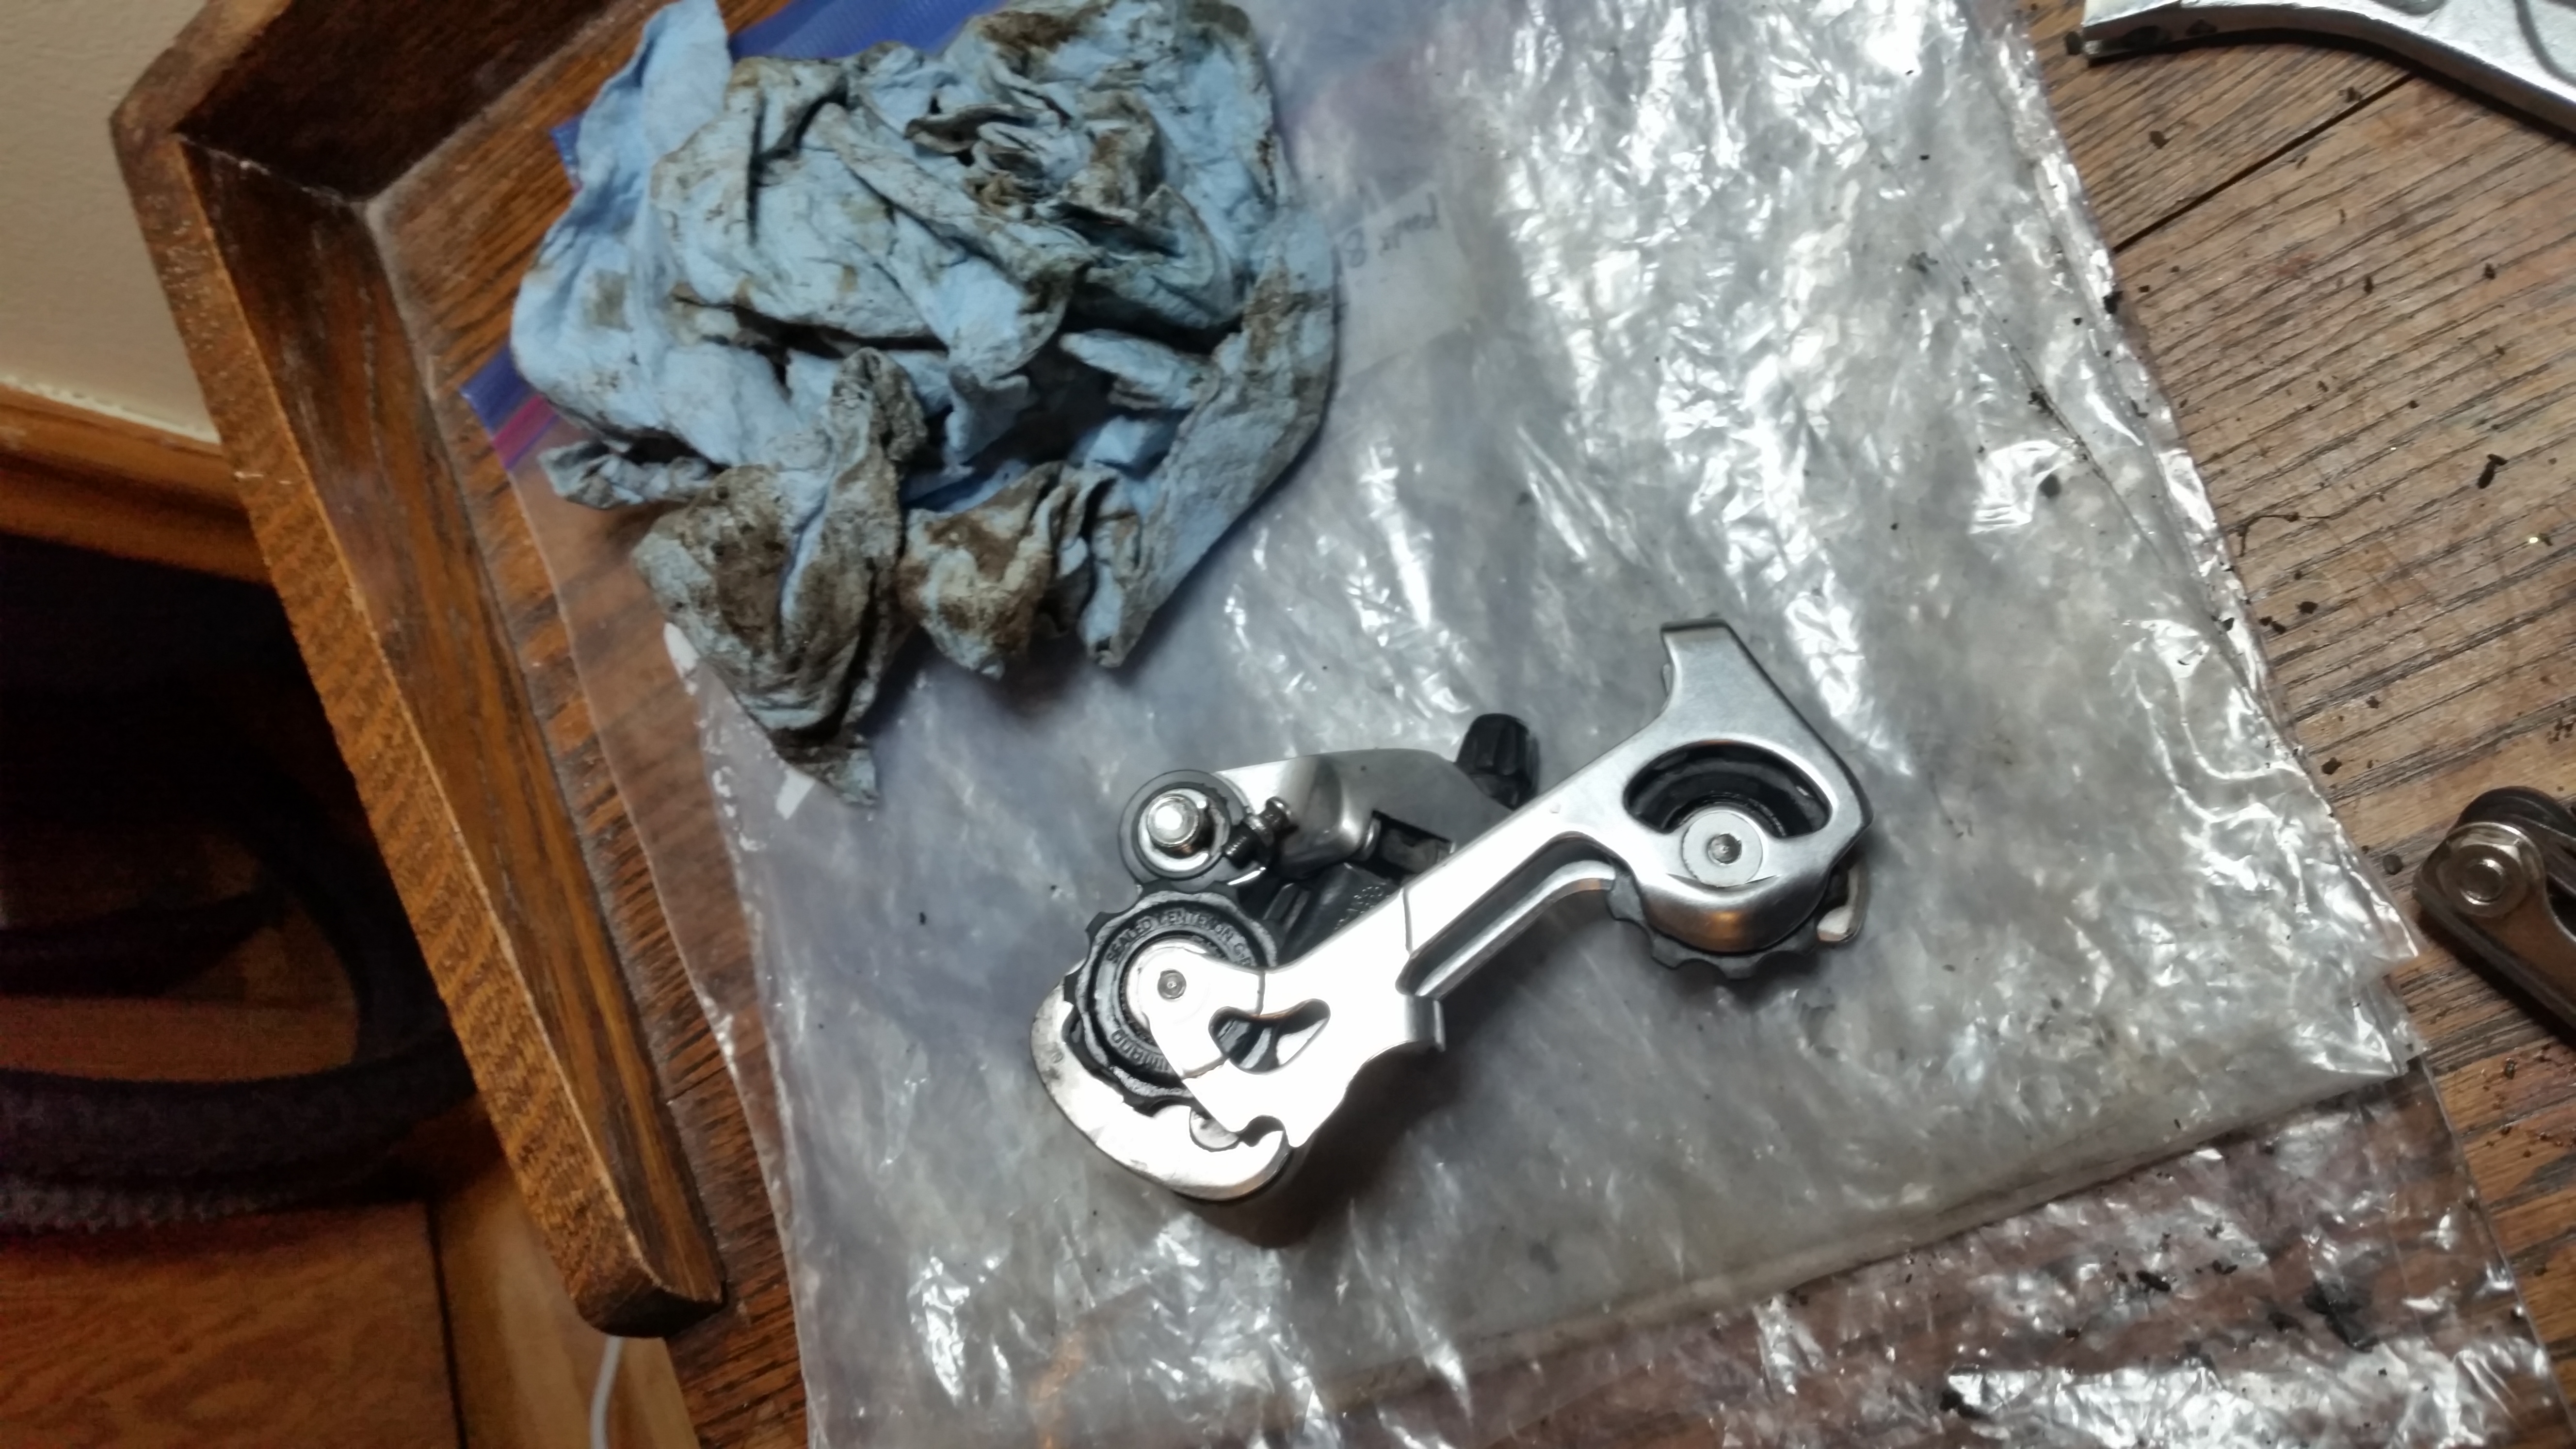
So began the process of turning it into a real bike. I dug through my parts bin to find the best mountain bike parts I had. I ended up taking a rear derailleur from another mountain bike I found without wheels, and V-brakes from a similar womans Norco bike I found. I ended up using the brake and shift levers I found on the bike though. Lots of other parts I swapped out a few times trying to get the feel right, including the seat and grips.
This is also when I dug out the front disc brake, cut some cable for it, did some minor adjustments, and installed my roommate’s fancy front wheel. I would figure out where to get the pivot bolts eventually.
The build was mostly uneventful. Take the parts, put them on the bike. It’s routine at this point. After a couple hours the bike was rideable and the gears and brakes adjusted, and I took it out for a spin. The front suspension was wonderful for dropping off curbs and bombing down back alleys. I was overjoyed, even if I felt silly and top-heavy and the gearing was comically low.
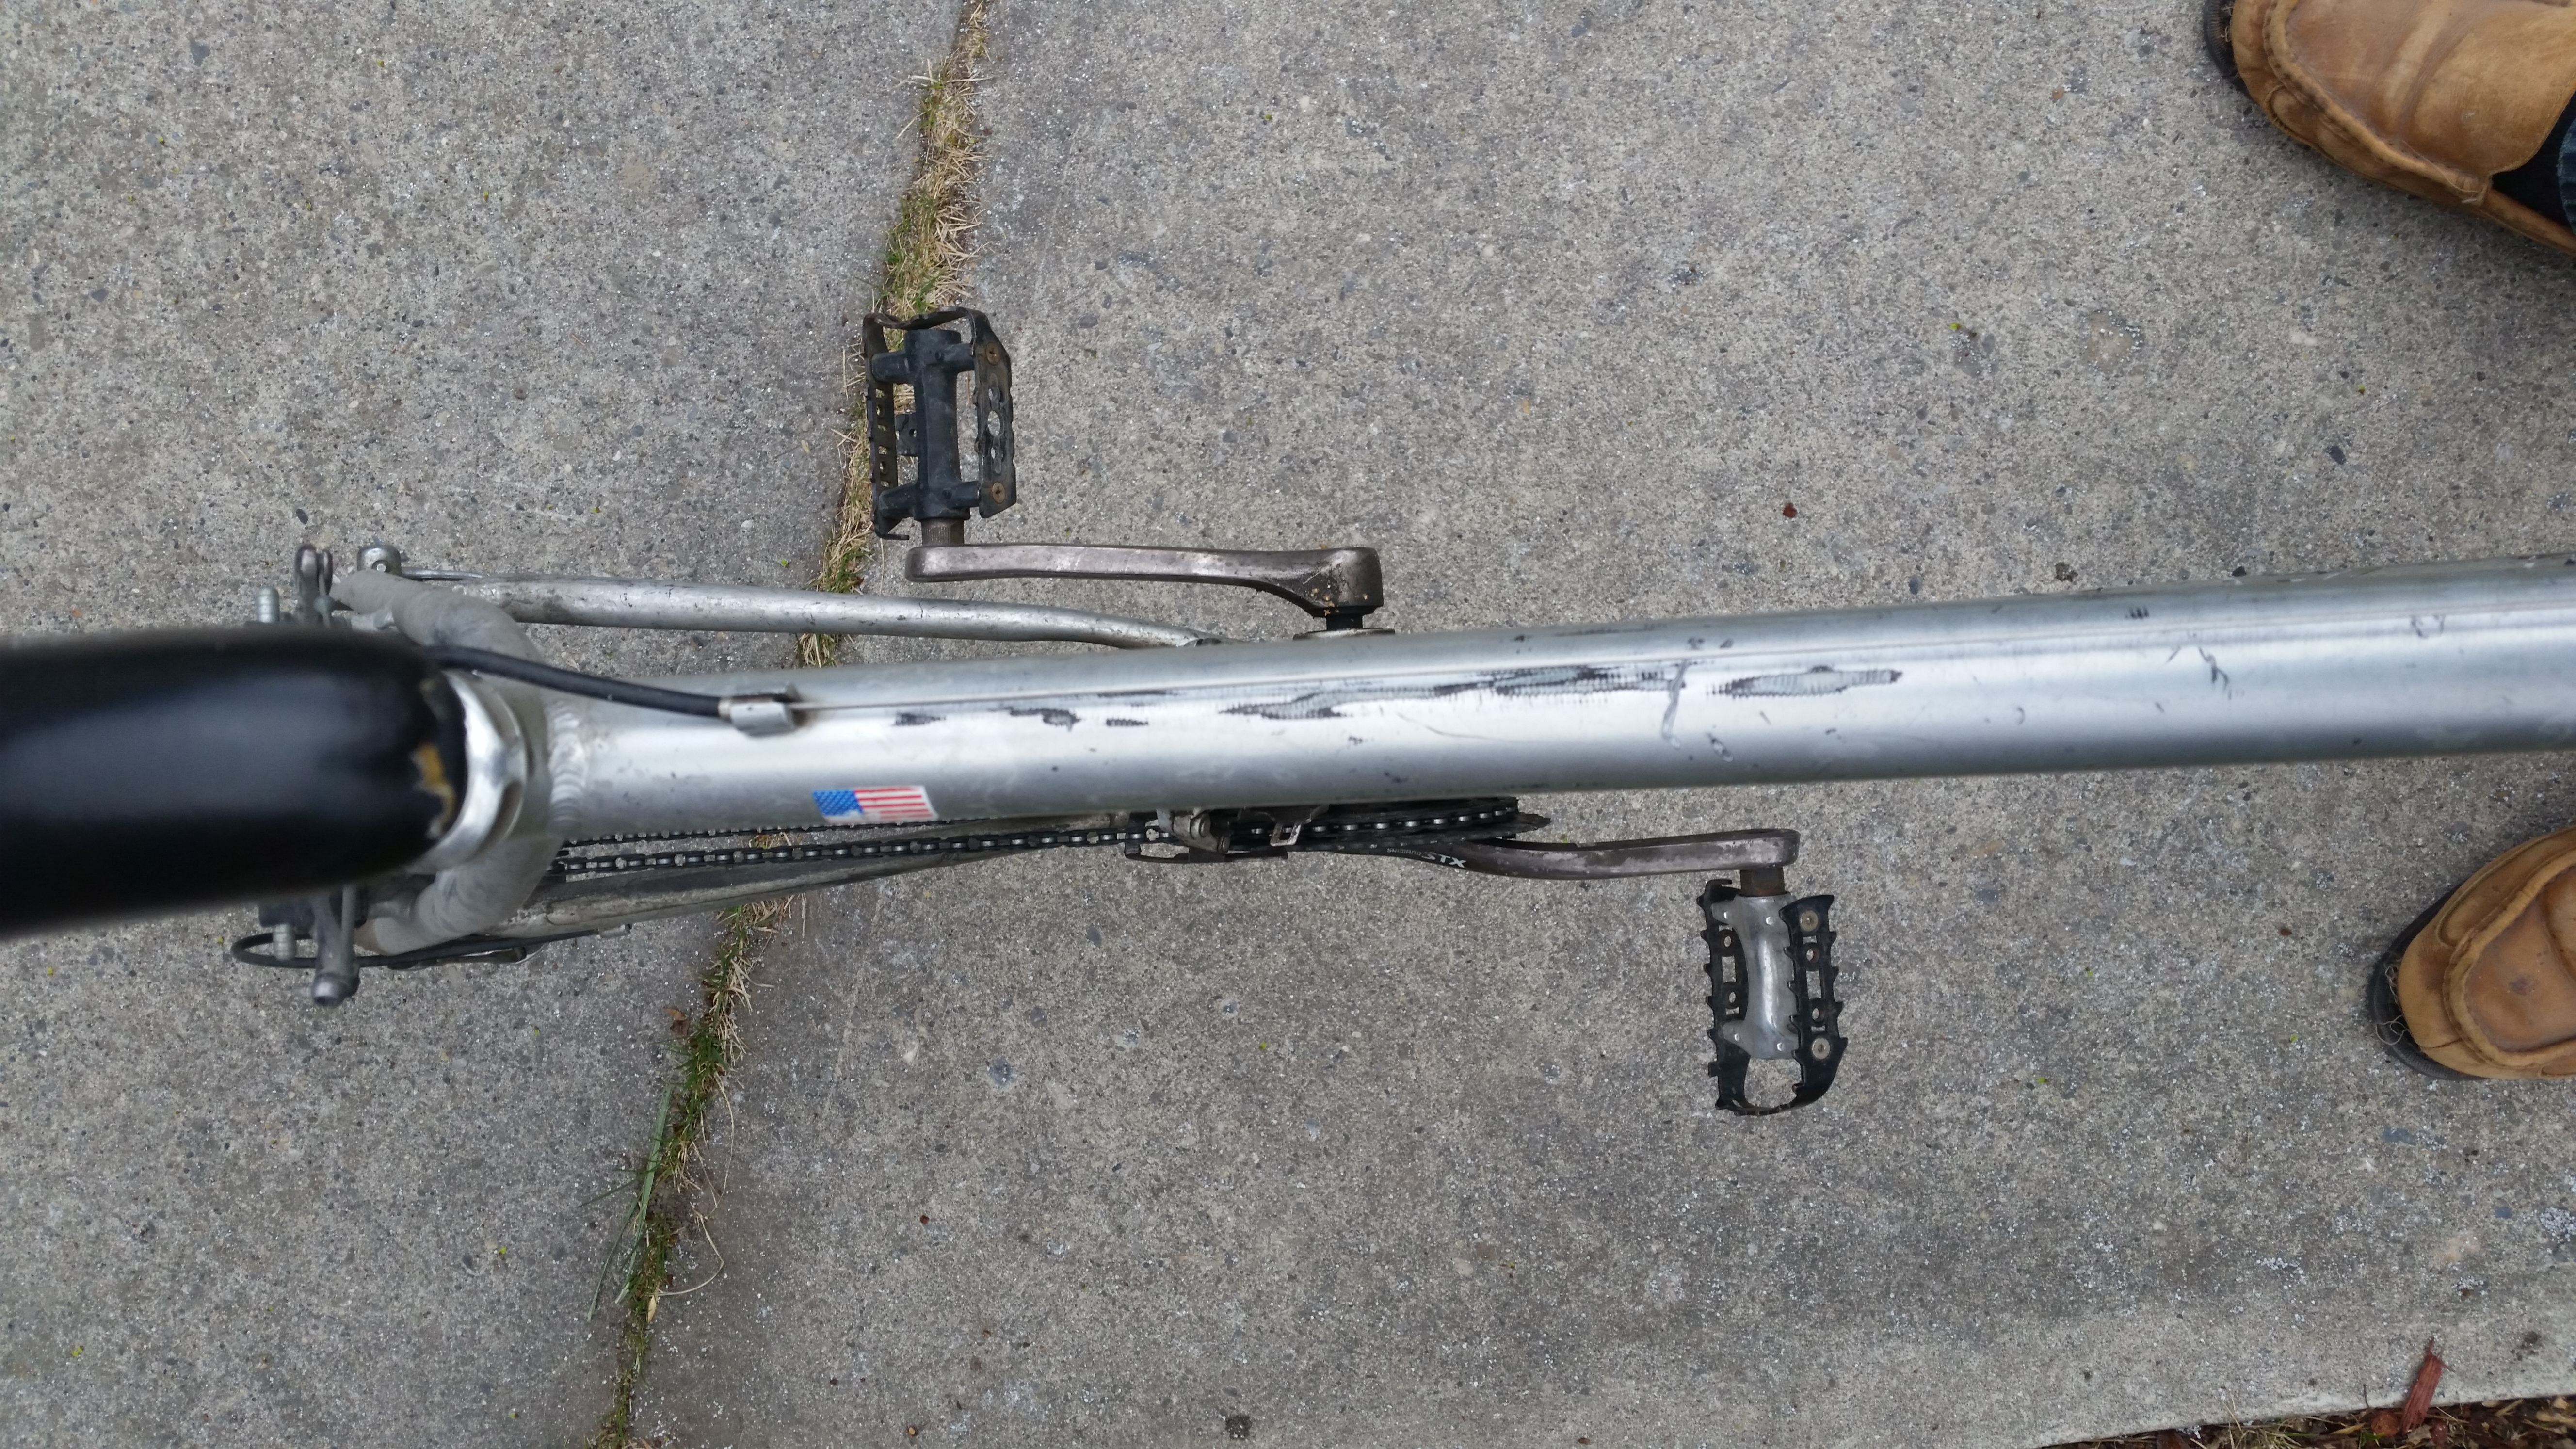
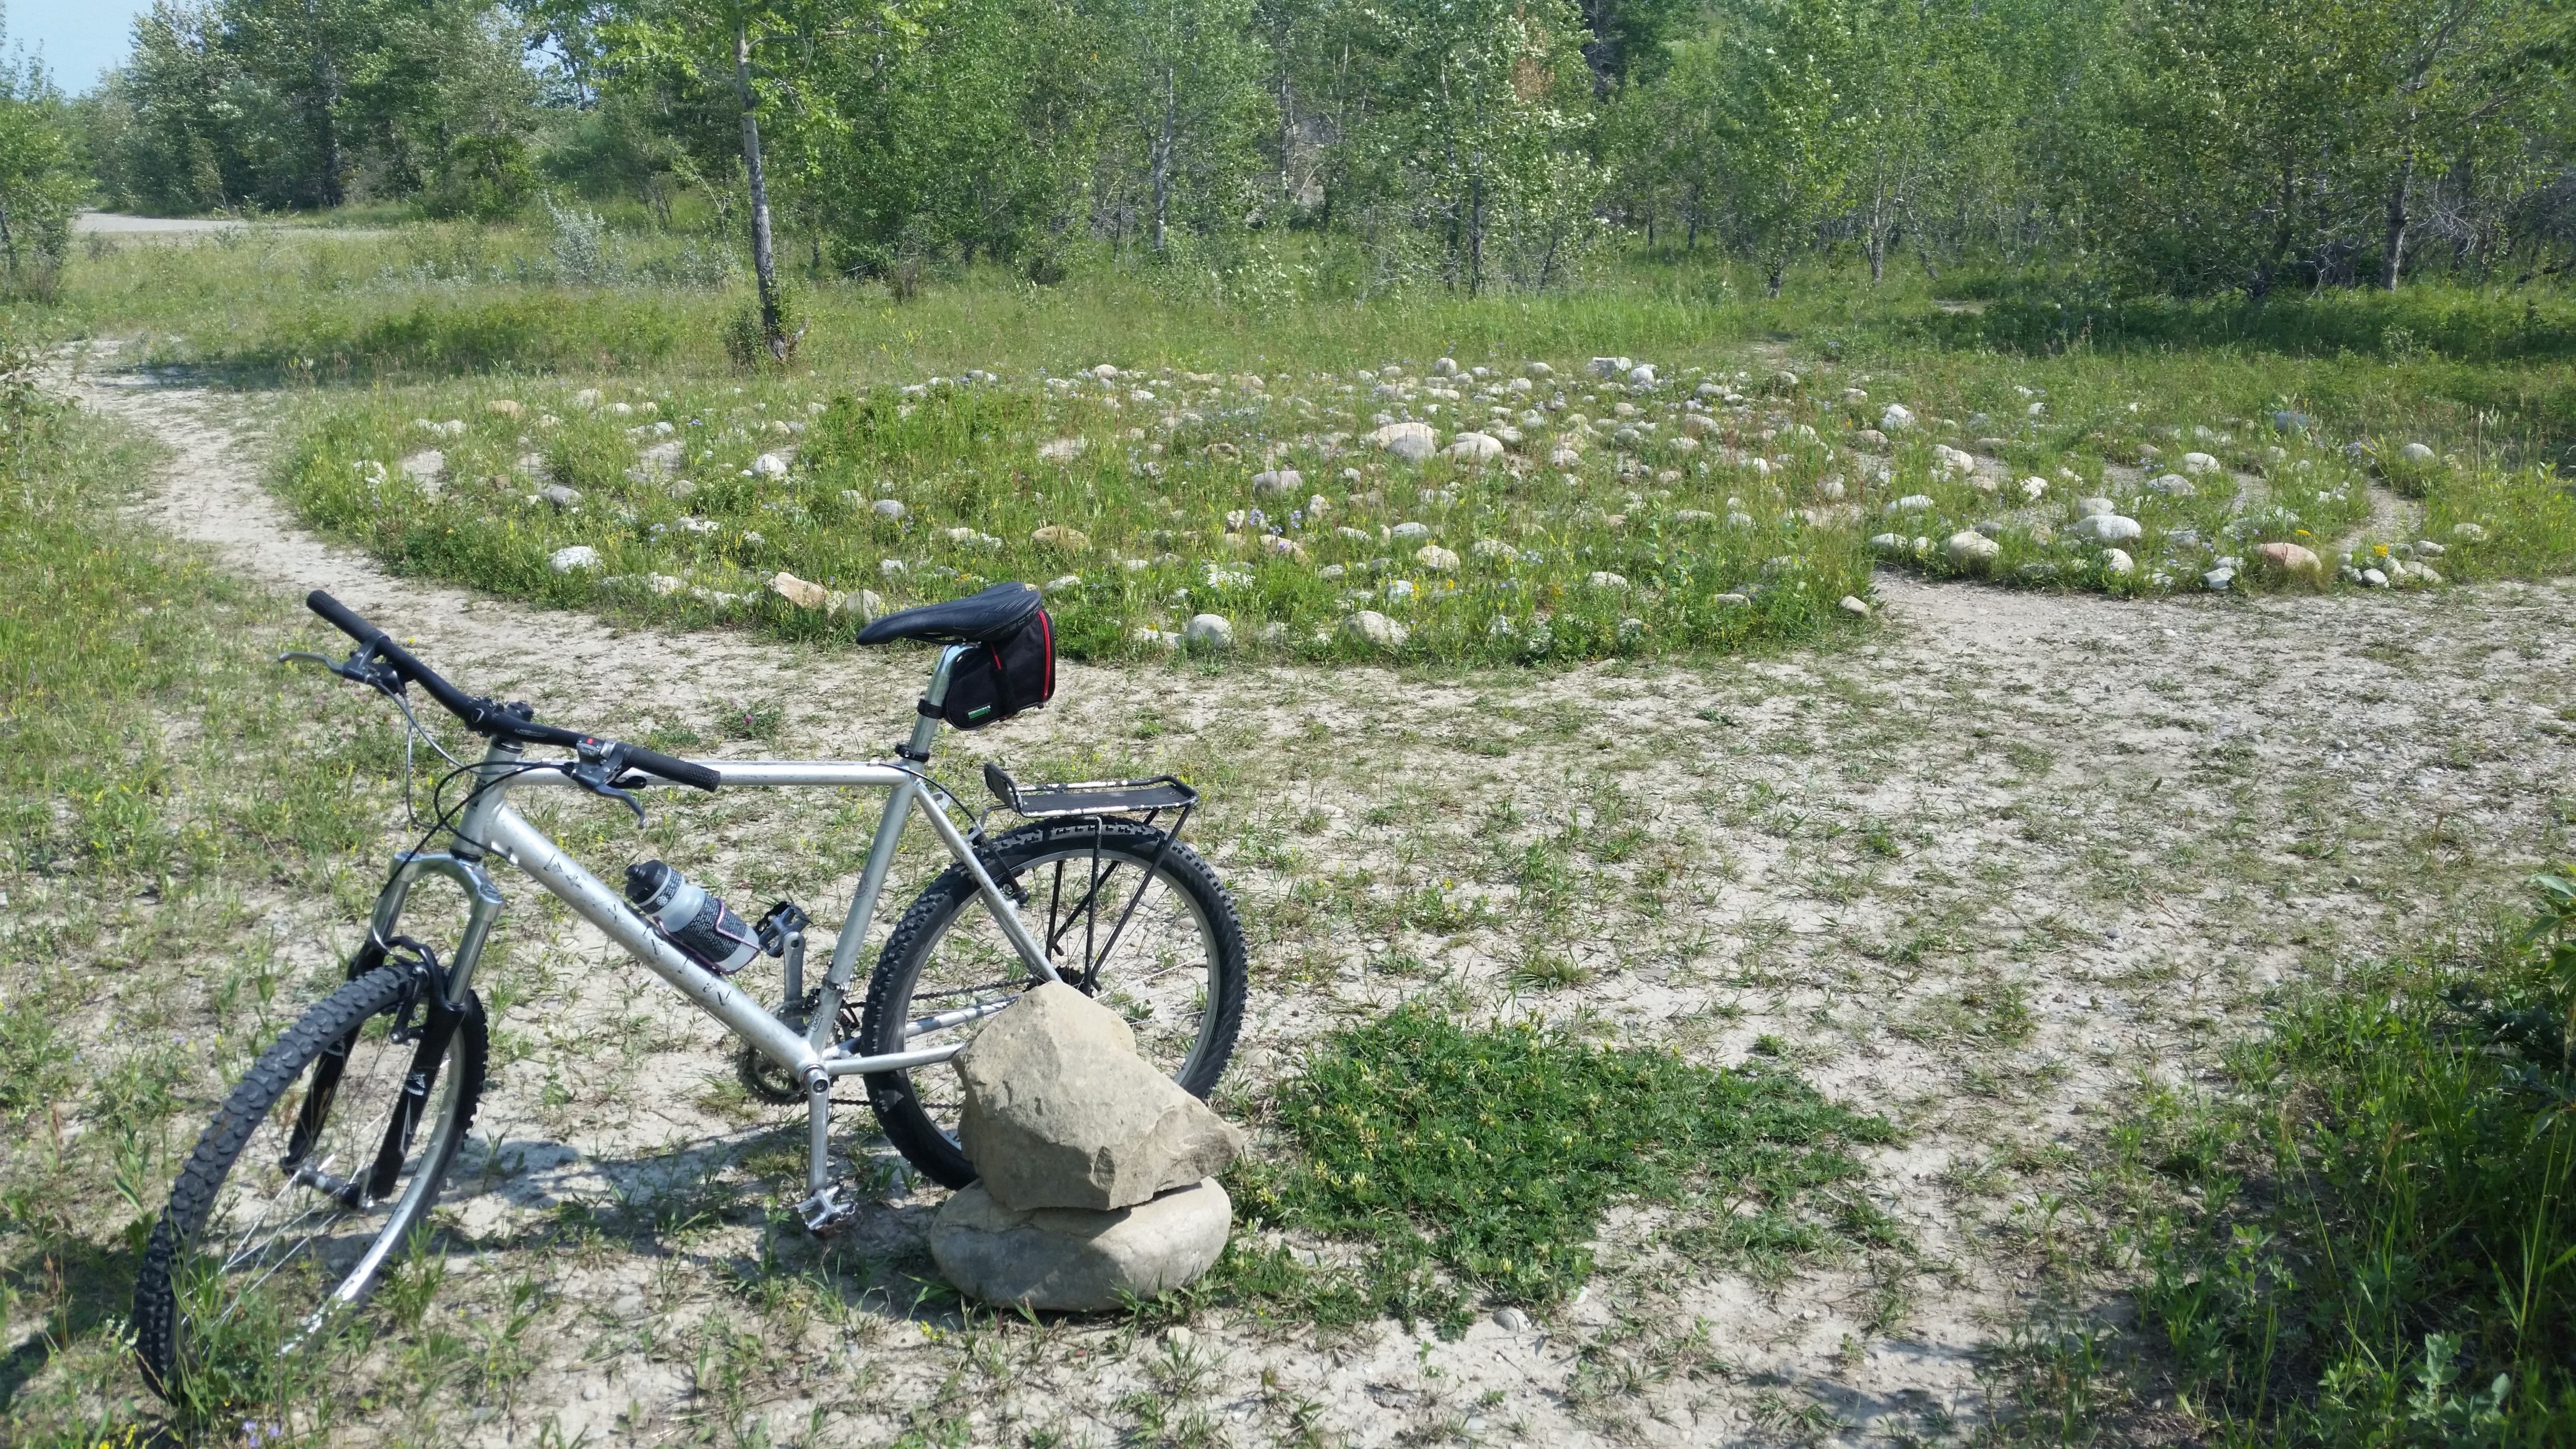
The cassette that came with that bike had an abnormally large sprocket for its lowest gear. As a result, the chain was a little tricky to tension. I ended up needing to swap to a different derailleur to get enough clearance from the cassette. But in the end, I got it working, and the picture below illustrates how silly the gearing really is. The rear sprocket is actually significantly larger than the front one, something that I had never experienced before. I tried it on the large hill on my commute home, and found I could trivialize it pretty easily with the lower gearing.
I was excited to get a chance to go out and test the bike on some steeper trails.

I took some pictures, got made fun of for how embarrassing this bike looks, and joked that if I wanted to keep it, I should repaint it red with the Ford F-150 logo on the downtube.
Revisions and Discovering the Bike Co-op
Trug was pretty terrible to ride. The cassette was installed with an improper lockring (and wasn’t easily removable, since the cassette was the wrong size) so the highest gear would skip around. The right shifter was still sticky and dodgy, despite taking it apart and cleaning it up. The geometry was all wrong, and the mechanical disc brake had seen better days.
It was at this point that I made a pretty important discovery, one that I’m embarrassed I hadn’t made earlier: There is a local bike co-op within cycling distance of my house. It’s a university organization. I found it by accident on my way to grab food, and I stopped in a few minutes before the volunteer closed it down. When I was there, I took this extremely blurry photo:

I looked at their website - parts that would have cost me tens or hundreds of dollars new at bike shops were available secondhand in parts bins for $5 a piece. This was way more my speed - I suddenly realized that I’d barely have use for back alley bikes any more. Instead, I’d be able to take them here for teardown.
Maybe here I’d be able to get the pivot bolts I needed.
I made an appointment, came in a couple days later to do some work on another bike, bought a seatpost and a dual-pivot rim brake caliper, paid for a year-long membership, and dug through their free frames and forks until I found the pivot bolts I needed. My total bill was $20. All I could think was that this was a total game changer - I was in heaven.
It’s like someone heard and responded to all my frustrations with bike shops. Here were a bunch of volunteers tearing down, sorting, refurbishing, and building bikes for the community, selling them at low prices and offering free assistance in fixing up bikes. Organizations like this make biking accessible in a way that bike shops don’t. Plus, everyone there is super friendly and eager to talk about their projects. I’d really like to volunteer there regularly, if work permits. Even if that doesn’t work out, I’ll still be showing up regularly. It’s going to be an invaluable resource.
Anyways, I headed home to see if my pivot bolts would work.
With that, I swapped my roommate’s wheel out for my own, and ditched the dodgy mechanical disc brake.


With that, I deemed the bike “Done for now” which is as done as any bike can be.
Taking it Offroad
A long weekend rolled around, and early on a Monday morning I finally took Trug to the large park in the northwest quadrant of my city. The park in question is named after its huge hill, and it’s got some steep climbs and nice views of the city. Plus quite a few little routes that I could use to test out my suspension. I was curious how steep of a hill I could climb.
A month or so prior to building this bike, I had visited this park on my commuter. Having a rigid fork and road tires made it a little dicey, and the bike got mired in the mud quite a bit. But it was a lot of fun, and I vowed to come back when I had built a bike more suited to the terrain.
Unfortunately, the bike I built was very silly. The steering angle felt strange with the lifted front and short stem, so it was a bit over-responsive. The climbing gears were great, but the front was so lifted and the gearing had so much torque that if the hill was too steep, the bike would pull a wheelie and I’d end up dismounting off the back. If I wanted to climb any serious incline I had to lean super far forward. Plus, being so top-heavy meant that descents felt fairly dangerous.
It was still a very nice ride, however. As someone who really only rides around the city, I finally got a taste of what trail riding would be like. Who knew that riding down a dirt path surrounded by greenery on all sides was so much nicer than cycling through traffic? Someone should have told me earlier.

Ultimately the biggest thing wrong with the bike was the geometry. Fixing that would mean finding a new frame. So at the end of all this, Trug is going to be disassembled, and rebuild as a much more sensible bike. Maybe I’ll keep the name, maybe not. Either way, this was a valuable learning experience for me. It turns out that mountain bike frame geometry matters.
I think my next step is to find a frame that fits me and is actually designed for a front suspension fork, and then I’ll transplant all the parts over and maybe pick up a longer stem while I’m at it. I see quite a few trips to the bicycle co-op in my future, and I’m excited to just keep making incremental changes until I finally get something that really fits me.
Then maybe I’ll paint it red and slap an F-150 logo on it. I still think that’d be funny.
| Item | Cost |
|---|---|
| Marin Mountain Bike | $0 |
| Front Suspension Fork | $0 |
| V-brake Pivot Bolts | $0 |
| New Chain | $13 |
| New Seatpost Clamp | $5 |
| New Cables | $15 |
| Total | $33 |