The Peugeot Club UO5
Tagged: bike diy projectThis spring I stumbled upon an estate sale while riding over to meet some friends. I took what I thought would be a quick detour to check it out.
The first thing I saw was the only thing I purchased. It was an old road bike, missing its handlebars and brake levers, among other things. Parts of it were dotted with rust, but it didn’t look too bad. I took one blurry photo and then dropped $40CAD on it. The people running the estate sale seemed amused. They were asking if I was going to restore it and I told them I would try.
I texted my friends I’d meet up with them later - I had to do the two-bike walk of shame for a few kilometers to get back home.

The first thing I did was try to determine what I had picked up. A visual inspection told me it was a vintage road bike, probably from the late 70s or early 80s - the lugged steel construction, 10 speed drivetrain, friction shifters, and 27" wheels were an indication of that. I did some googling and found this fantastic site with information about Canadian-made Peugeot bicycles. This is a Peugeot Club UO5, which is a lower-end road bike assembled in Canada in 1982 with parts imported from France. Nothing to rave about but a $40 price tag was certainly fair.
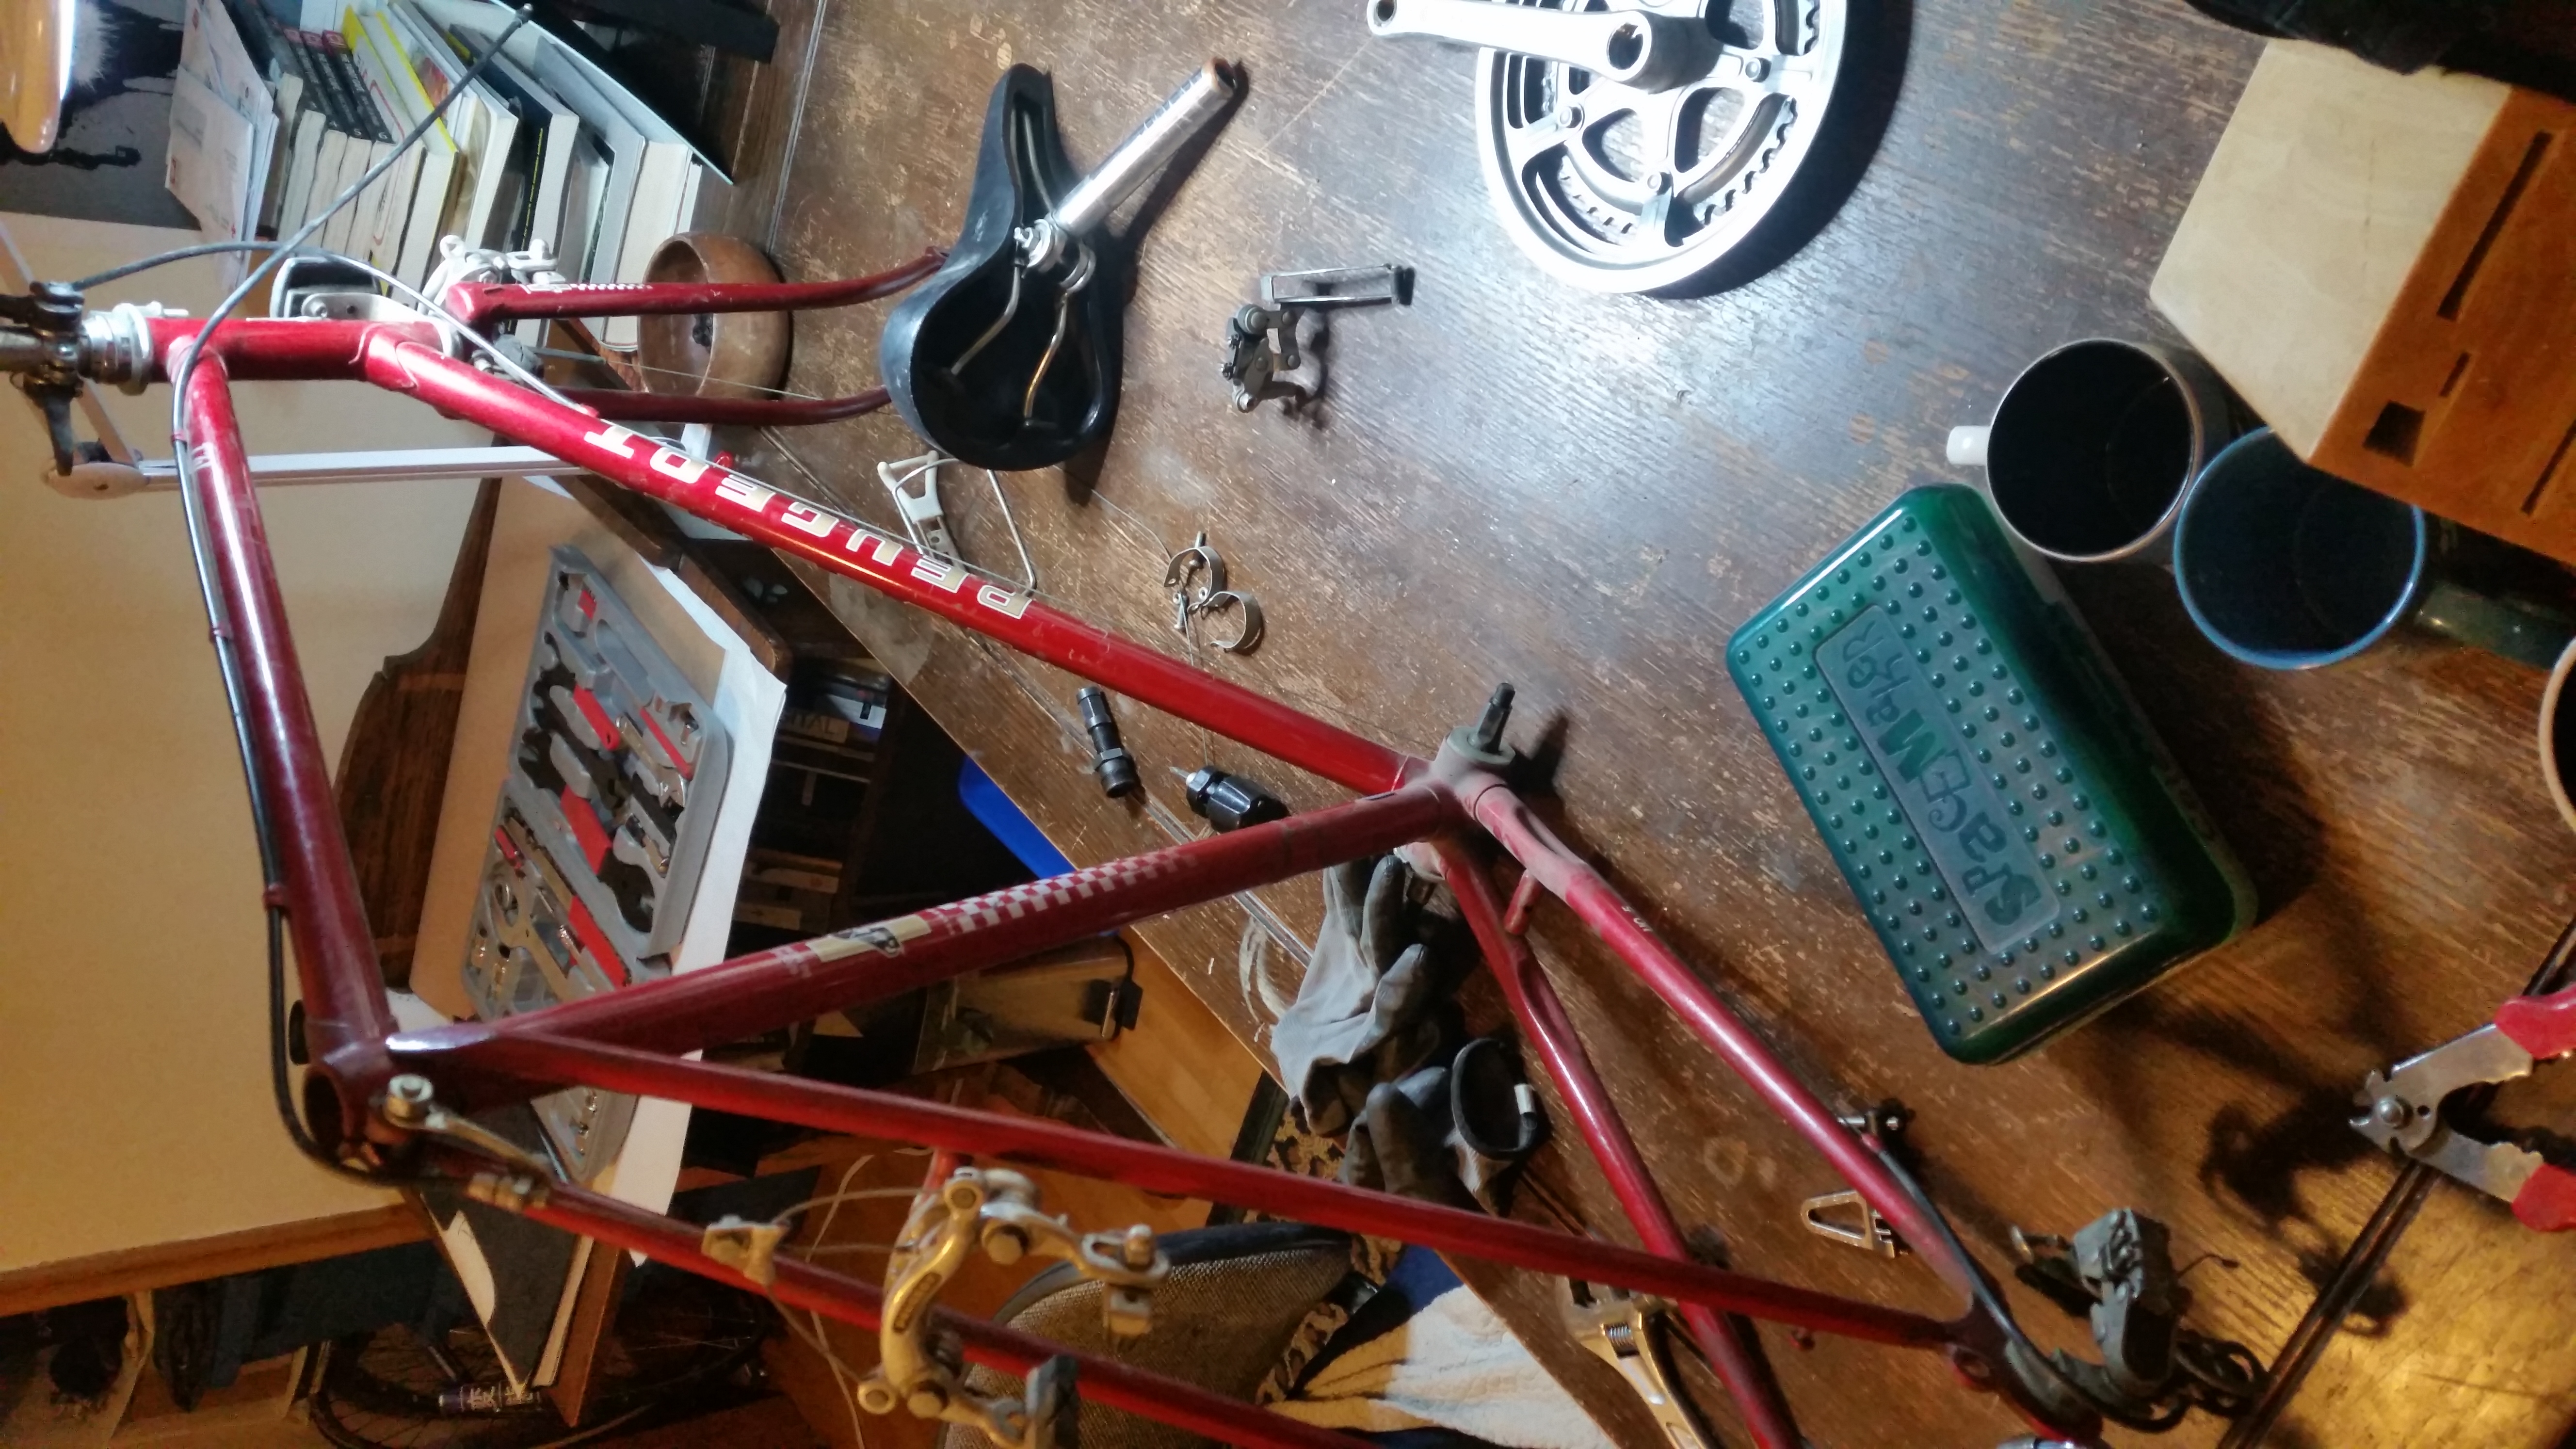
I got it home and started my usual process of disassembly and cleaning. I had the initial thought of stripping the paint off the lugs and polishing them (seeing posts about fancy lugged steel bikes on pinterest and instagram will fill you with that desire), but forum posts informed me that the lugs on lower end bicycles like this one likely wouldn’t hold a shine, and would be extremely prone to corrosion. Lower-end lugs are a far cry from the polished chromoly steel used to accent fancier bikes from that era.
Instead, I decided I would add some pizzazz by pinstriping the lugs. I bought a couple of paint pens from a local art supply shop and tried them out. Selection was limited - I had a white paint pen with a medium nib, and a fine gold paint pen.

I didn’t like the look of the white very much, so I took some isopropyl alcohol and removed it before it dried.


The gold pen tragically broke on me as I was working, so I ended up pouring the paint onto a palette, and using a small model brush to apply paint. The lines were much less neat, but still serviceable. Nobody’s commented on my sloppy brushwork yet.

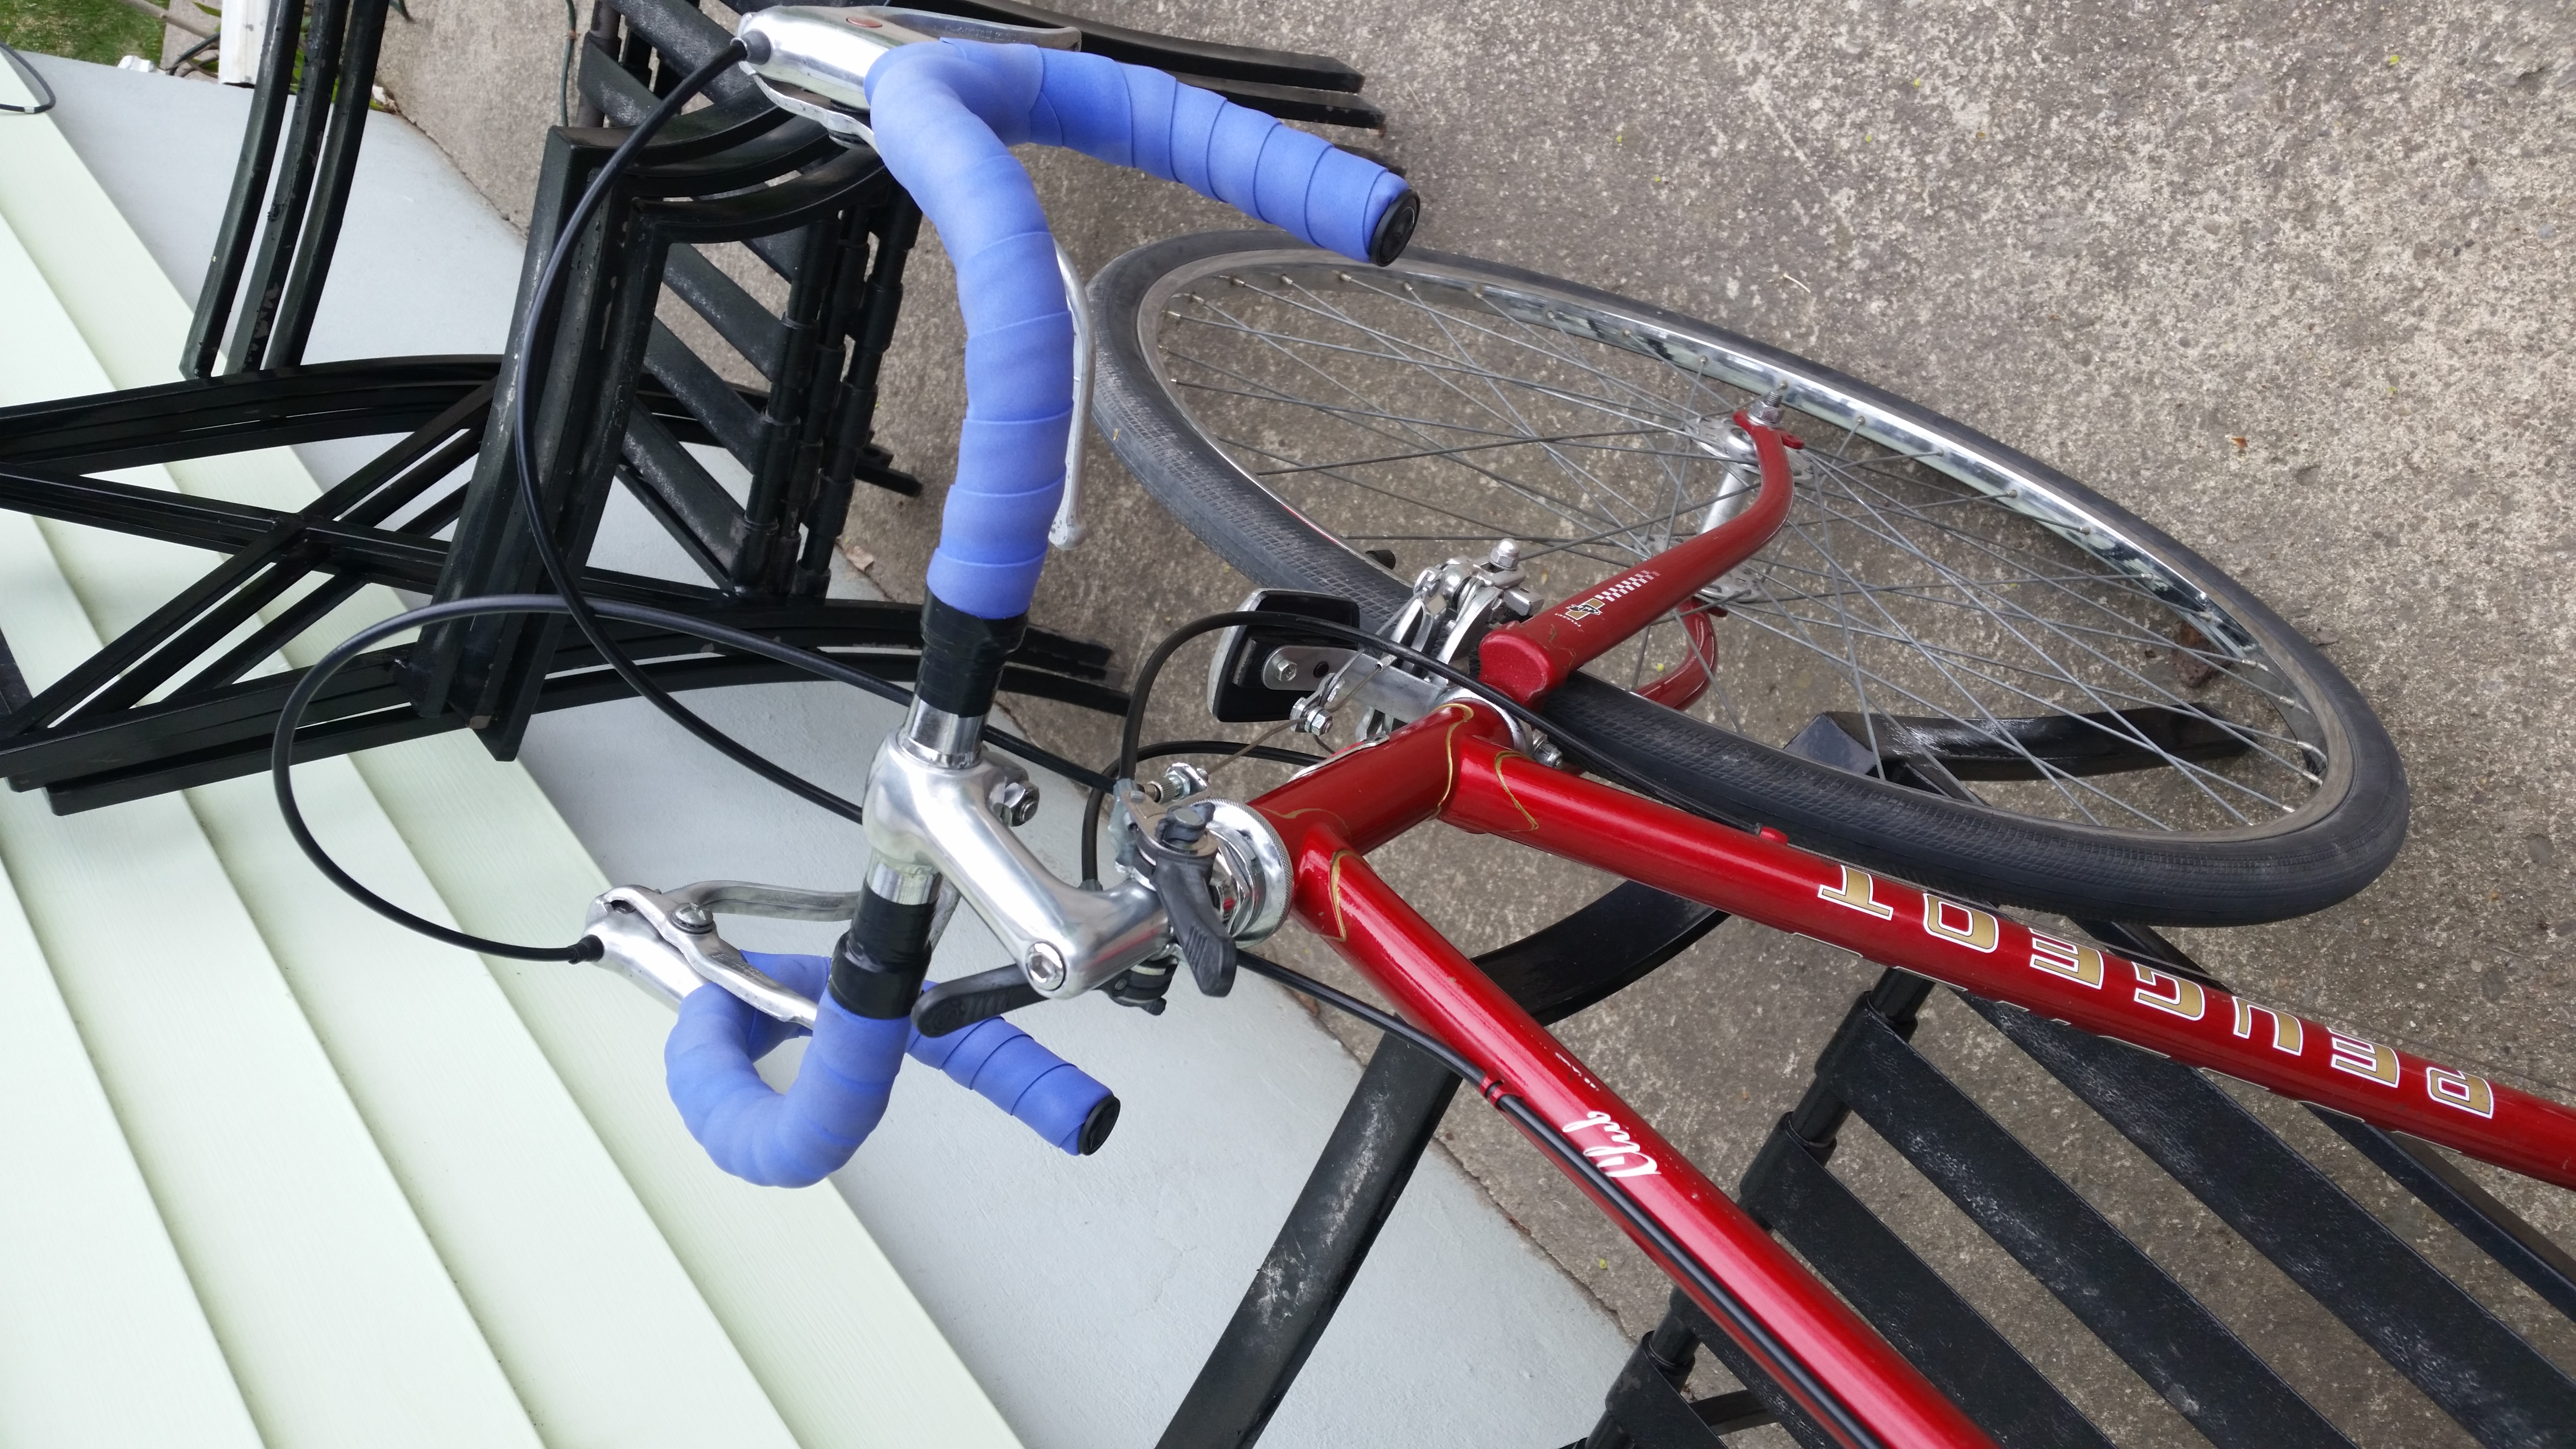
You may have noticed that the bike didn’t come with handlebars or brake levers. I’ve got a set that I found on an old road bike that had been discarded in a back alley. It was a single speed, sized for someone very very small. They’re a couple inches narrower than the stock bars, the idea being that the bike would be overall narrower and more comfortable on busy roads.

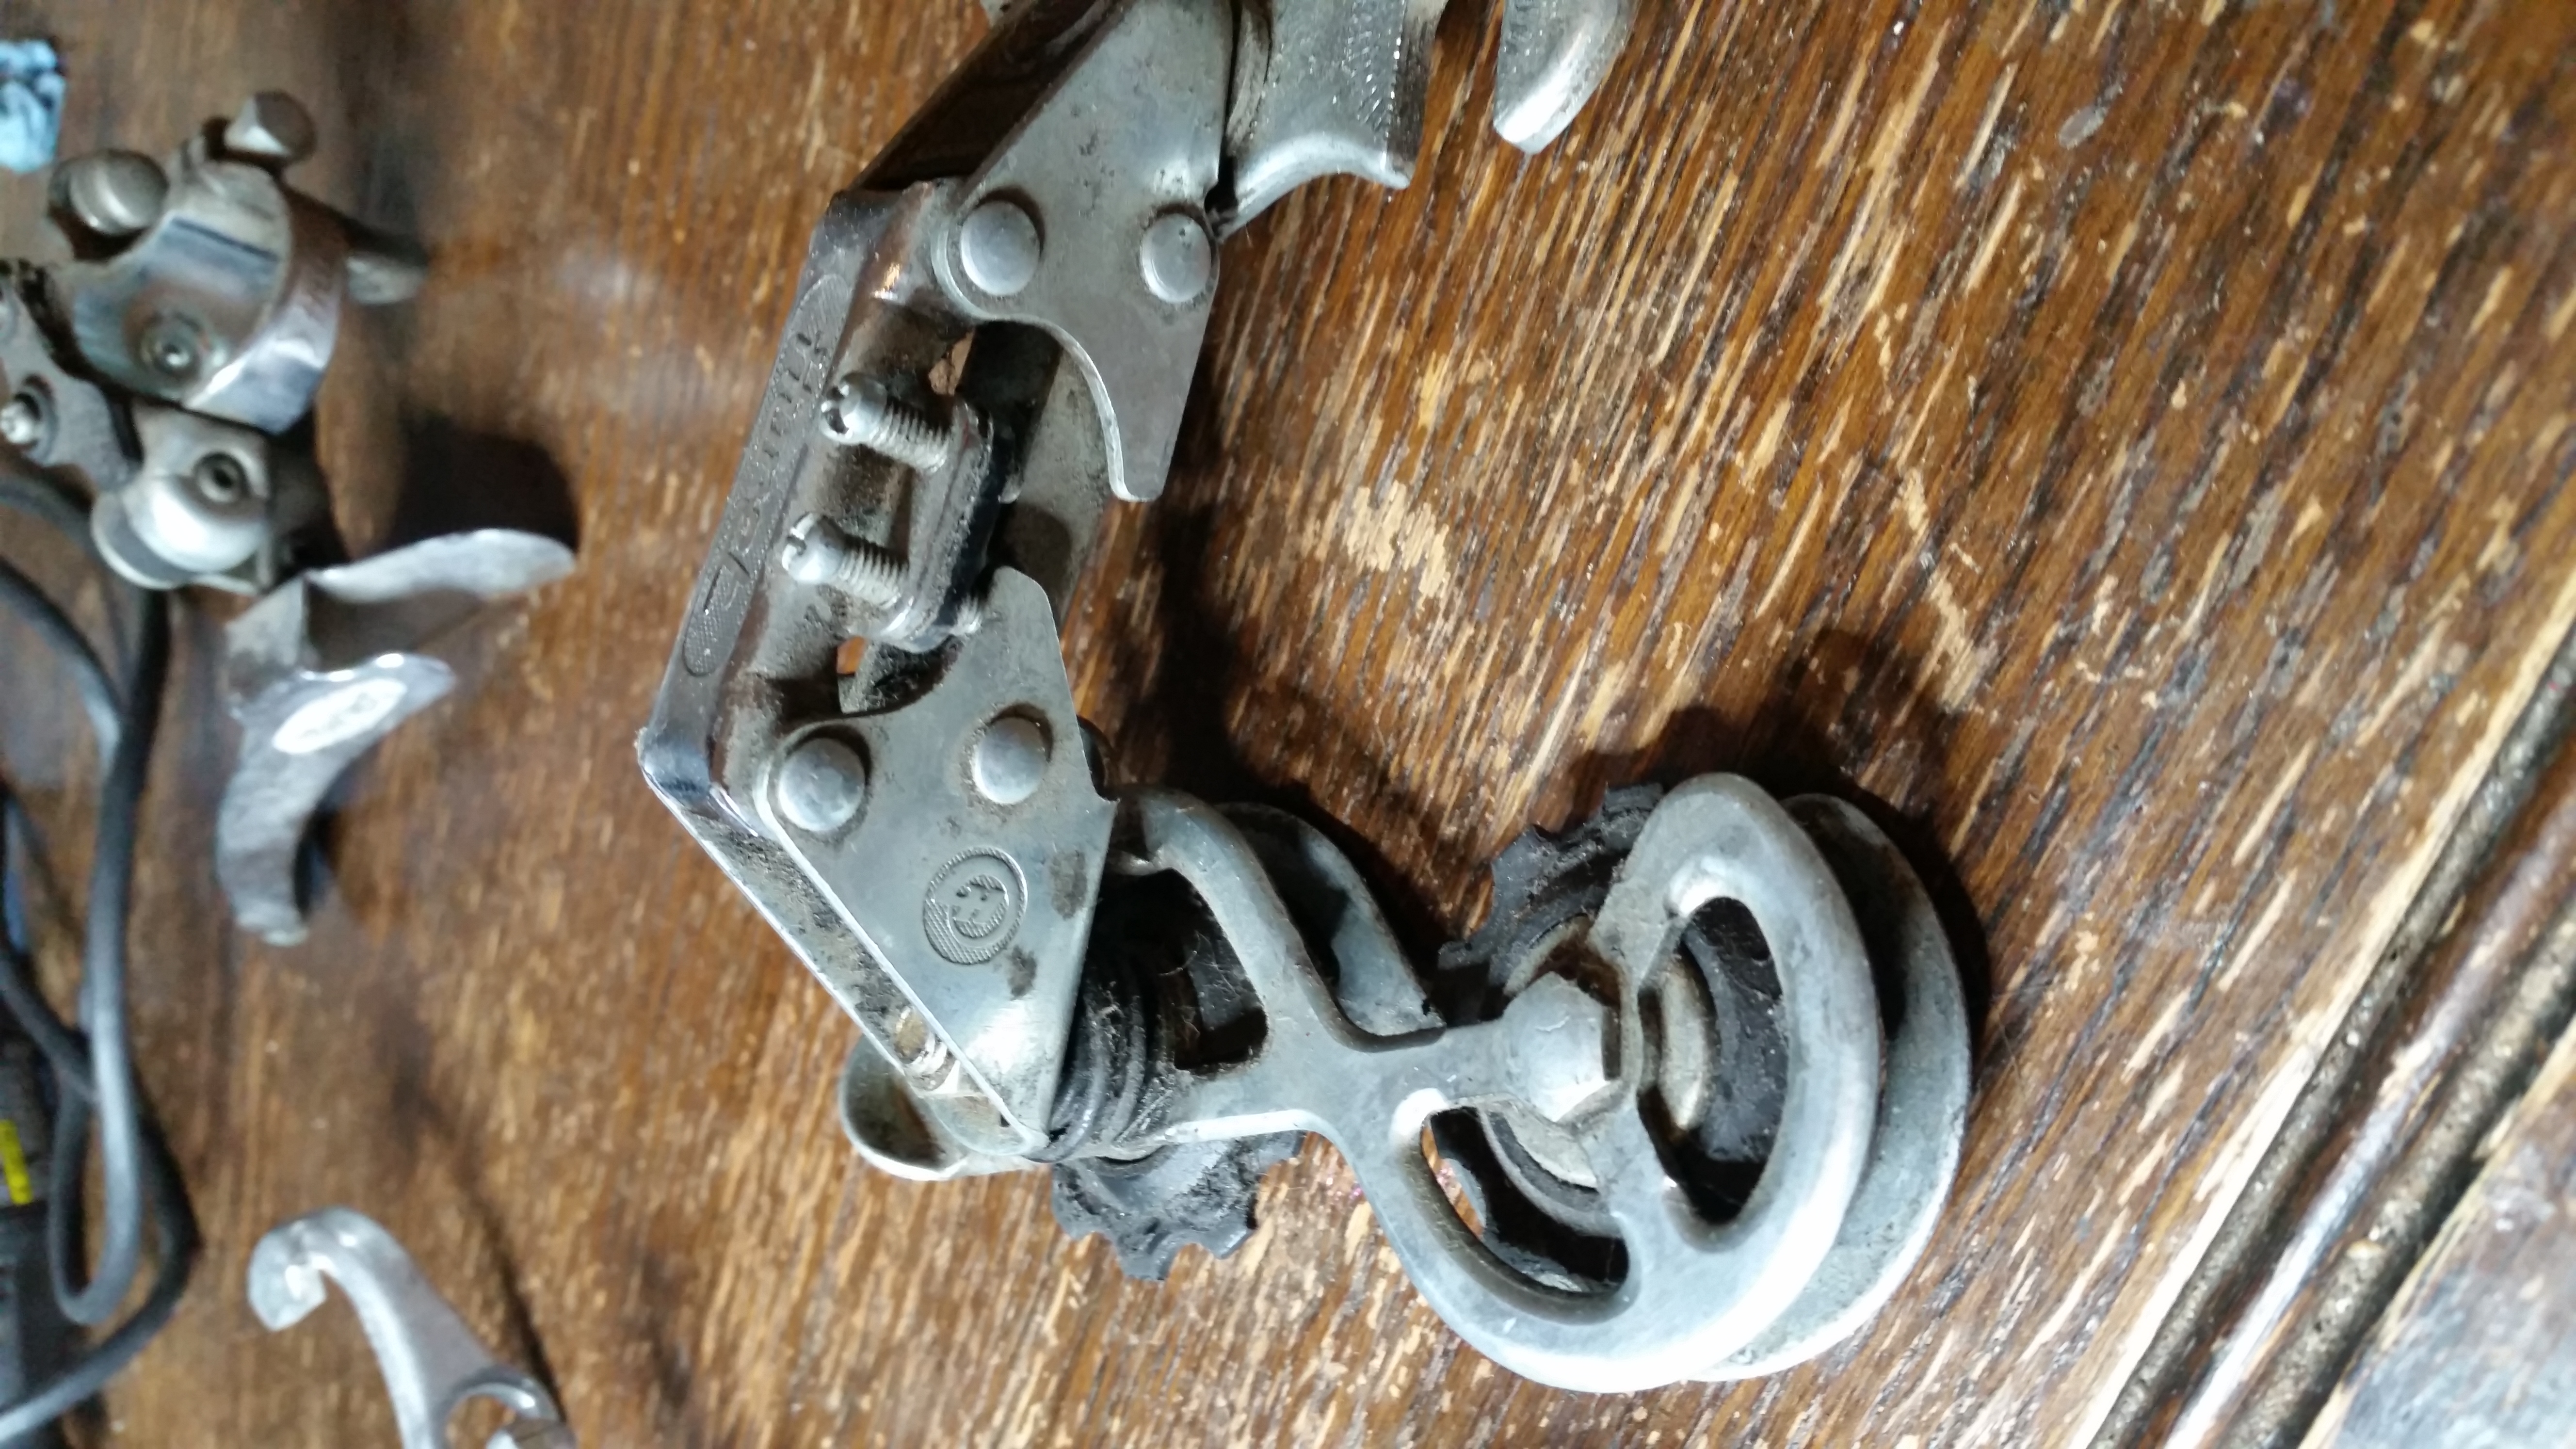
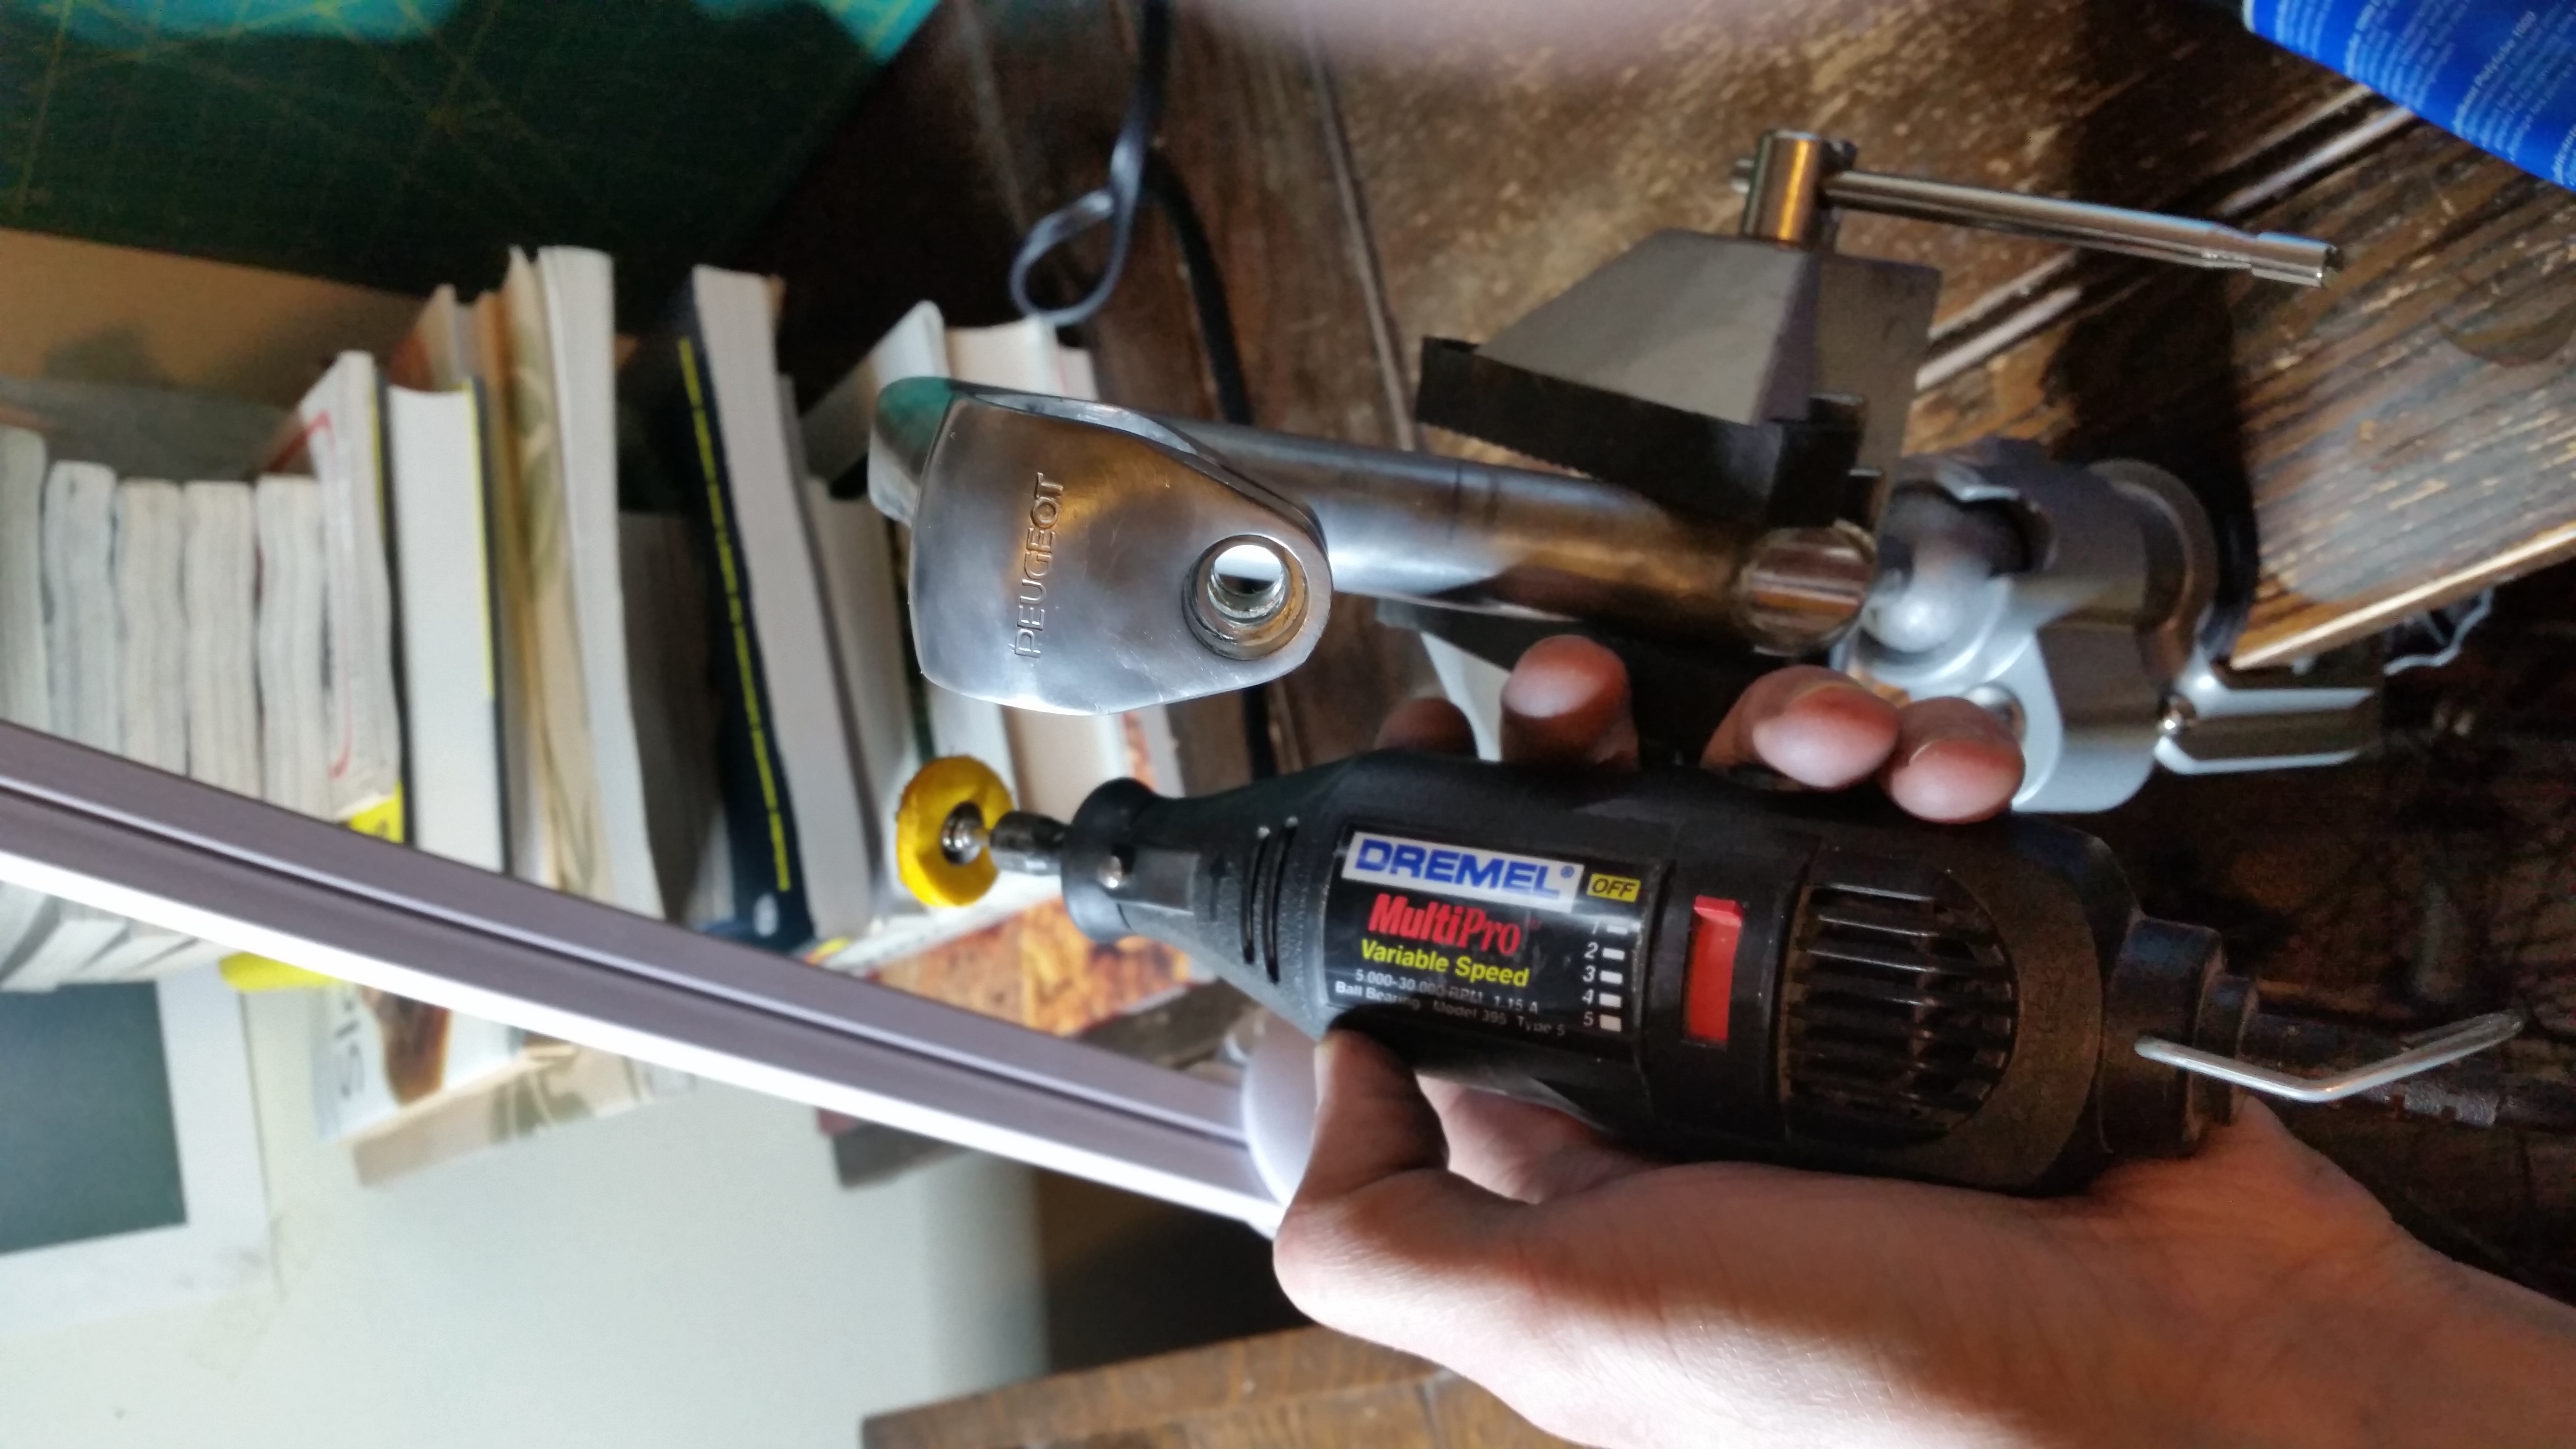
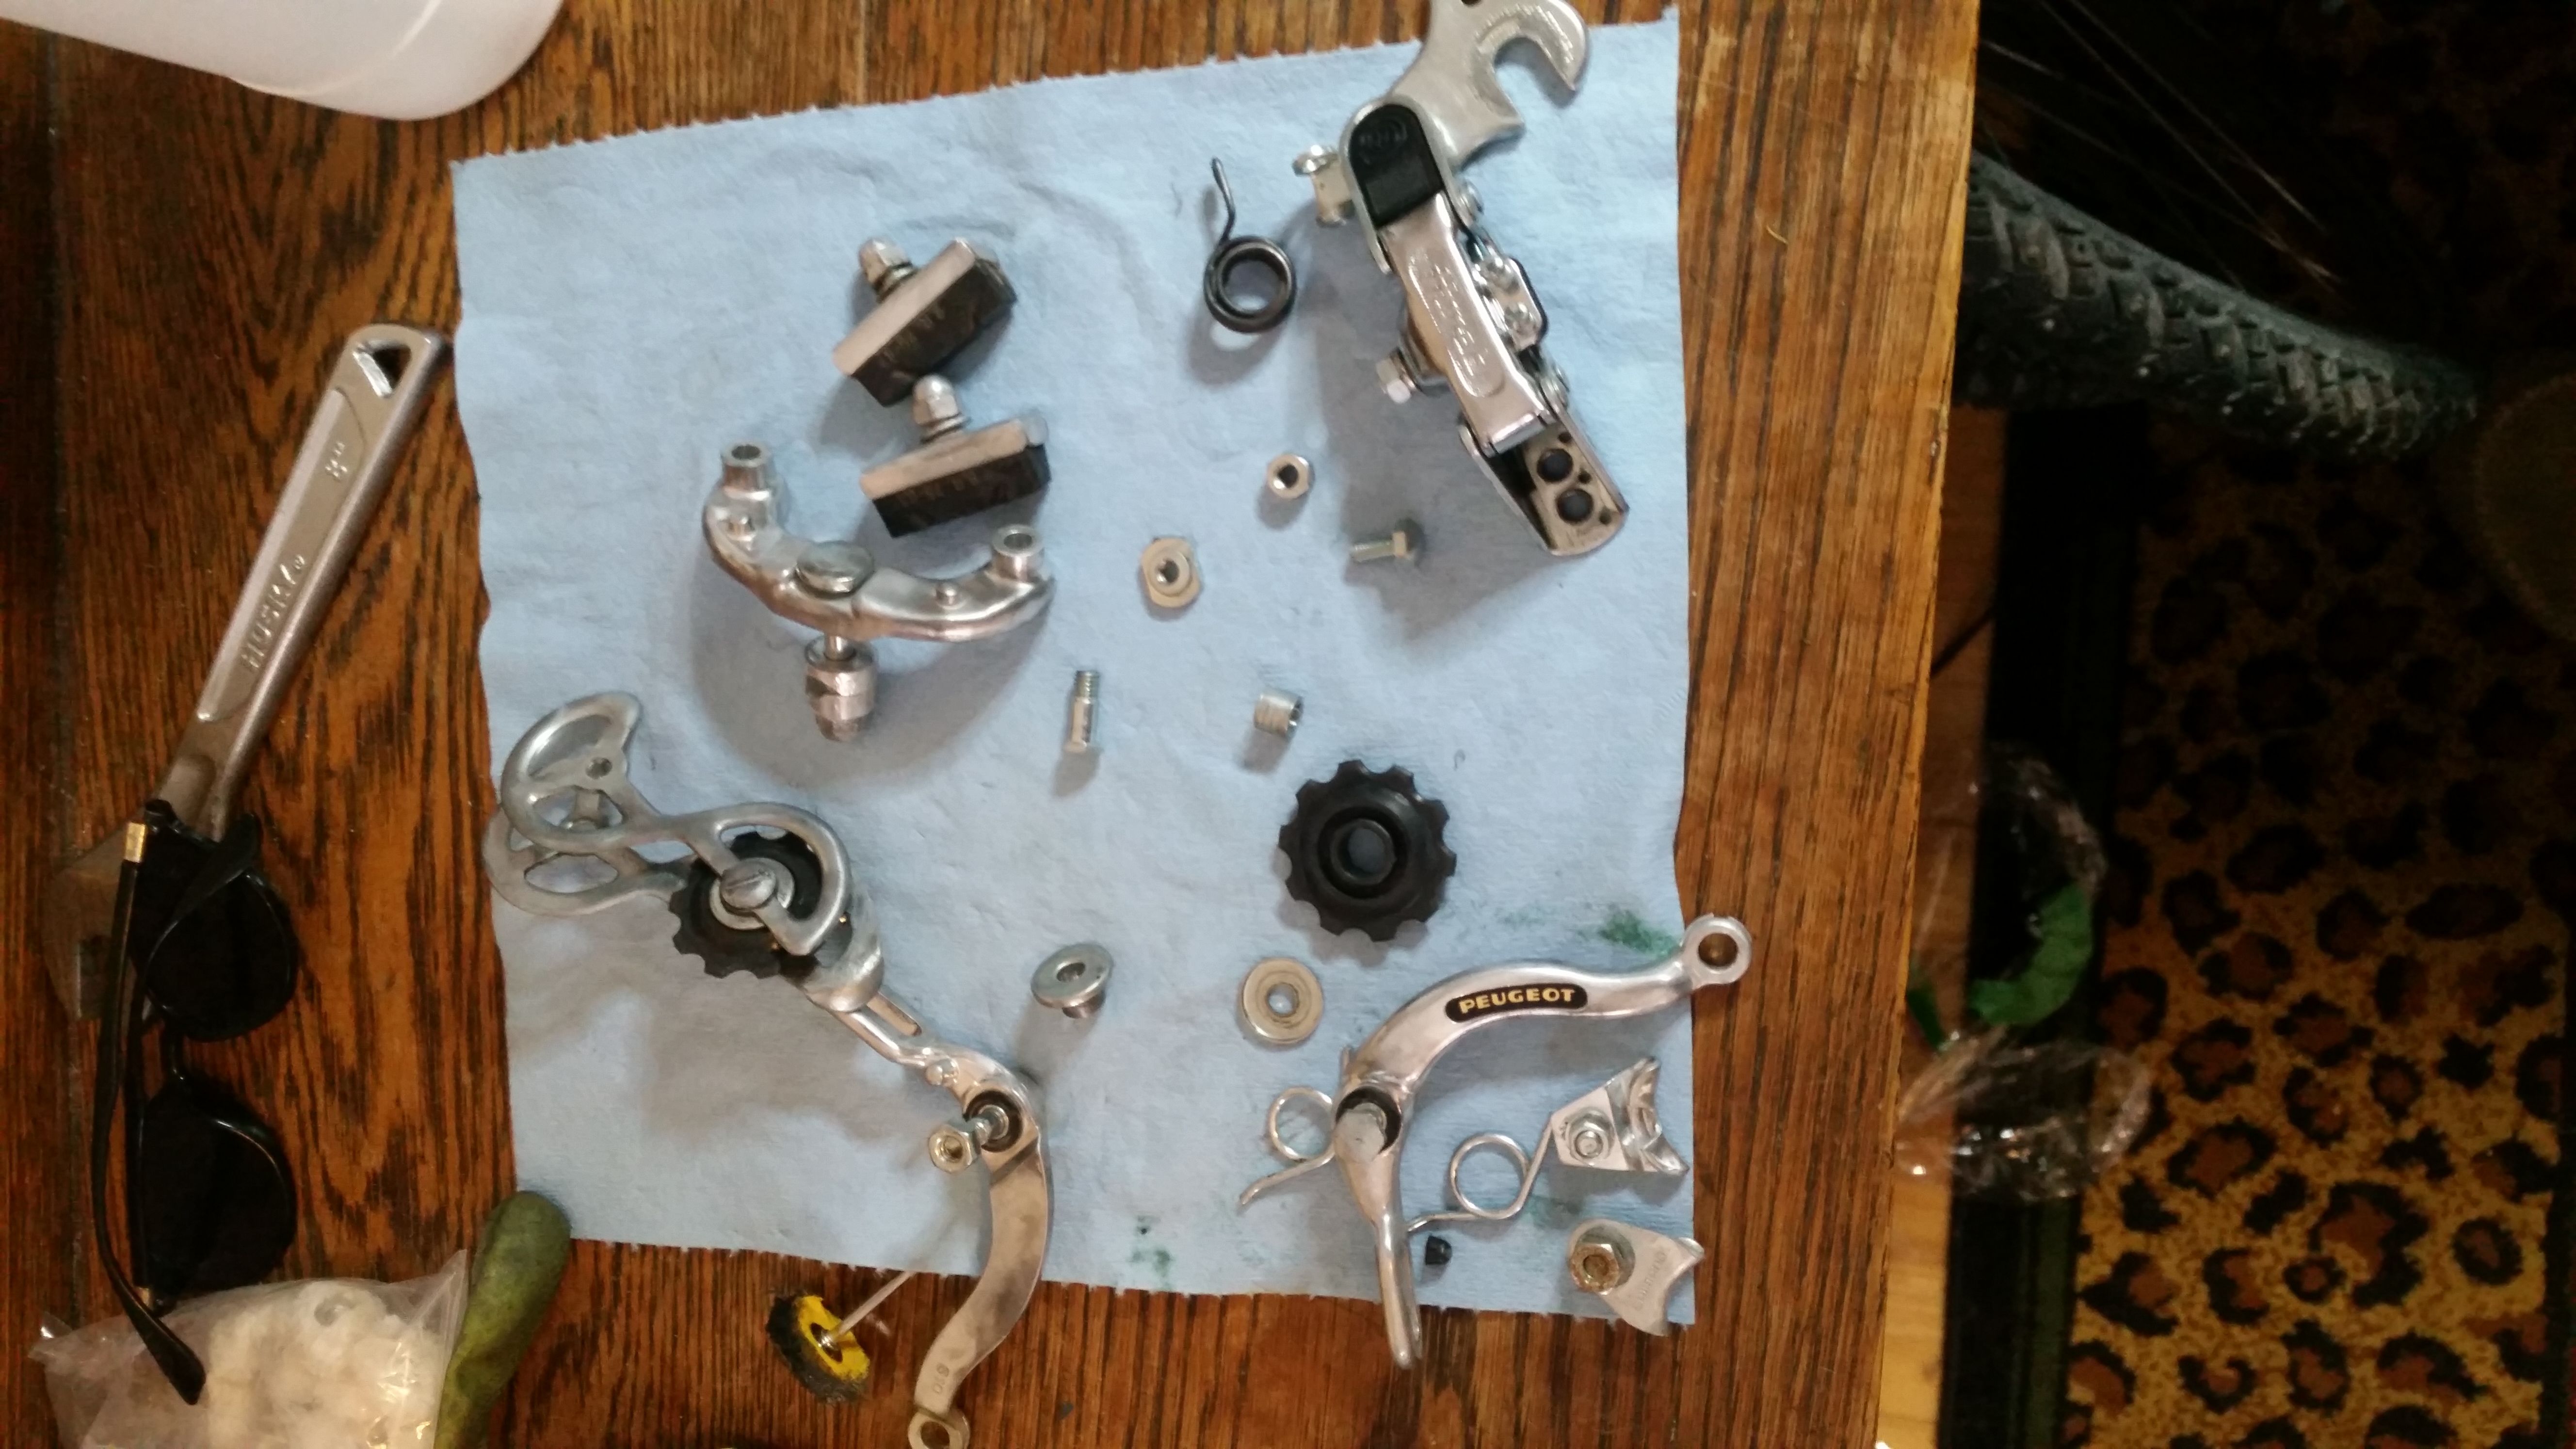
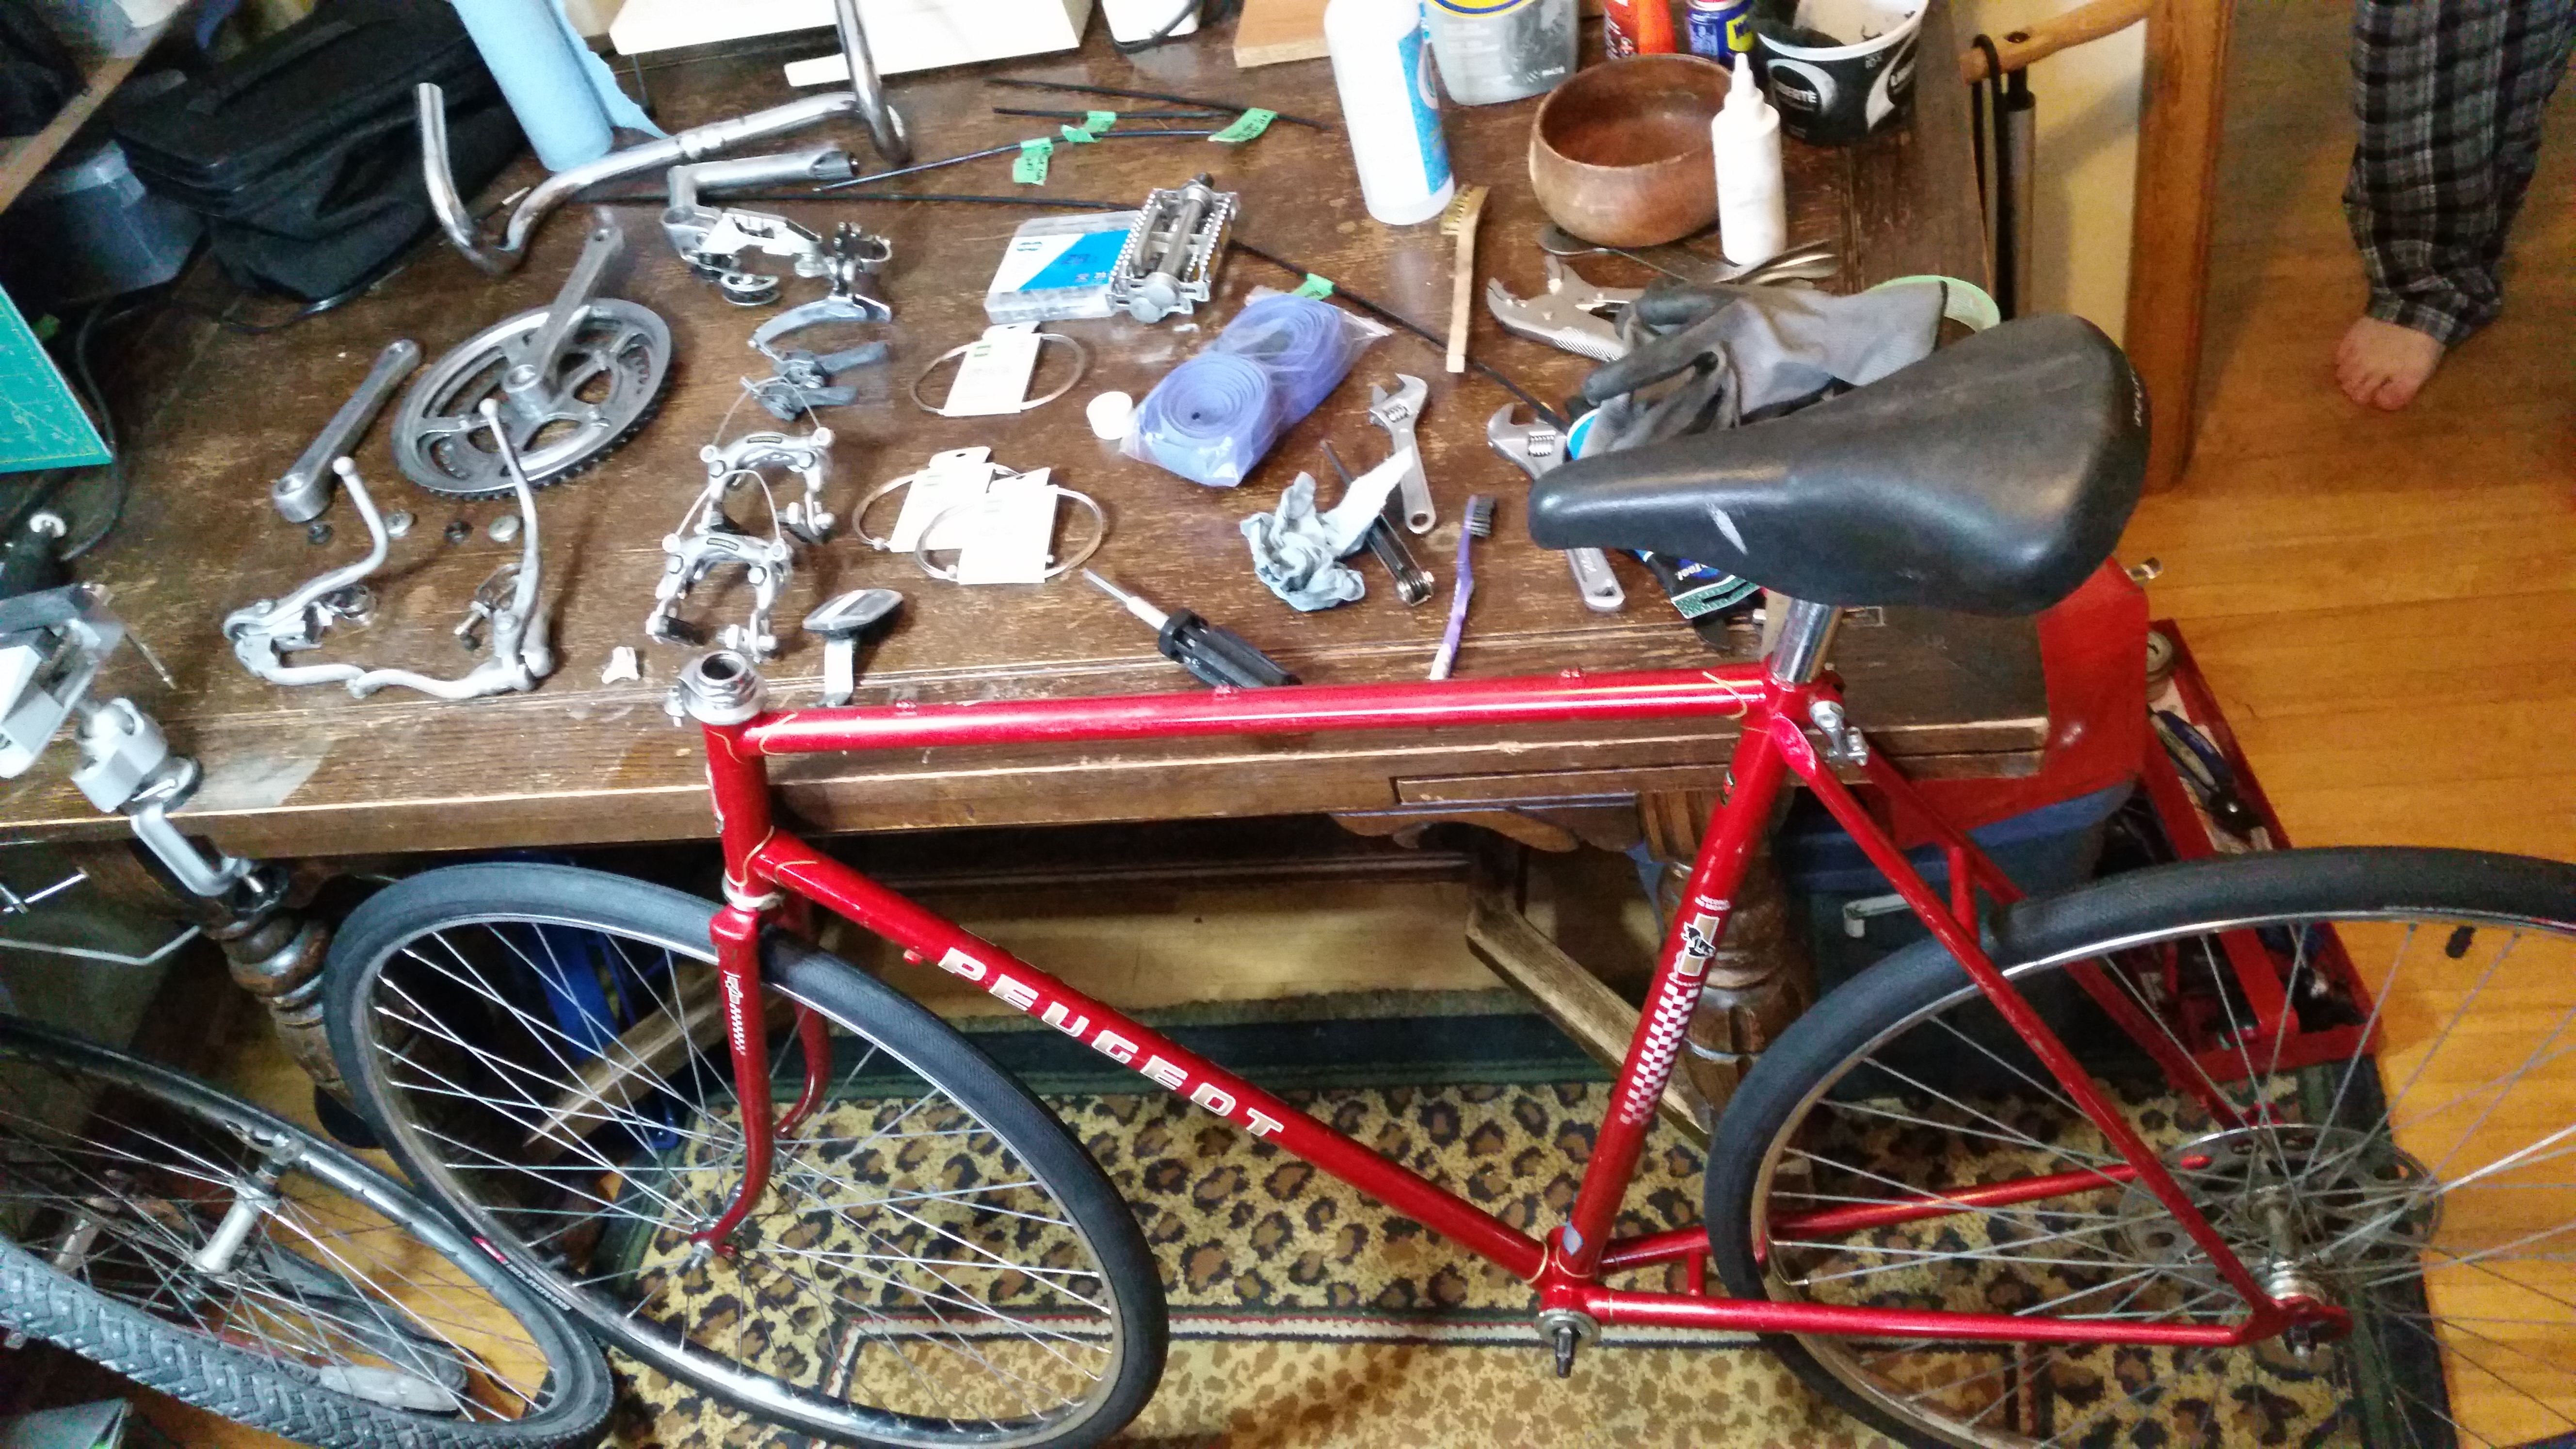
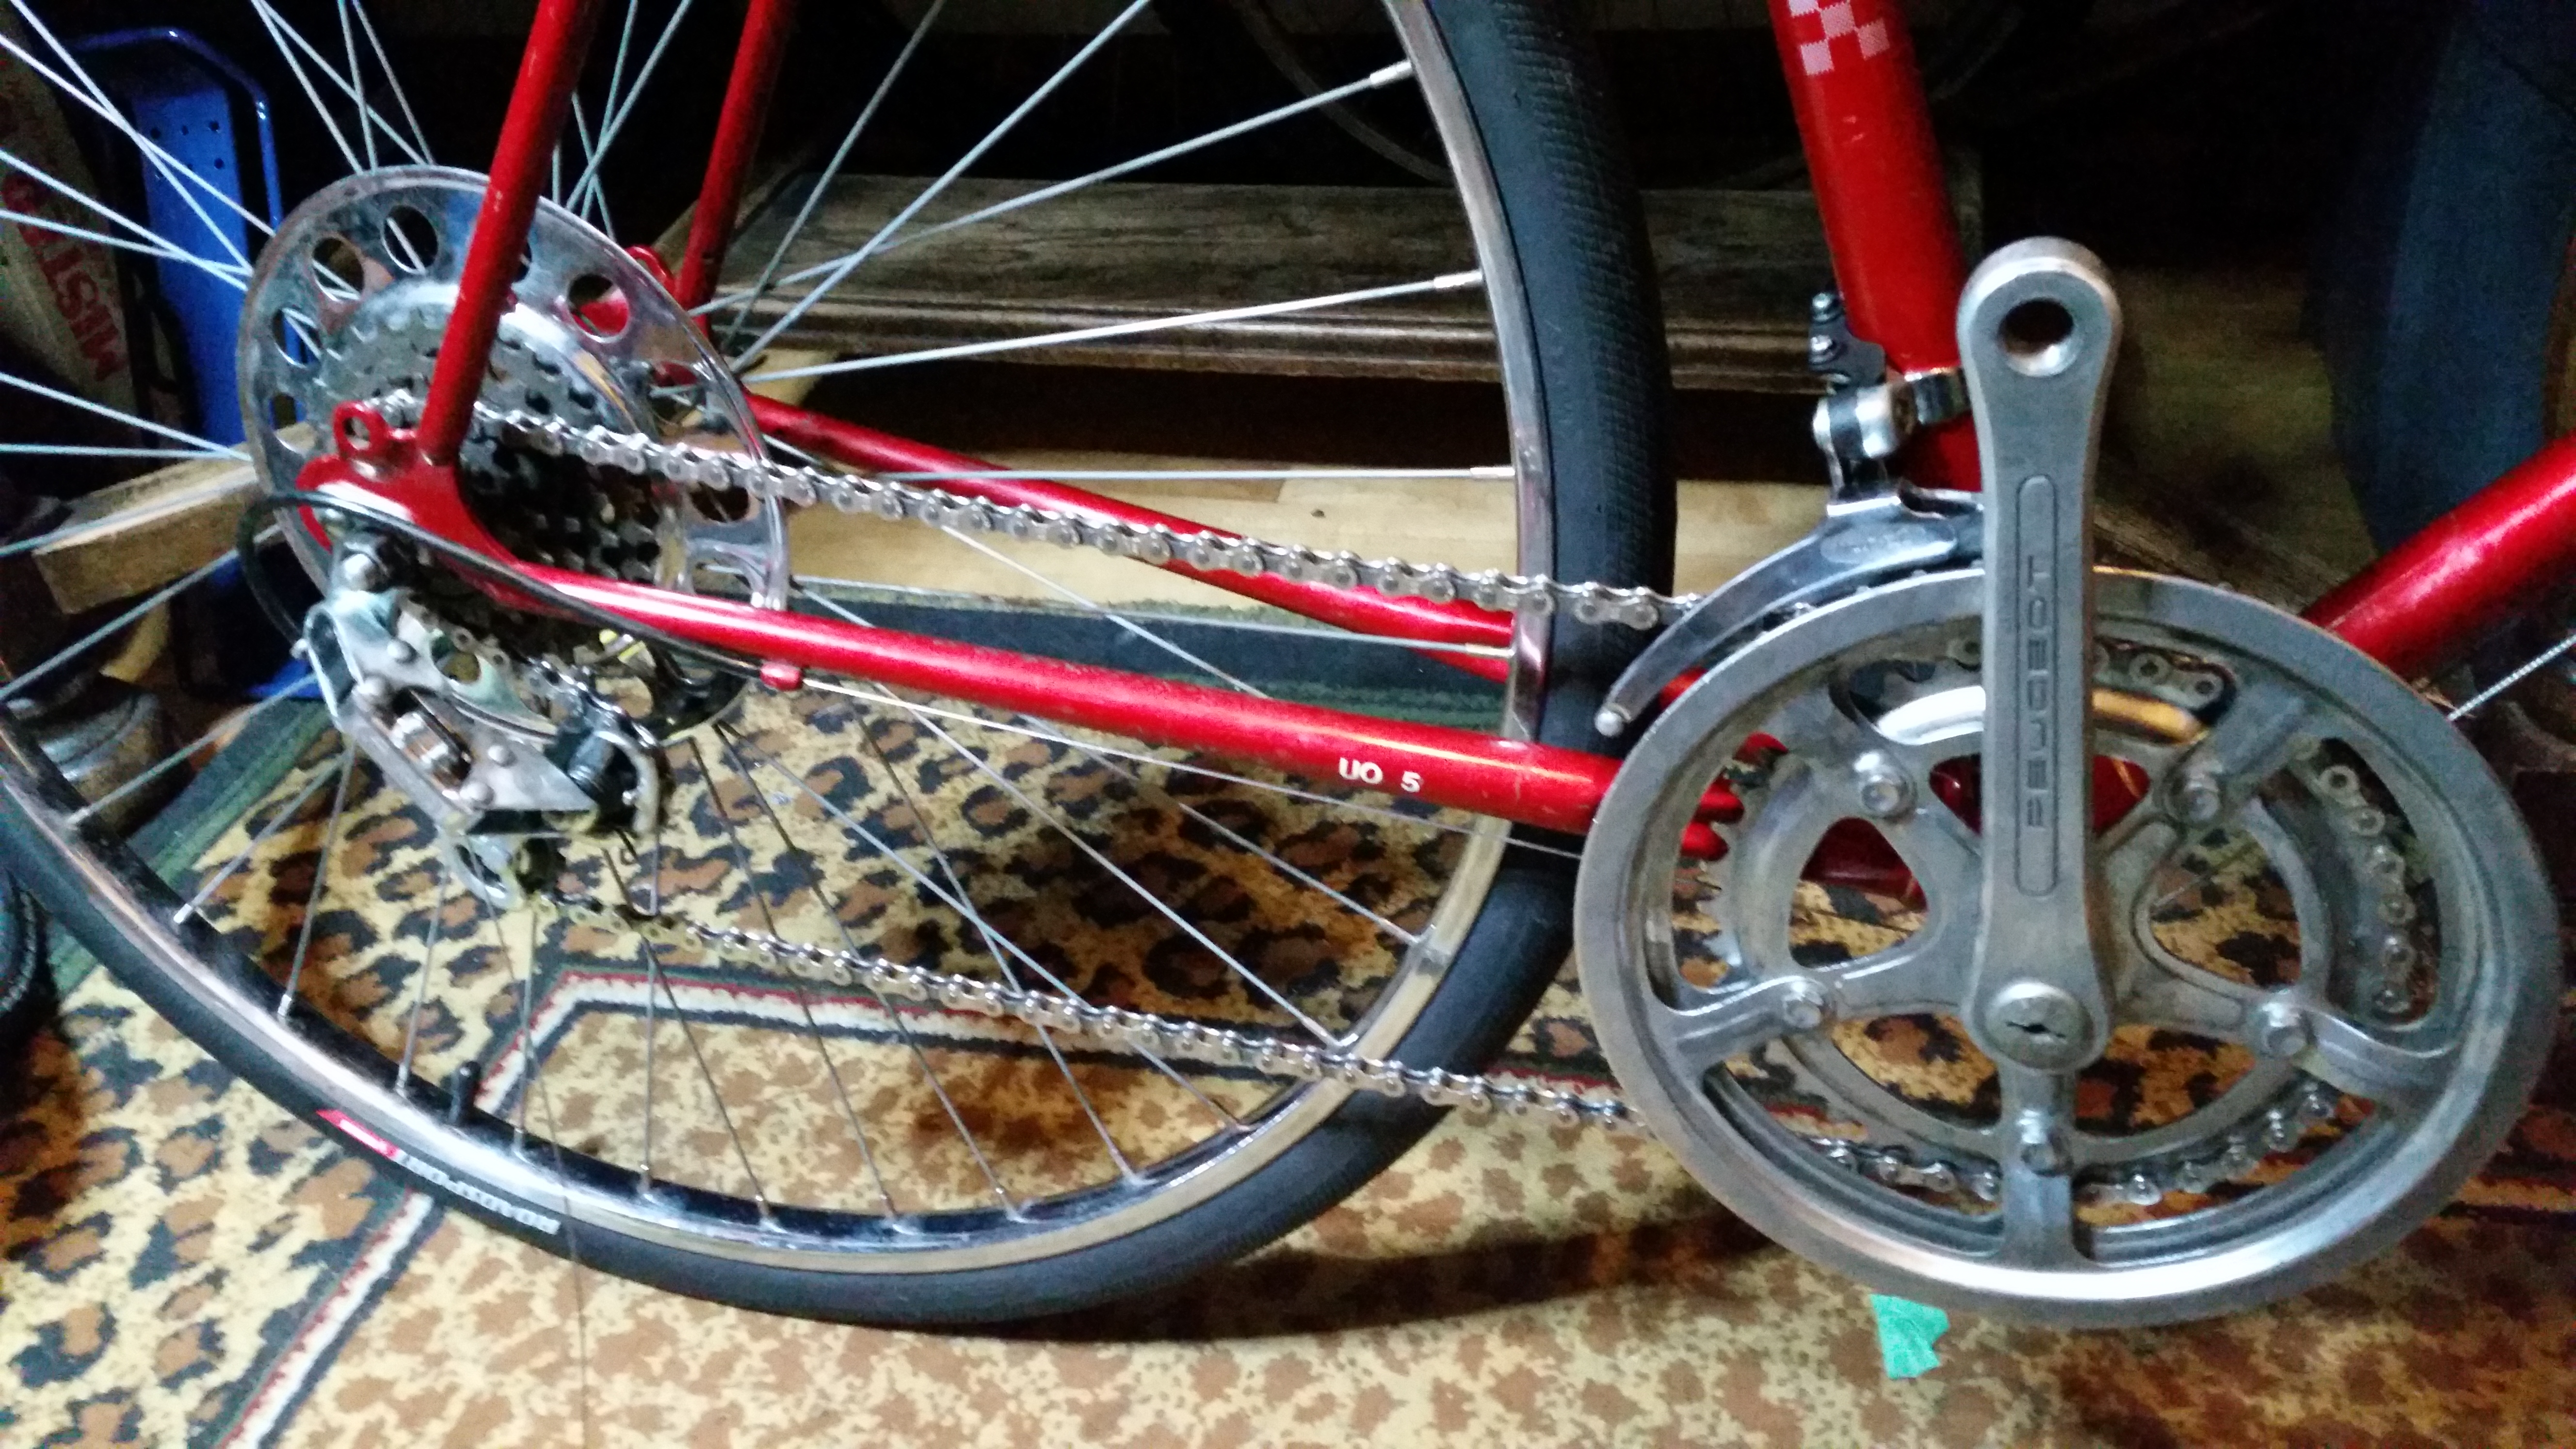
The next order of business was to start cleaning, scraping, polishing, and repacking each part. I started with the bottom bracket (the place where the cranks attach to the frame), taking it apart, soaking each piece in a degreaser bath, rinsing, drying, and regreasing and reassembling. This was the process for just about every component, and made up the bulk of the work with the restoration.


Up until this point, I had been procrastinating on the most important part of the bike - the wheels. They’re my least favourite thing to work on. Wheels are finnicky and expensive and I’ve never really gotten the hang of truing them. Changing tires is a pain, checking spokes is a pain, and they’re usually the most expensive thing to replace and service. Plus, older bikes like this one have a million and one tool standards for removing the freewheel assembly, and each tool seems to cost a minimum of $20.
The rear wheel had a bit of rust but was otherwise working nicely - it spun smoothly and didn’t seem too far out of true. Bafflingly, it didn’t come with a set of nuts for securing it to the frame, so I had to plunder them from another wheelset I had lying around.


Both wheels were only slightly out of true. I studied park tool’s article on wheel truing and did some lateral and radial truing using the classic “zipties around the frame” method, since I don’t have a truing stand. I got them to a point where they spun comfortably without rubbing against the brake pads and called that “good enough.”


Installing tires is also one of my least favourite things. Surprisingly, this is the first time I’ve installed fresh rim tape and I learned you really have to stretch it before it’ll fit around the wheel, especially if you’re using 700C rim tape on a slightly larger 27" wheelset like I am. I recommend wrapping the tape around your back and pushing your arms out from your chest, so you can stretch the whole thing without putting undue stress on any specific segments of the tape.

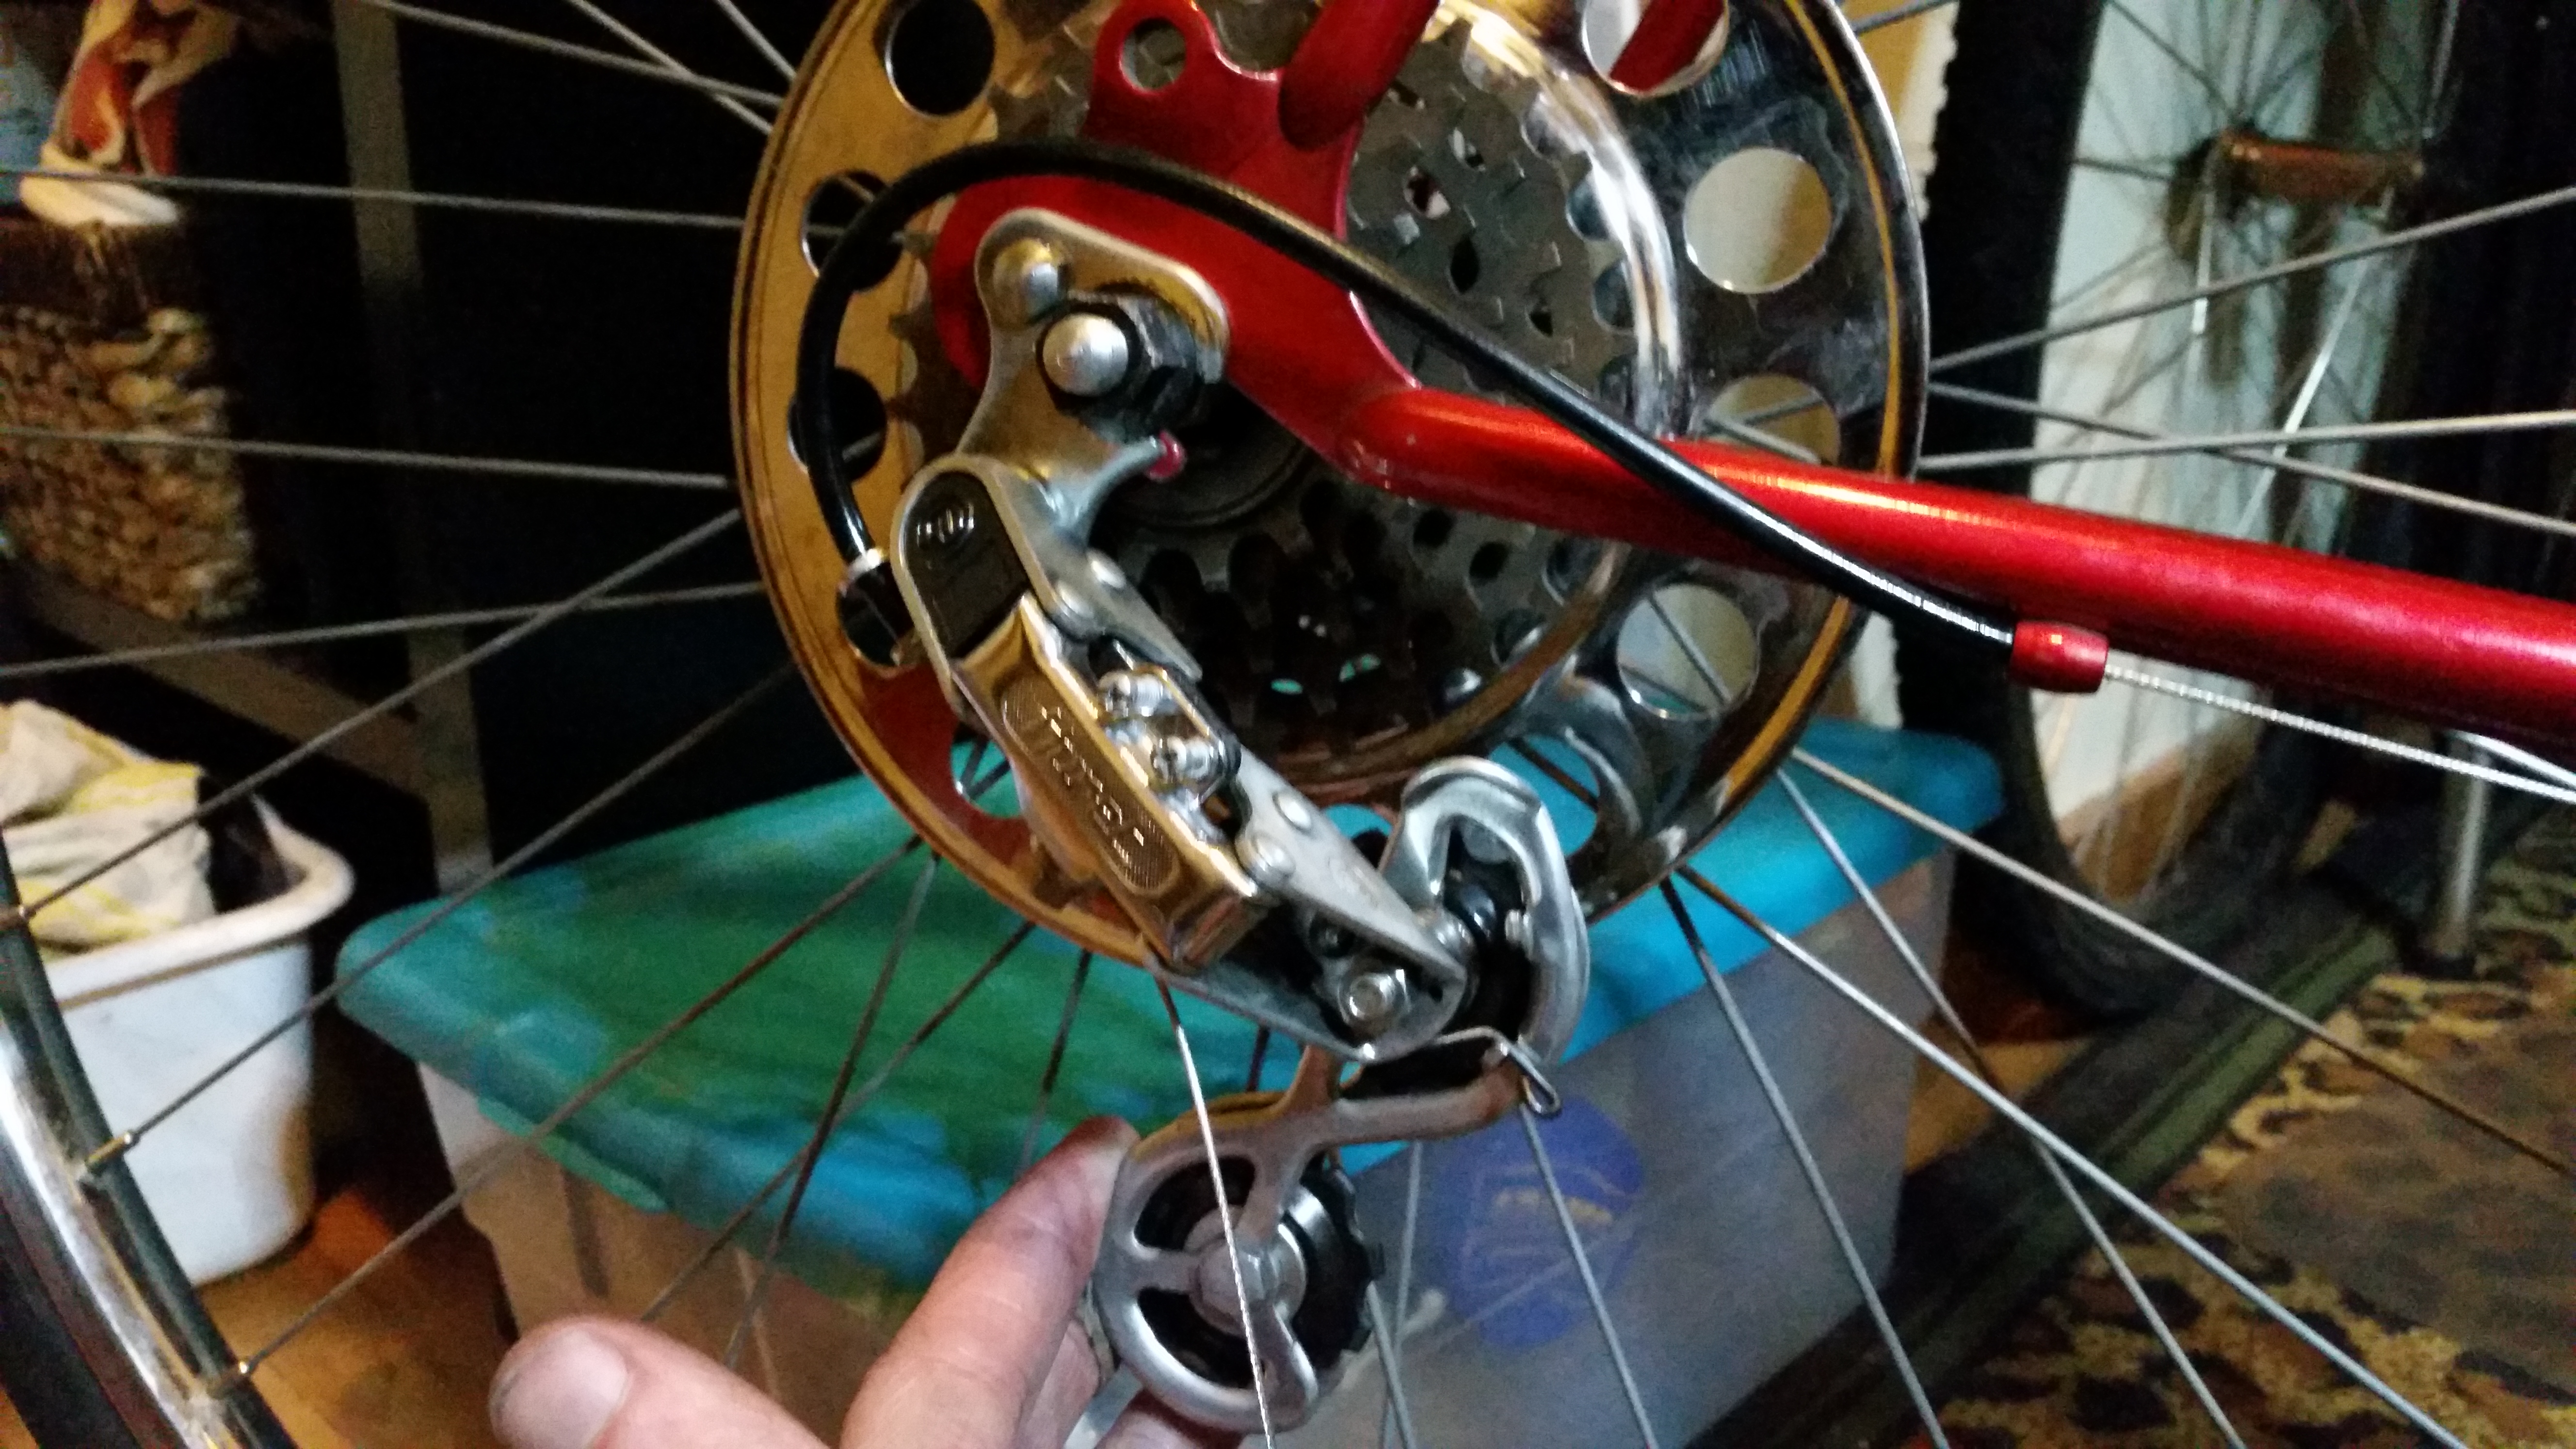
Looking at brochures and sites online, it seems the Club UO5’s stock wheelset had rims that were textured. The bike I got had a smooth set of rear rims, and a textured set of front rims. My guess was that the rear wheel got replaced wholesale at some point. Maybe it got stolen. I wasn’t upset about that, as I have to imagine the textured rims wear down brake pads much faster.
Later, I found a spare 27" front wheel by the side of the road, and swapped it out, so both wheels now have smooth rims and brake a lot quieter. (Though their stopping power may be lower. I’m not sure with these old bikes.)
Sadly, I don’t have a good workspace for building bikes. I use this room as my home office and general hobby space. It’s messy, full of clutter, and honestly very cramped for putting together a bicycle.
One day I hope to have a garage or other workspace where I can put a bike stand and do this all more comfortably. For now, this space makes my order of operations is a little strange - usually I get the wheels on first so the bike can stay upright, and I’ll just try to work on it while it’s leaned against my work table. I can flip the bike upside down and balance it on its seat and handlebars if I need to do anything that requires the wheels to spin. Usually I cushion the handlebars with a spare pair of shoes so it doesn’t damage the brake levers.

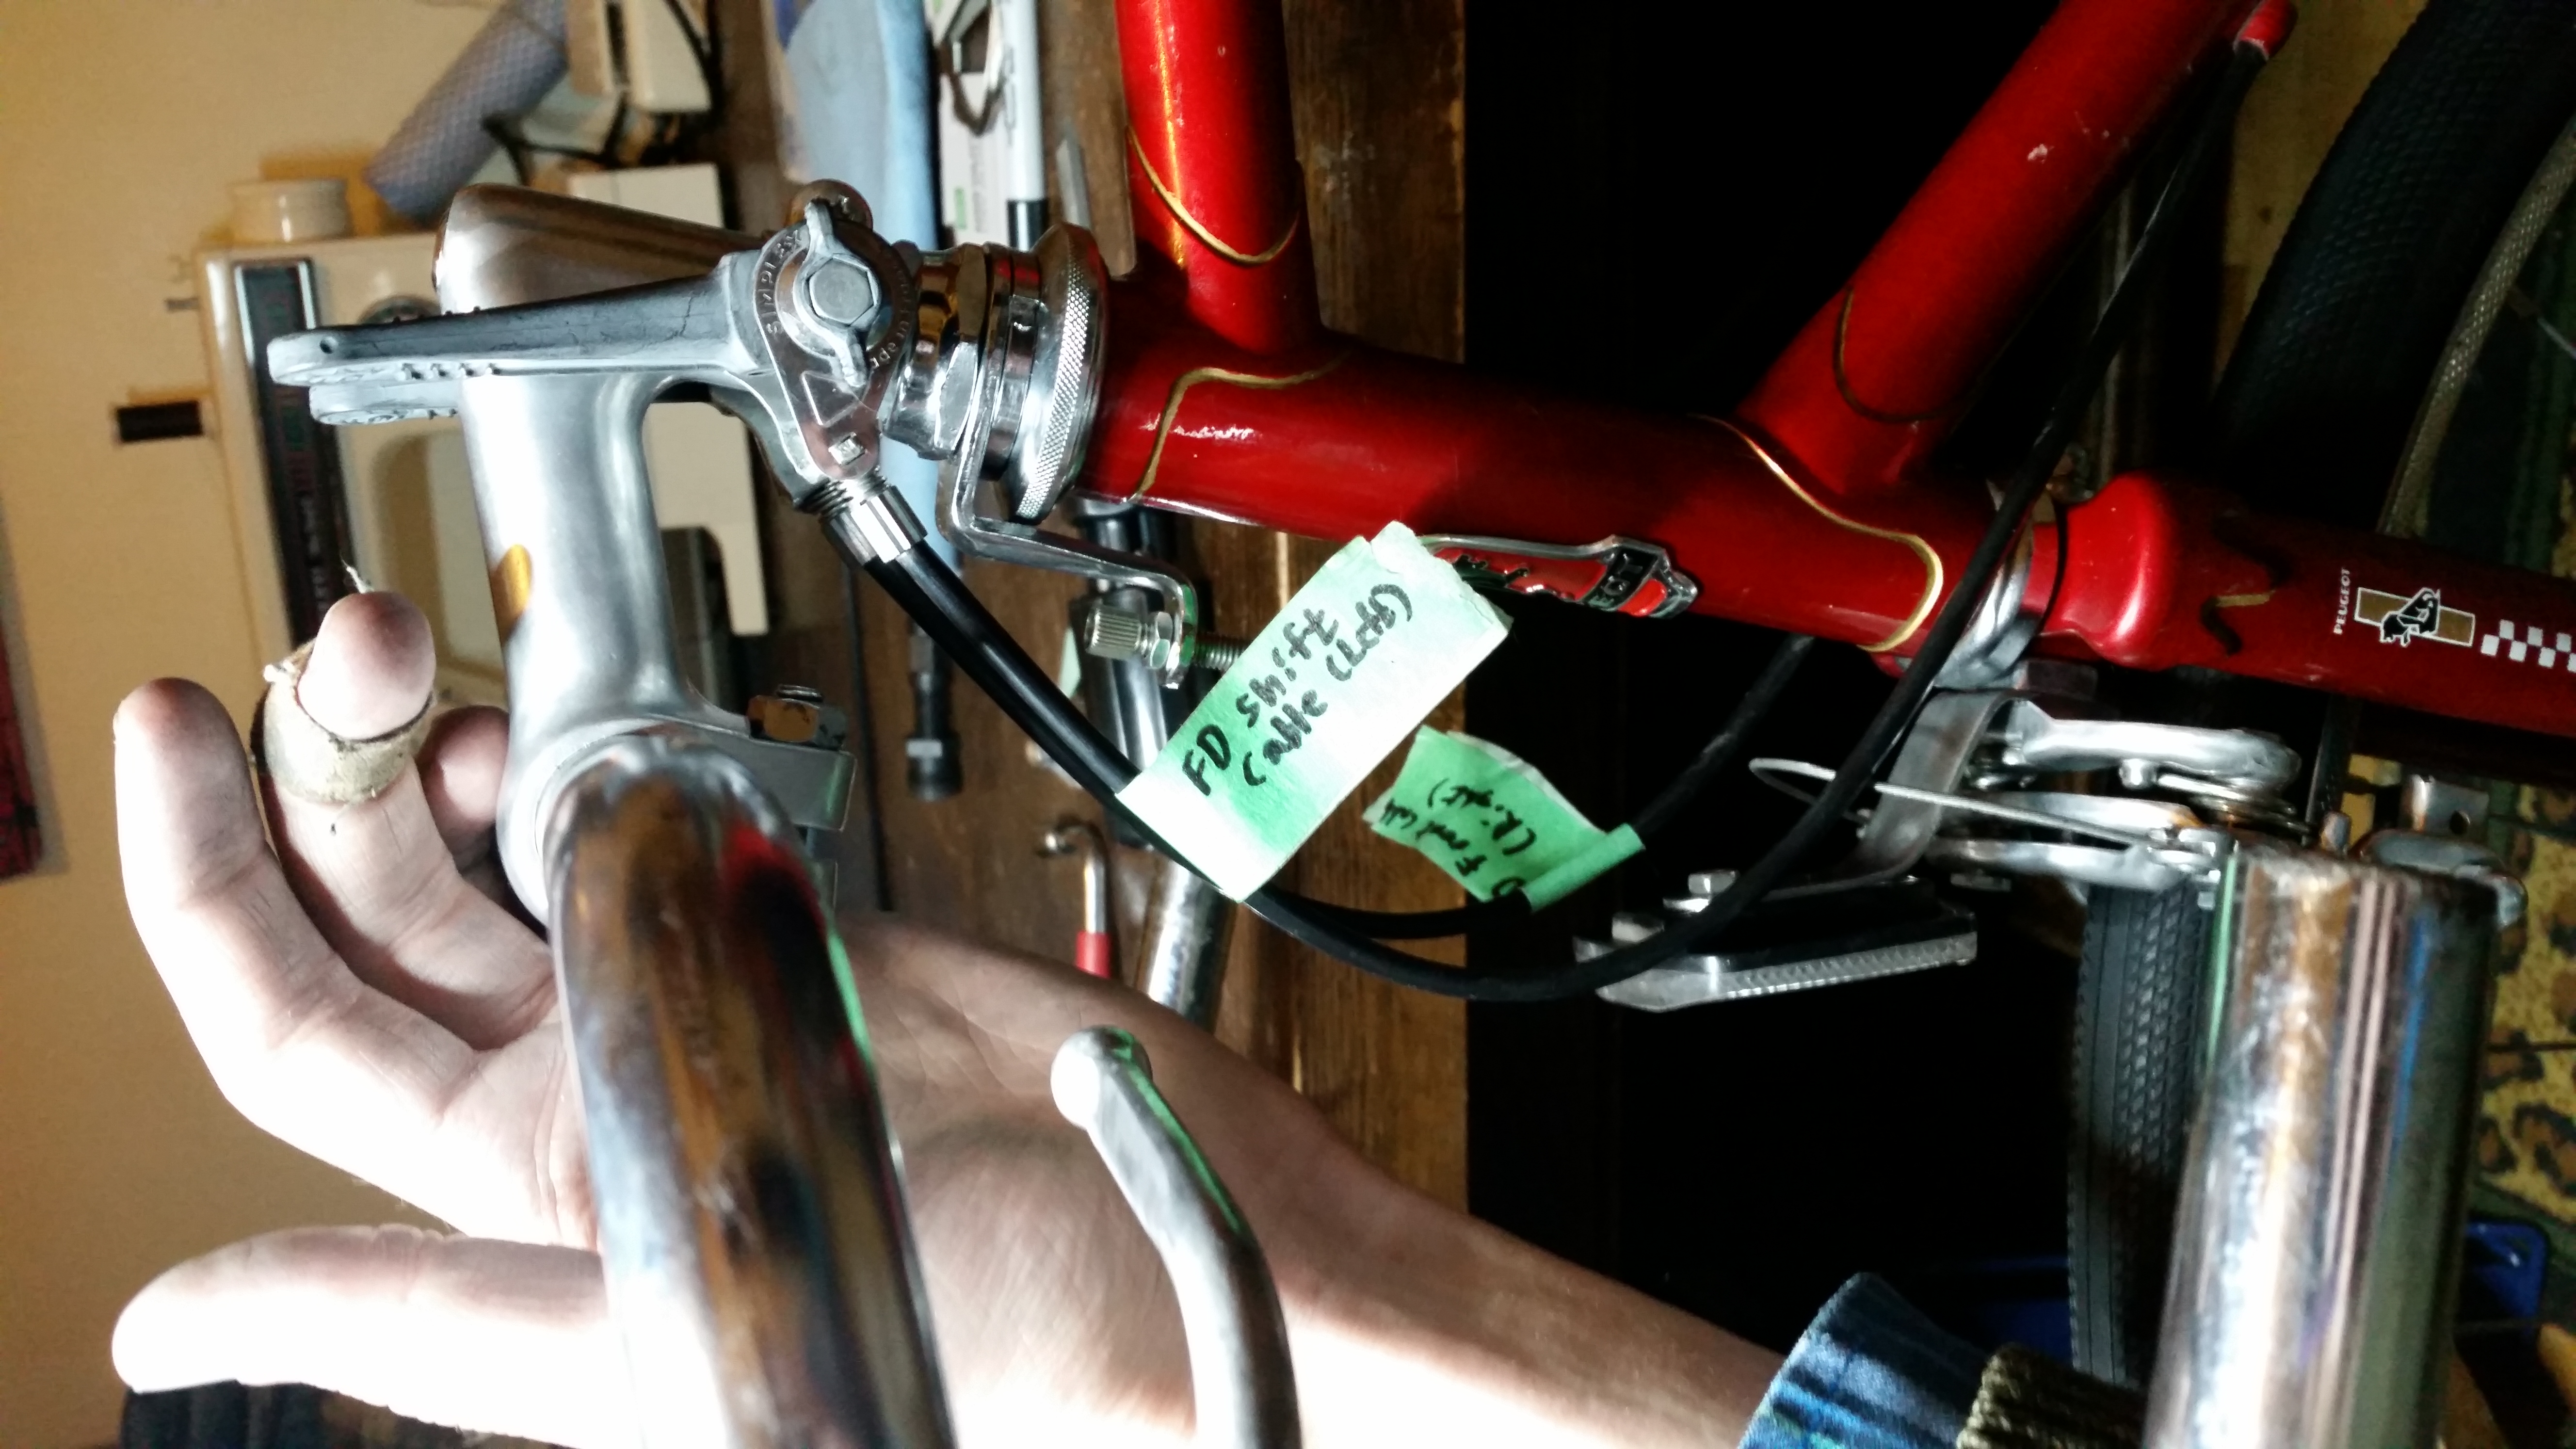

I sprung for new brake and shift cables, as well as a brand new chain. It’s tempting to clean and re-use old parts I have lying around, but I think sometimes you should just treat yourself. Be a little bit wasteful.

With the pedals attached and everything installed, the bike was technically rideable! But it still needed everything tuned and cable tension set, and it needed tape on the handlebars. Over the next couple days I tuned and finished the build.
Since I don’t have a bike stand, adjusting the derailleurs to make sure it shifts properly is tricky. I generally use a cargo strap with a carabiner and hang the bike by its saddle from a tree outside.
The bar tape is something I had purchased previously but swapped out as I wasn’t a huge fan of how it looked. I’m not a huge fan here, either, but I liked the idea of the french bike being predominantly red and blue and silver. It’s close to the colours of the flag. The rack was one that I had previously sanded, spray painted blue, and covered with a few layers of clear coat. It was salvaged from another trash bike that I had found and ultimately discarded after stripping for parts.
The final build looked like this:
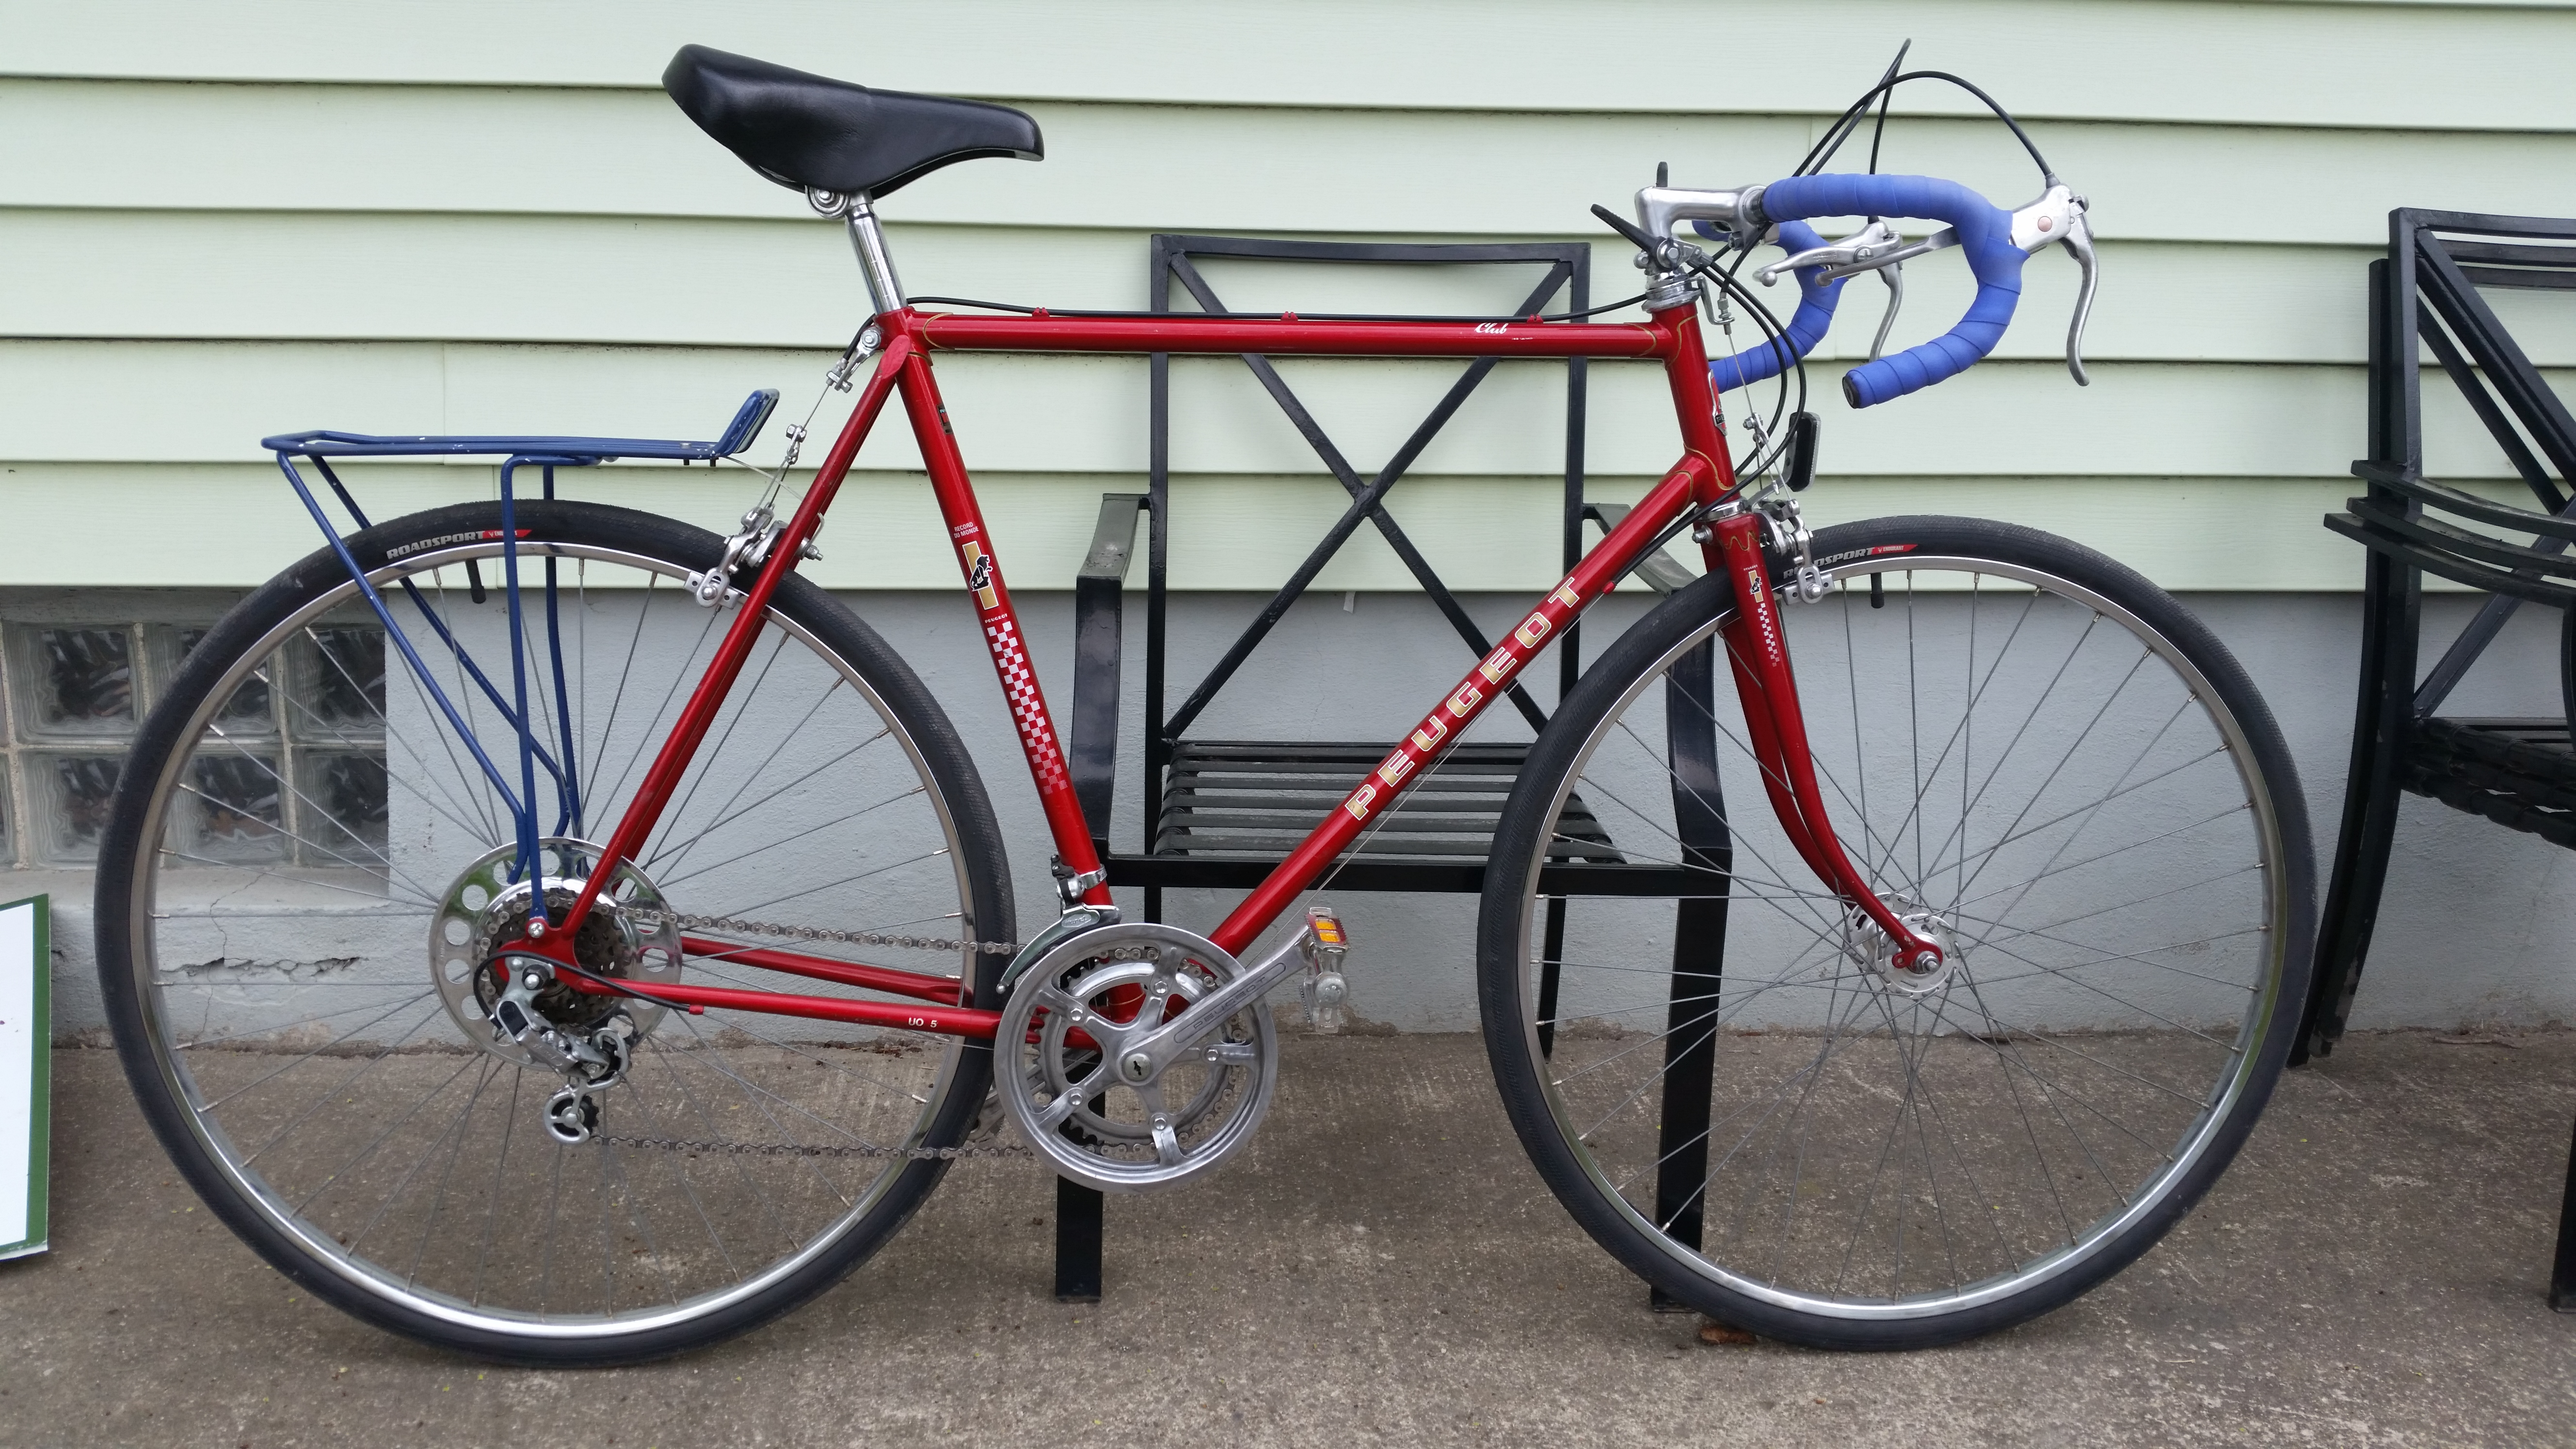


There you have it - a basic restoration project. After completing it, I rode the bike around for a couple months, mostly doing chores and commuting, before deciding I needed to get rid of it. I named the bike Paris Syndrome, because it was french and just a little bit disappointing. After all, it’s an entry level bike from 1982. Not nearly as fast, or responsive, or utilitarian, or light as my general purpose commuter from 2011.
I’m thankful to this bike for teaching me that I’m just not a road bike type of guy. Drop handlebars and a high seat are fine for tucking in and going fast, but I tend to ride slow while wearing a backpack.
I’ve found a coworker who needs a bike, and I’ve agreed to sell it to them. At time of writing, it’s sitting in my living room, clean and pristine, with all its extra hardware in plastic bags. Later this week I’ll ride it into work, and my coworker will ride it home. On my end, I’ll get enough cash to pay for the restoration, plus a little bit extra towards the next bike restoration / rebuild project.
Cost Breakdown
| Item | Cost |
|---|---|
| Bicycle, as-is from estate sale | $40 |
| Gold Paint Pen for highlighting lugs | $5 |
| Tubes | $12 |
| Tires | $70 |
| Chain | $20 |
| Brake + Shifter Cables | $15 |
| Rim Tape | $6 |
| Handlebars and Brake Levers, from a scrapped road bike | $0 |
| Rear Rack, from a scrapped bike | $0 |
| Bar Tape, leftover | $0 |
| Total | $168 |