The Winter Huffy Build
Tagged: bike diy project winterEvery year, after the first dump of snow, I roll my bike up in a tarp and pack it away for the winter. But this year was different. I had accumulated a ton of trash bikes, and replaced basically every mode of transportation I regularly used with cycling. I was having a great time, and when winter rolled around, the thought of going back to walking, riding the bus, and driving seemed like more of a bummer than usual.
As the months rolled on I became more and more determined. Could I keep cycling through the winter? I’d heard of people doing it, even in my city, which has a (perhaps undeserved) reputation for harsh winters.
My research mostly involved reading library books and harassing friends and bike shop employees. But as with everything Bike-related, I started with Sheldon Brown’s Website, which has an excellent page on winter cycling. I was filled with some anxiety - my city has a lot of freeze/thaw through the winter which results in some rough ice patches, as well as a lot of very wet and salty days. I didn’t know if someone’s experience cycling through the winter in the USA or London would be even remotely similar to my snowy Canadian town. Luckily, my dad found a book called Frostbike by Tom Babin at a local used bookstore, and I read it cover to cover.
The author is from the same city as me, so I figured his insights would be directly applicable. They were, plus there was a lot of extra information about the history of winter cycling, and a pretty comprehensive account of the author’s experience cycling in winter. Most of the direct advice is at the end of the book, in case you pick up a copy and are looking to cheat.
The biggest piece of advice I gleaned from all the sources I read is this: Just try it.
Part 1 - Just Trying It
Ultimately, cycling in winter is possible on all kinds of bikes. But how you cycle, where you cycle, and what your comfort level is vary so heavily from person to person that it needs to be a personal journey. Some people wouldn’t dream of winter cycling without spiked tires. Some say they’re unnecessary. Some say you shouldn’t have gears. Some say it works fine. Some even ride fixed gear bikes, claiming it gives a better feel for traction. I figured I would just have to experiment and see for myself.
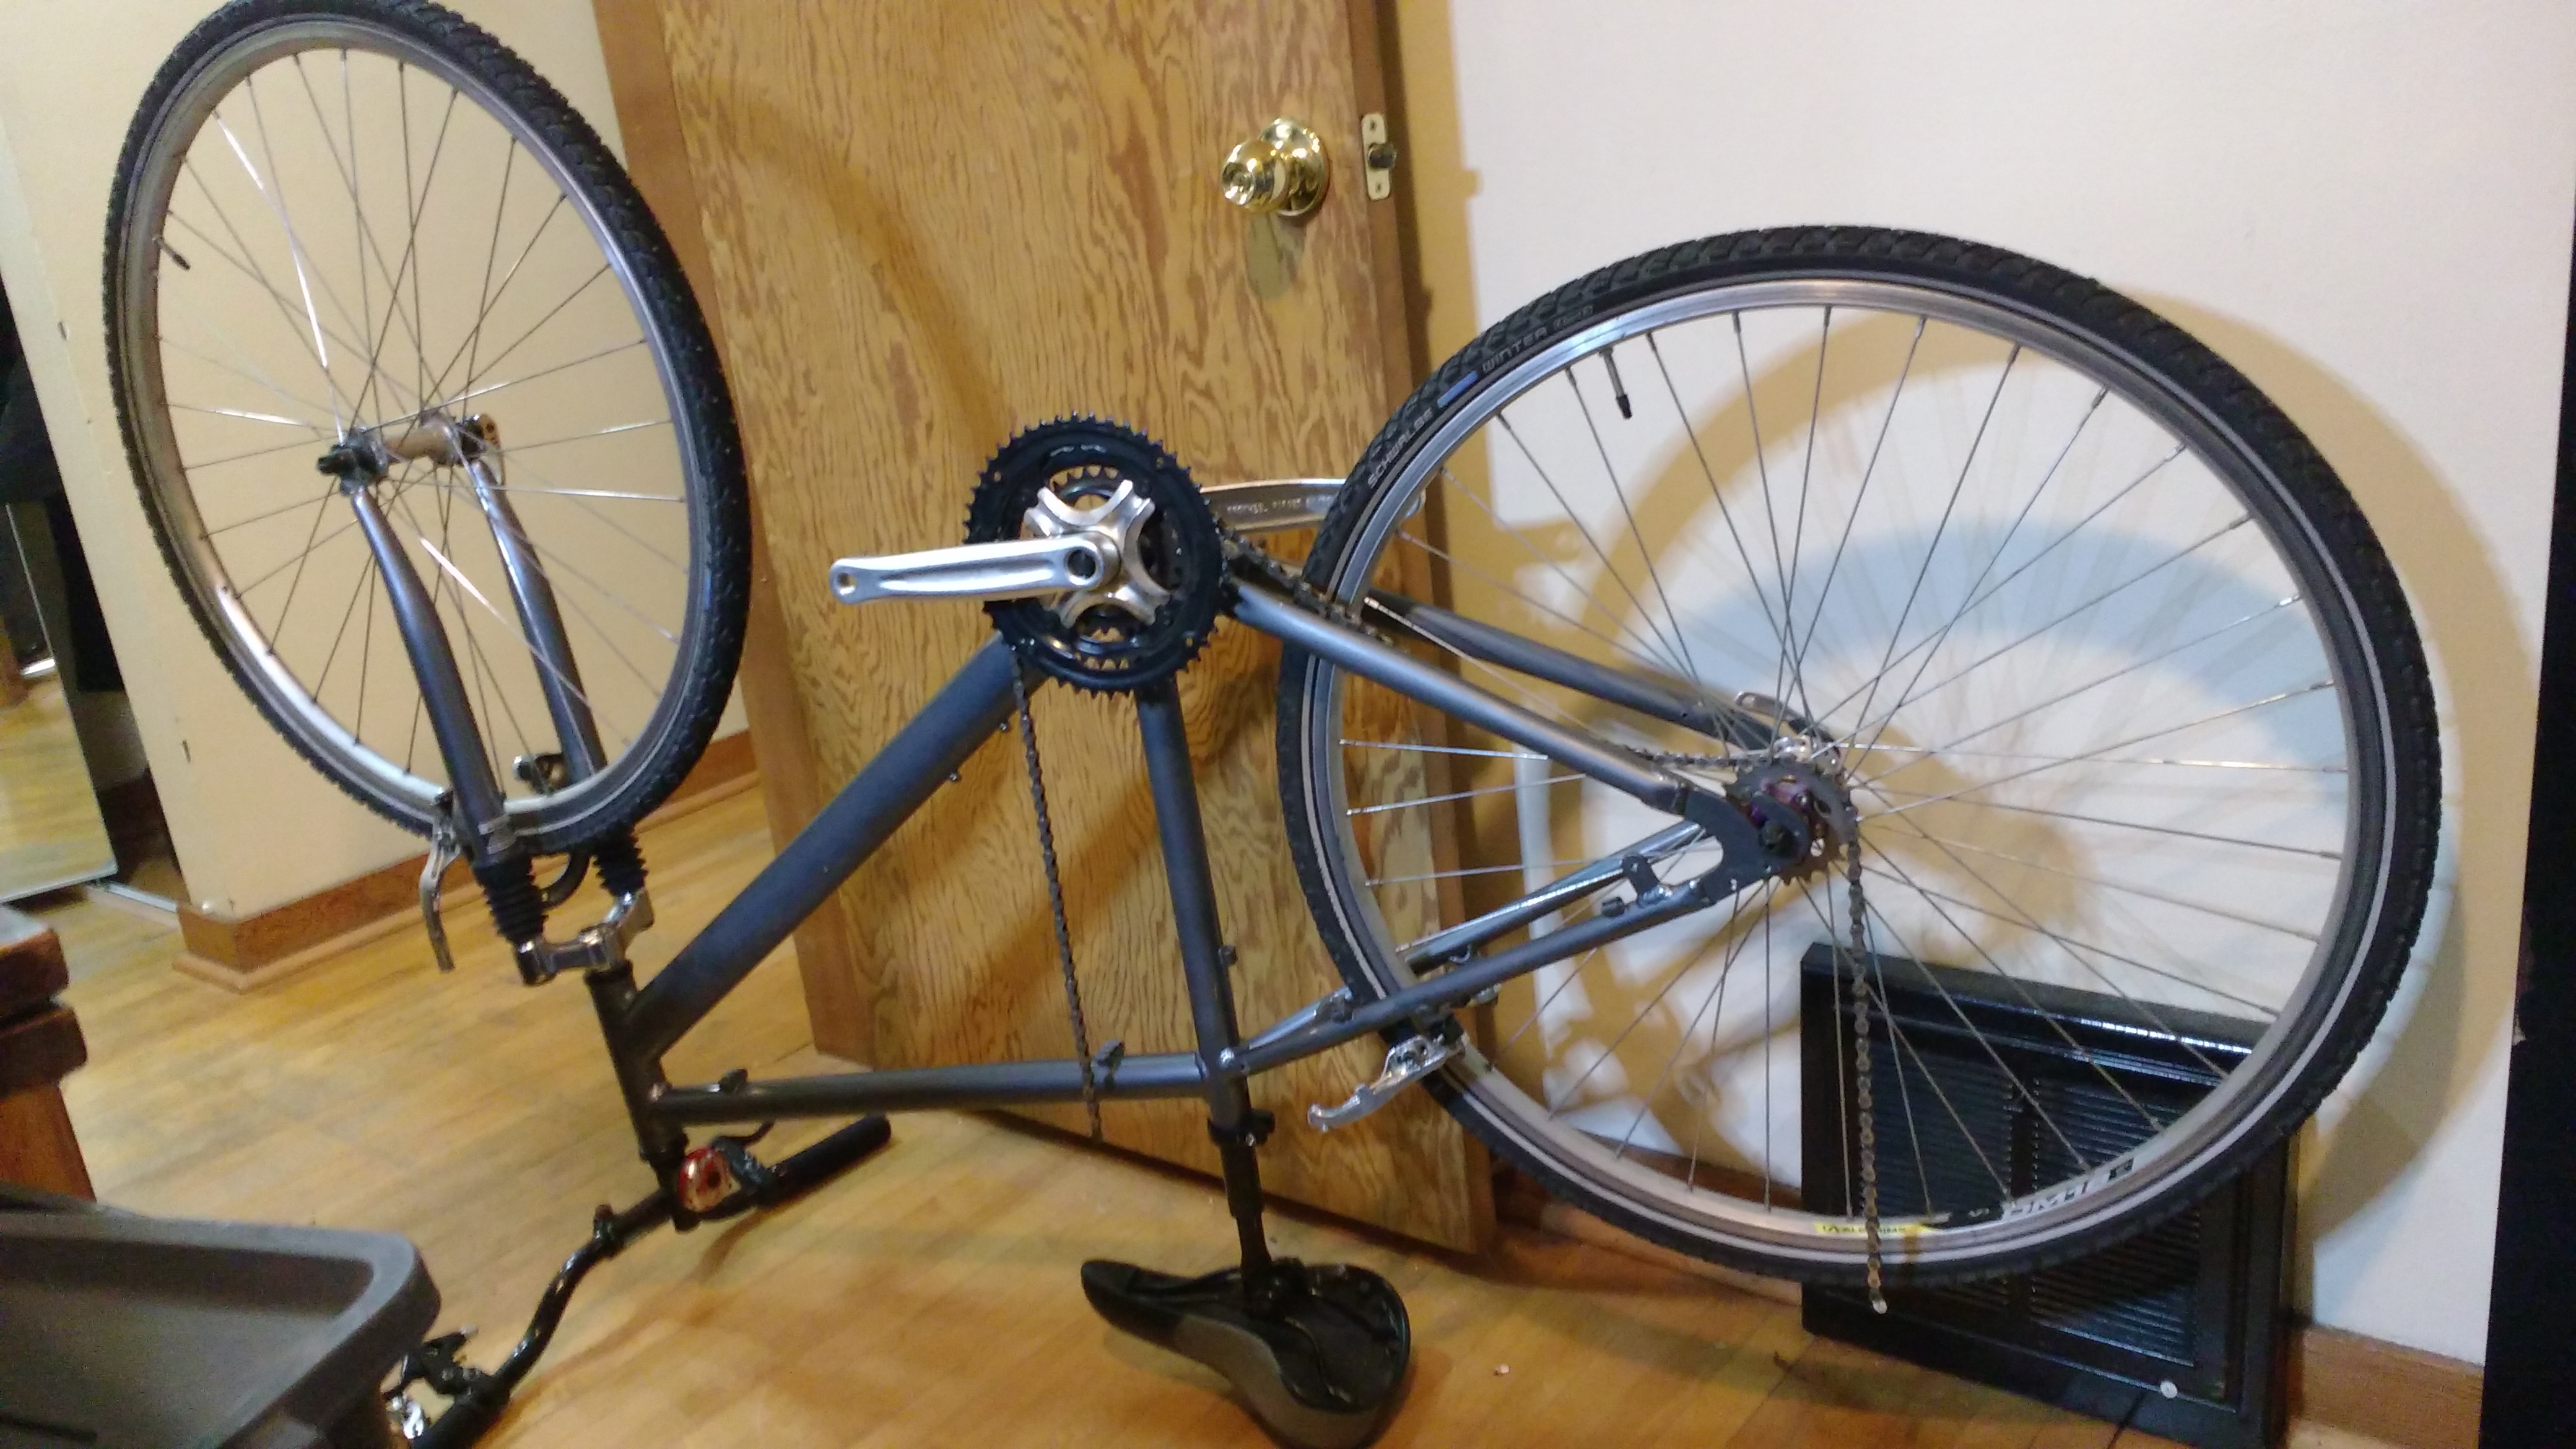
I had a spare large 29er mountain bike tire and tube that I had dragged out of an alley somewhere, so I decided to switch my rear tire to that for that extra traction. Surprisingly, my frame had enough clearance:

I rode like this for a while, enjoying some extra traction, but a little bit later I realized that I could buy expensive kevlar winter tires with tungsten carbide studs, and expense them through my health spending account. Biking is healthy, right? So I sprung for a set, and my benefits reimbursed me.

I installed the tires on my commuter after the next major freeze-over, and tested them by trying to roll over ice patches, come to a stop, come to a skid, et cetera. It was slow going, as I didn’t have any confidence that the bike wasn’t going to slip out from under me, but I gradually got a feel for riding on ice. The studs helped a TON. I also managed to pick up a winterized biking helmet on sale, and a pair of ski goggles. I felt pretty ready to bike in the cold.

This worked just fine at first! The beginning of winter was relatively dry, with only occasional patches of ice in the mornings, and almost no snow. I was beginning to think that things would be easy. But then the snow came. Very quickly I realized that frigid air and wet roads meant that things froze. Specifically, my derailleurs froze. I couldn’t shift gears, and I couldn’t go anywhere without a massive buildup of disgusting road muck on every available surface.

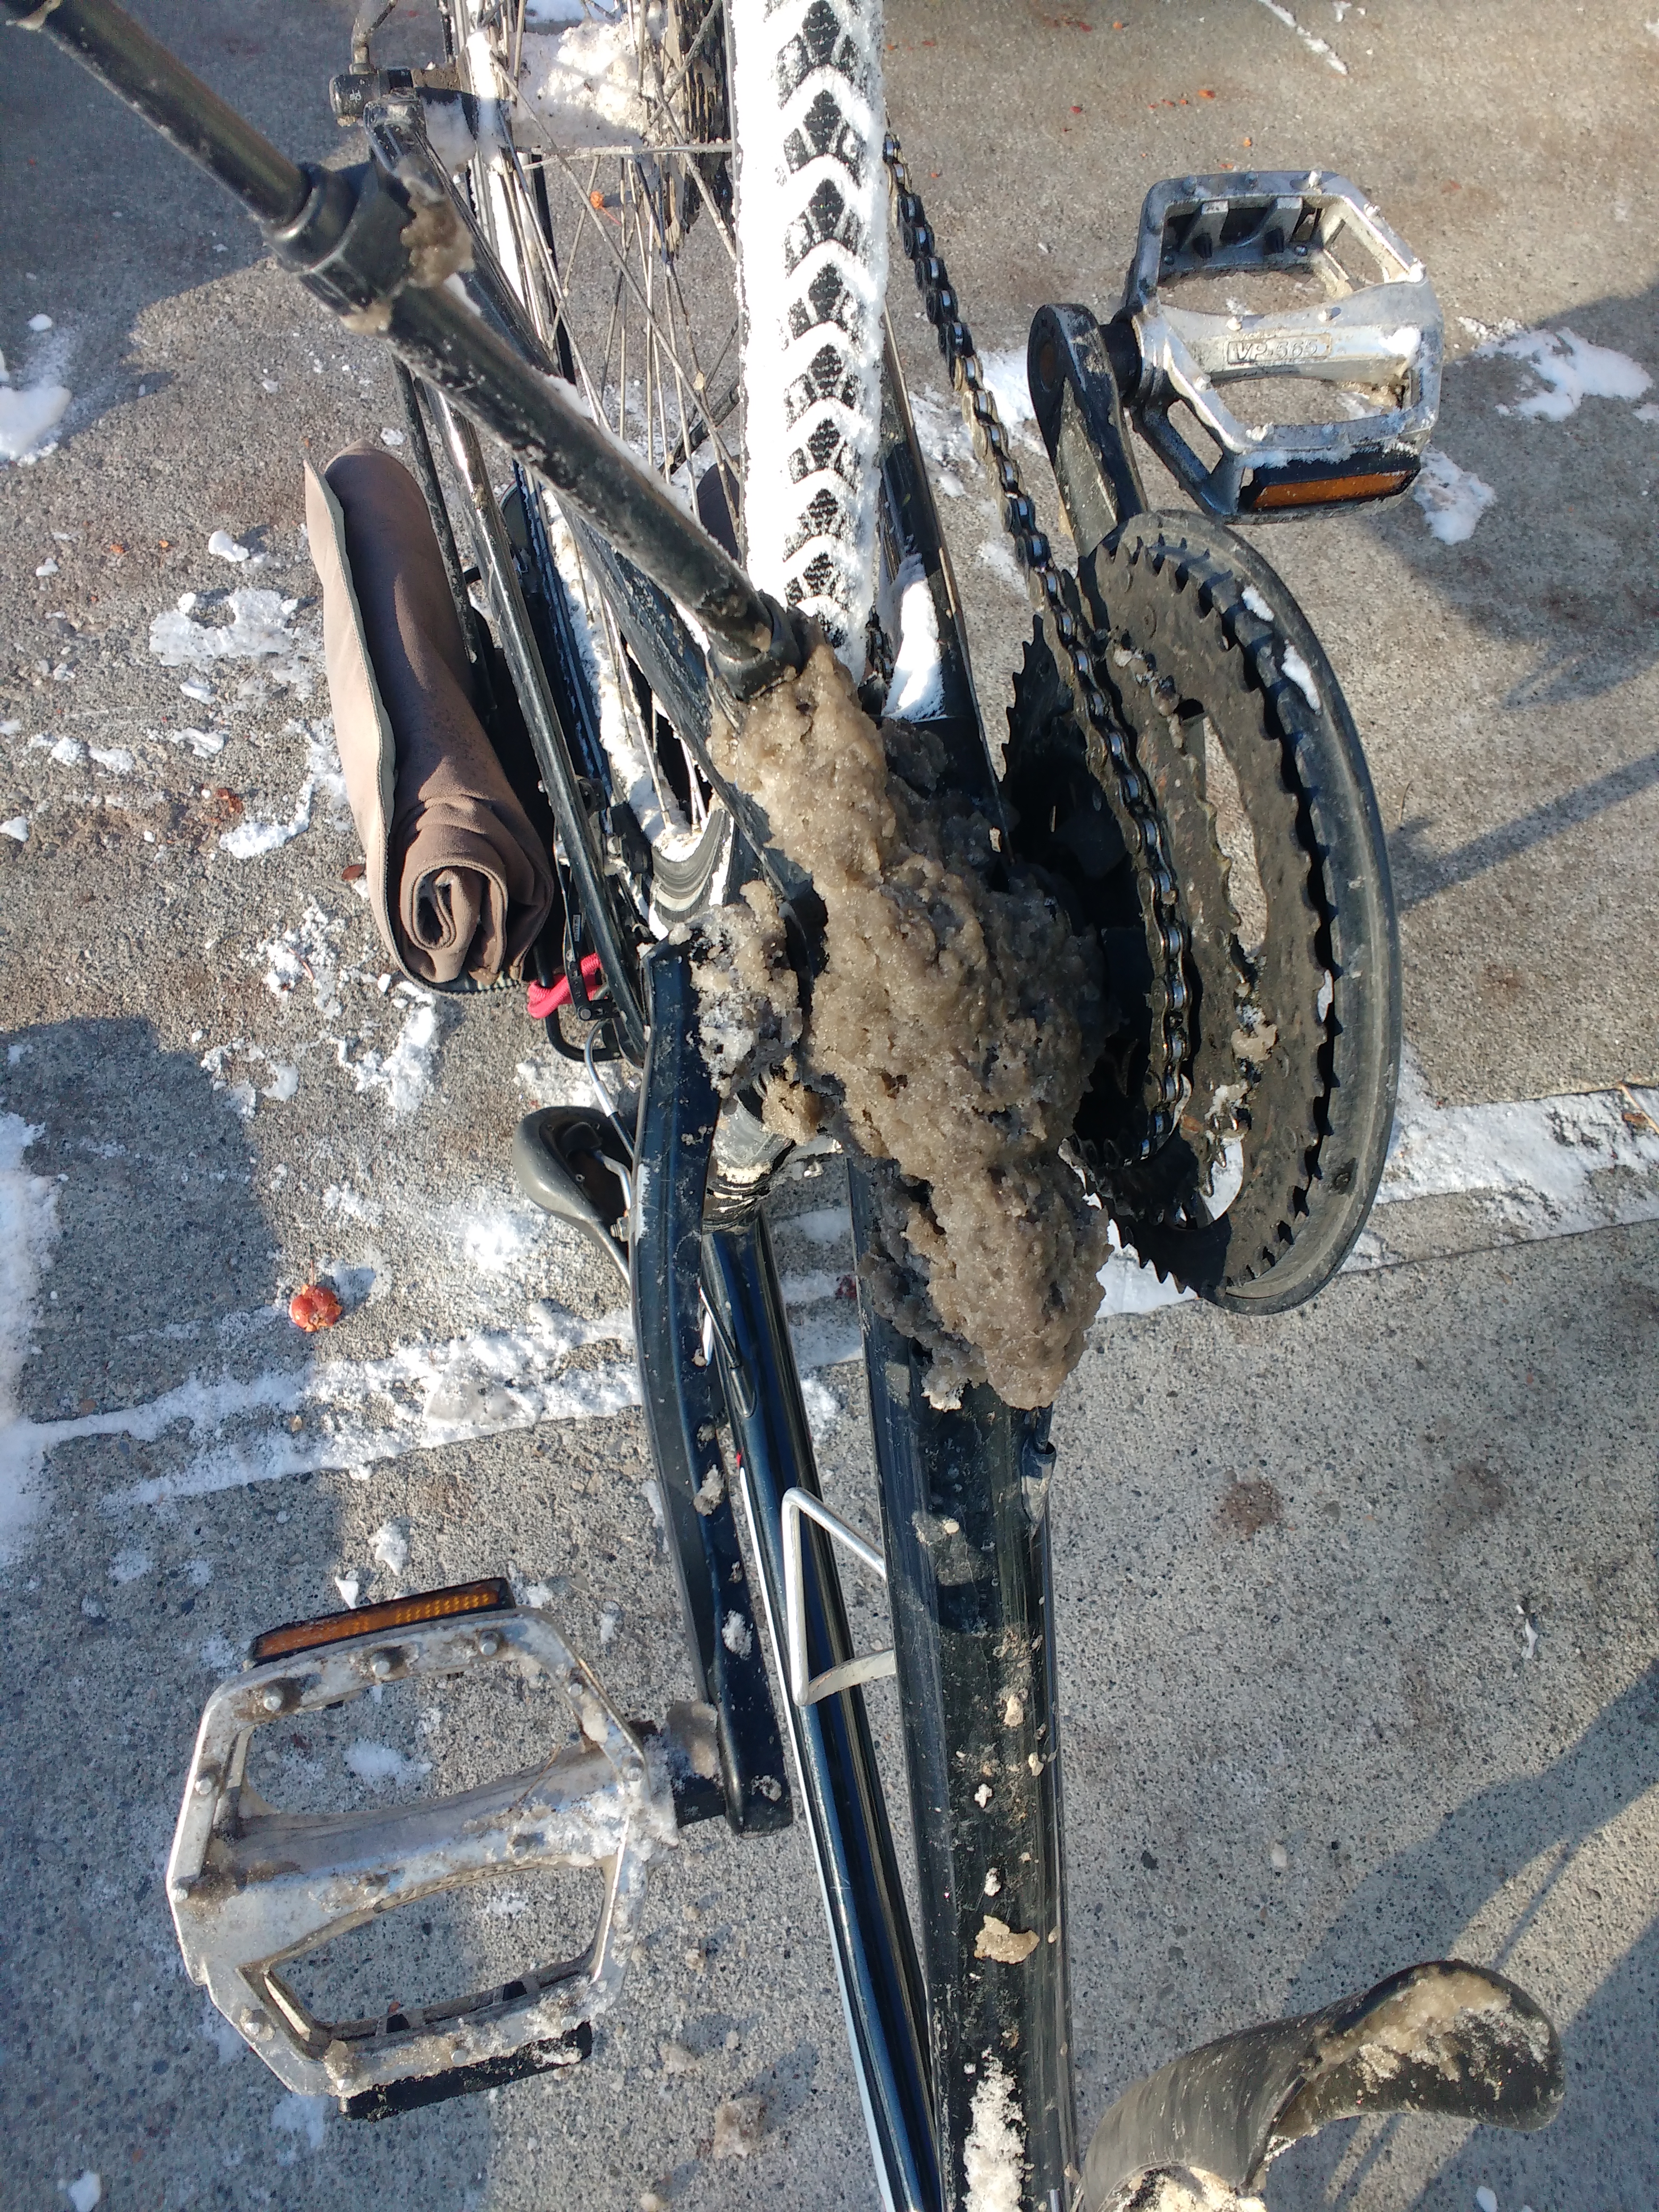
I soon realized that in all my conversations and readings about winter cycling, the only thing everyone seemed to agree on is this: winter is hard on your bike. Especially in places where winter is wet, and the roads are regularly salted. So with that, I kept my eyes open for a winter bike. Something that I wouldn’t care about if it got destroyed. As with all things, the alley eventually provided. I found this Huffy Magellan commuter in quite good shape.
(That’s a lie. I found it a few weeks prior, and took it home for disassembly without any specific plans for it.)
Part 2 - Building the Bike
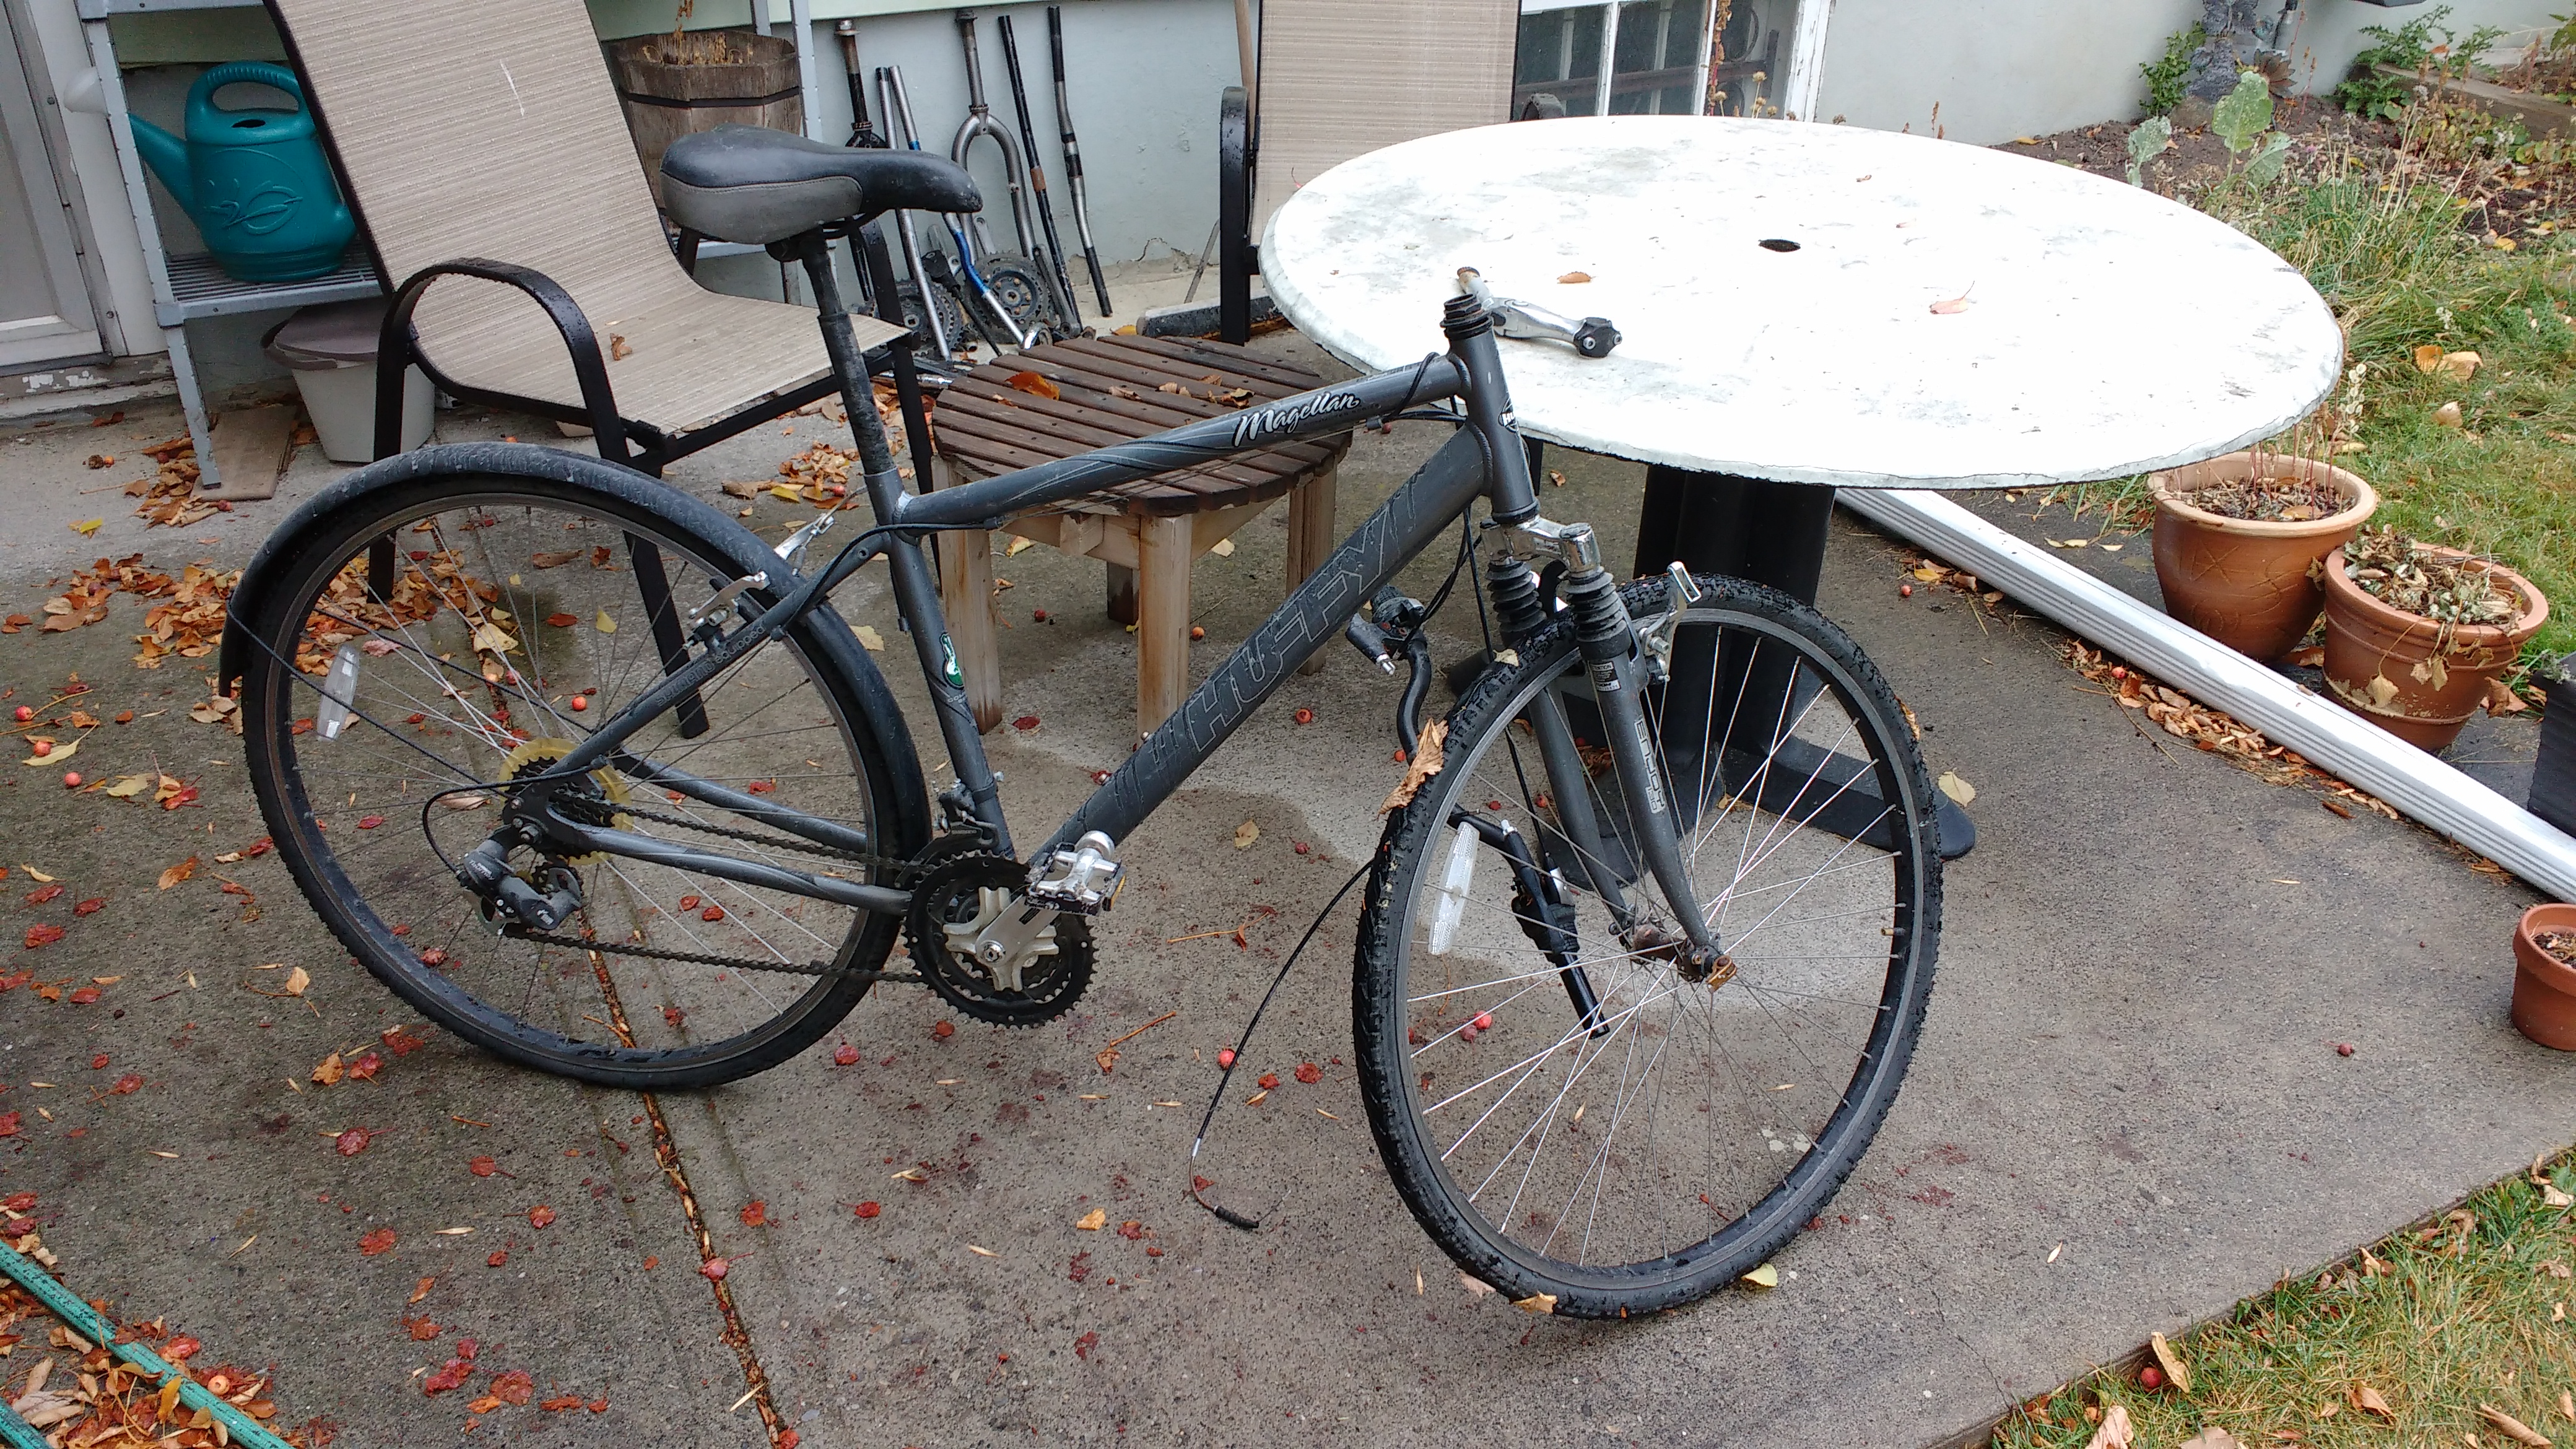
It’s a department store bike, but a comparatively high-end one. The groupset was Shimano Tourney, which is about the worst named groupset Shimano offers. But it is a named groupset, and that puts it above many of the bikes I’ve found. It would probably be sufficient for winter. It had 700C wheels (compatible with the studded tires I already bought), a suspension fork (for some reason I thought this would be important for rough wintery terrain), as well as an upright hybrid bike geometry (this turned out to be incredibly important for the way I ride).
The first thing I did was clean up the frame. The stickers were already peeling so I decided to finish the job. This was harder than I thought – it involved many of applications of goo-gone, as well as a lot of scraping and liberal use of a hair dryer.

With my disgusting mess indoor cleaning station still set up, I decided I’d also clean every major part I was going to use. I ended up making a huge mess and probably annoying my roommates. But it was nice to sit down, organize parts, and binge watch Sailor Moon. The CRT is another back alley find.

Once everything was clean and dry and organized, I started getting to work.
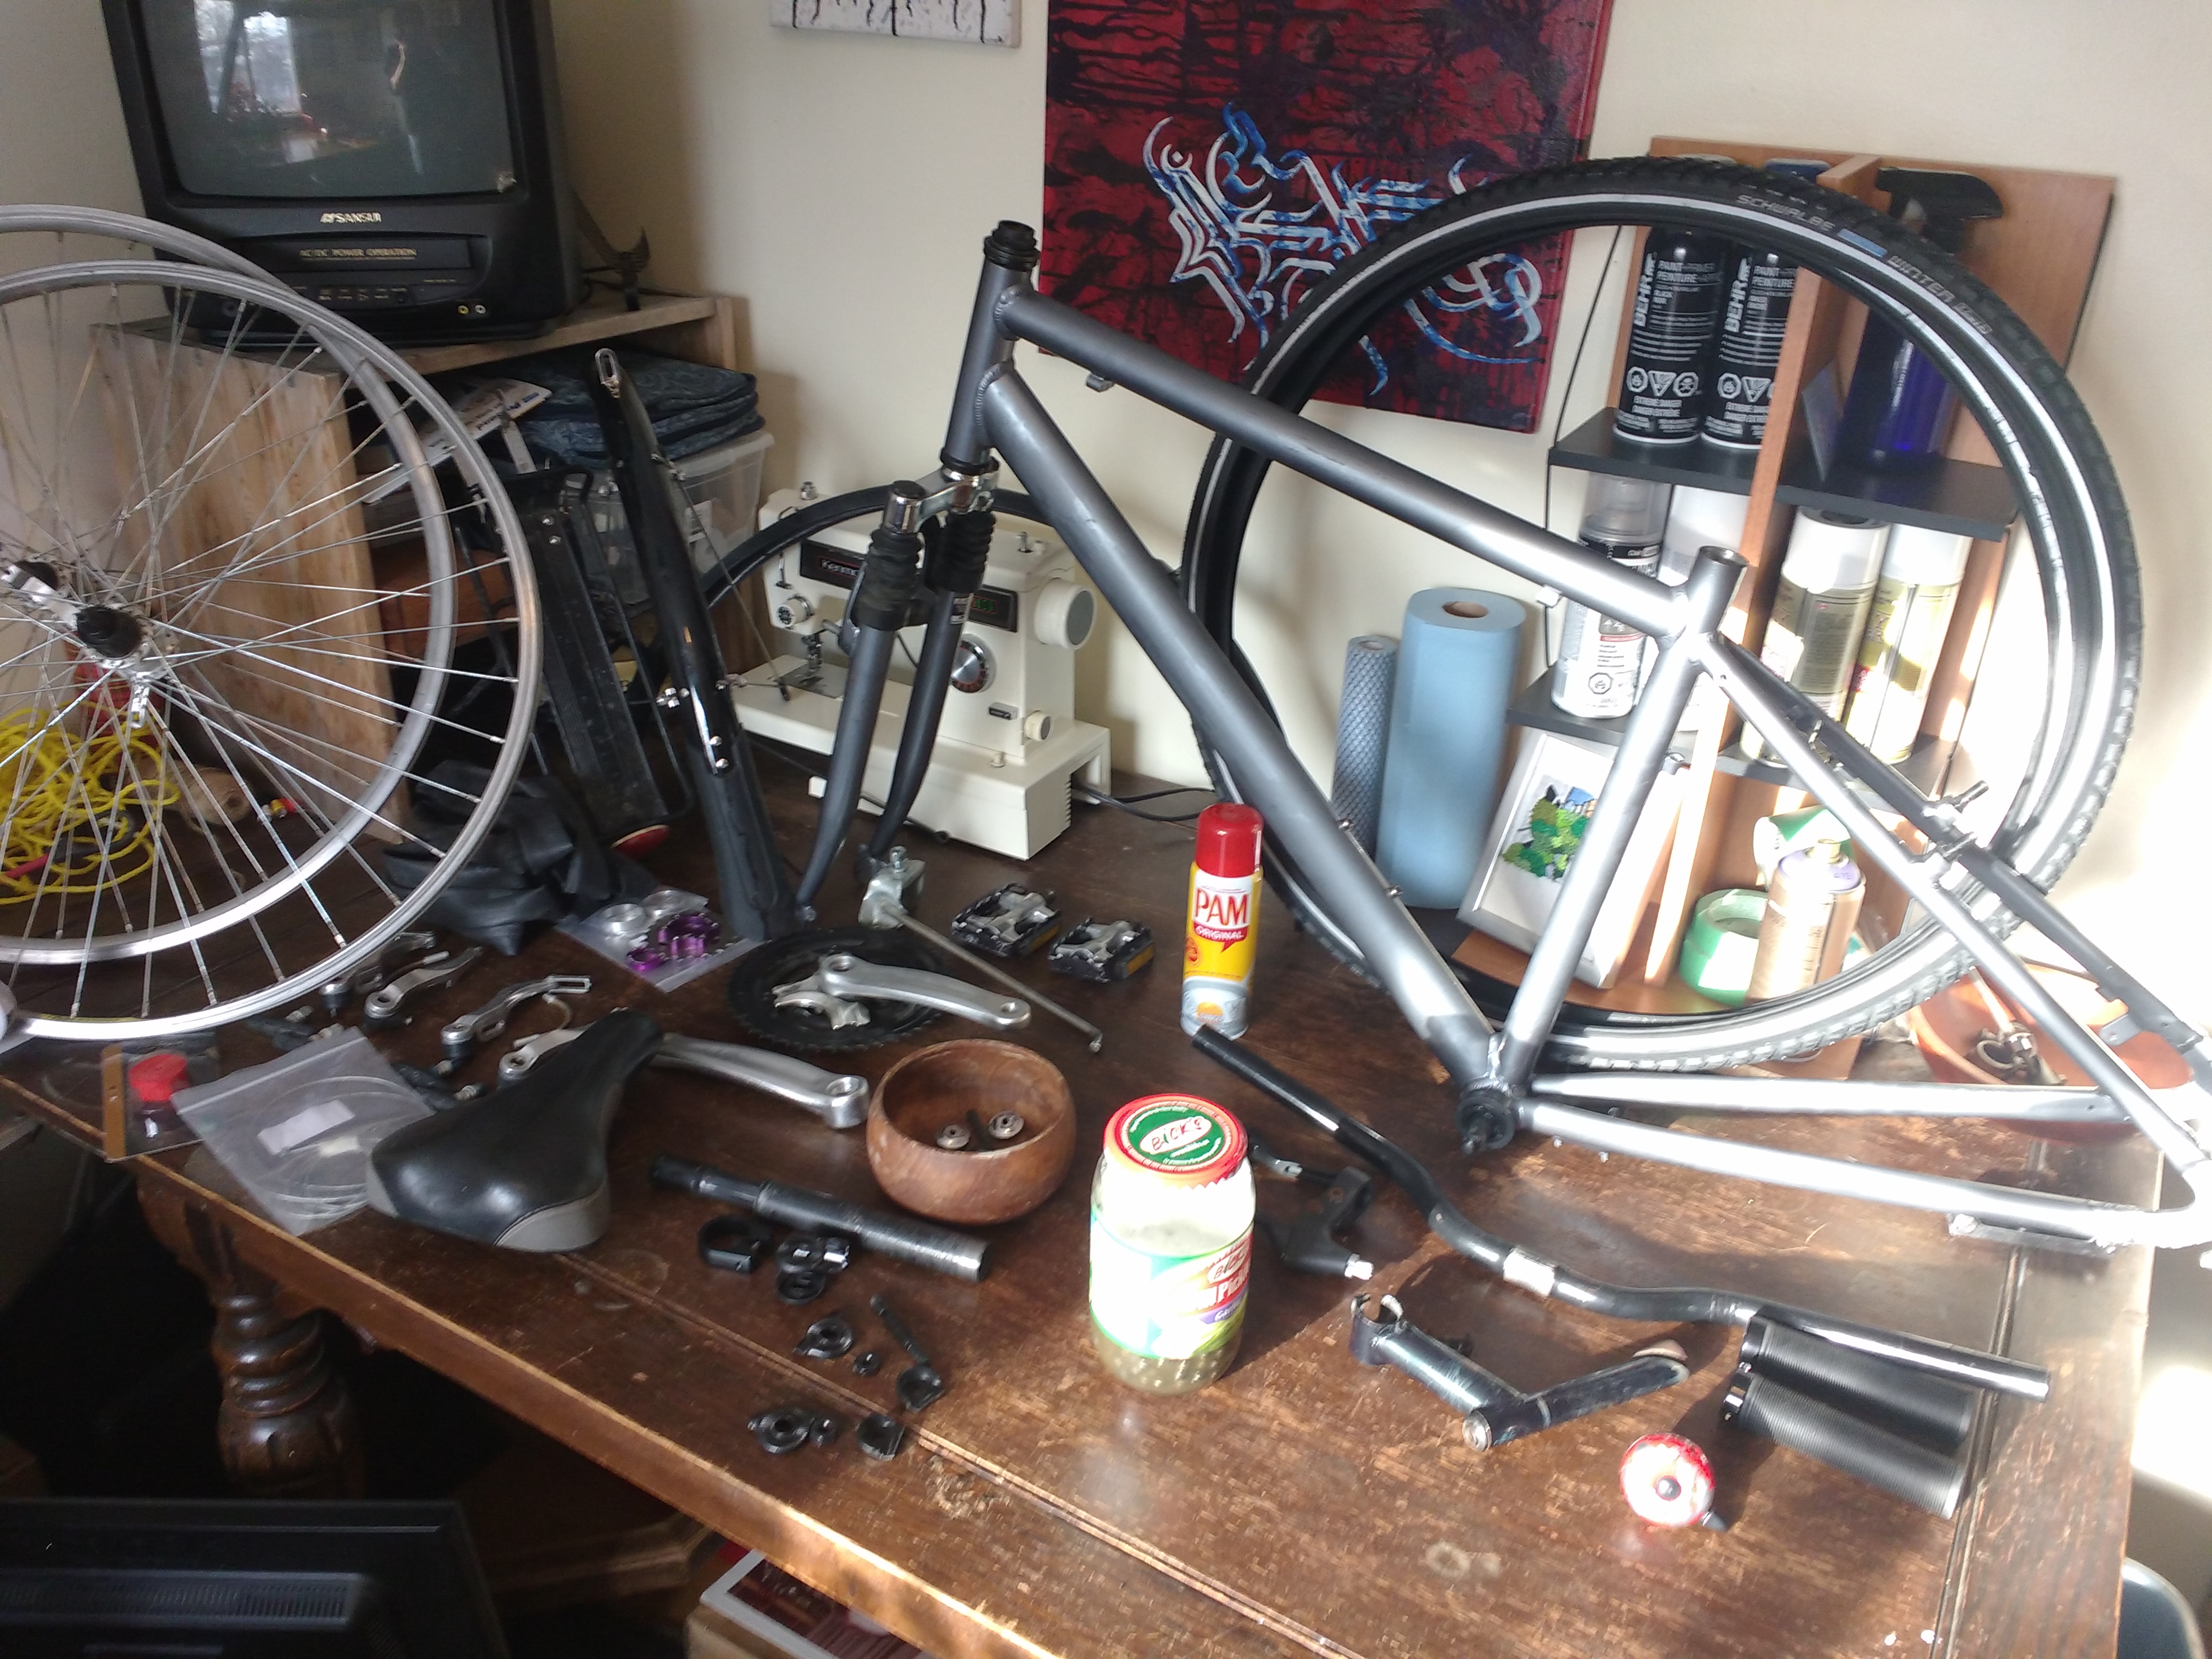
Side note: the can of Pam (nonstick cooking spray) above is a key piece of the assembly! A staff member at a local bikeshop told me that once the bike is assembled, a good first line of defense against ice buildup and corrosion is to spray some areas of your bike with Pam. The buildup on the bottom bracket that plagued my original commuter was never a problem on this bike, and I’m willing to attribute that to the fact that the whole underside of this bike was liberally greased up.
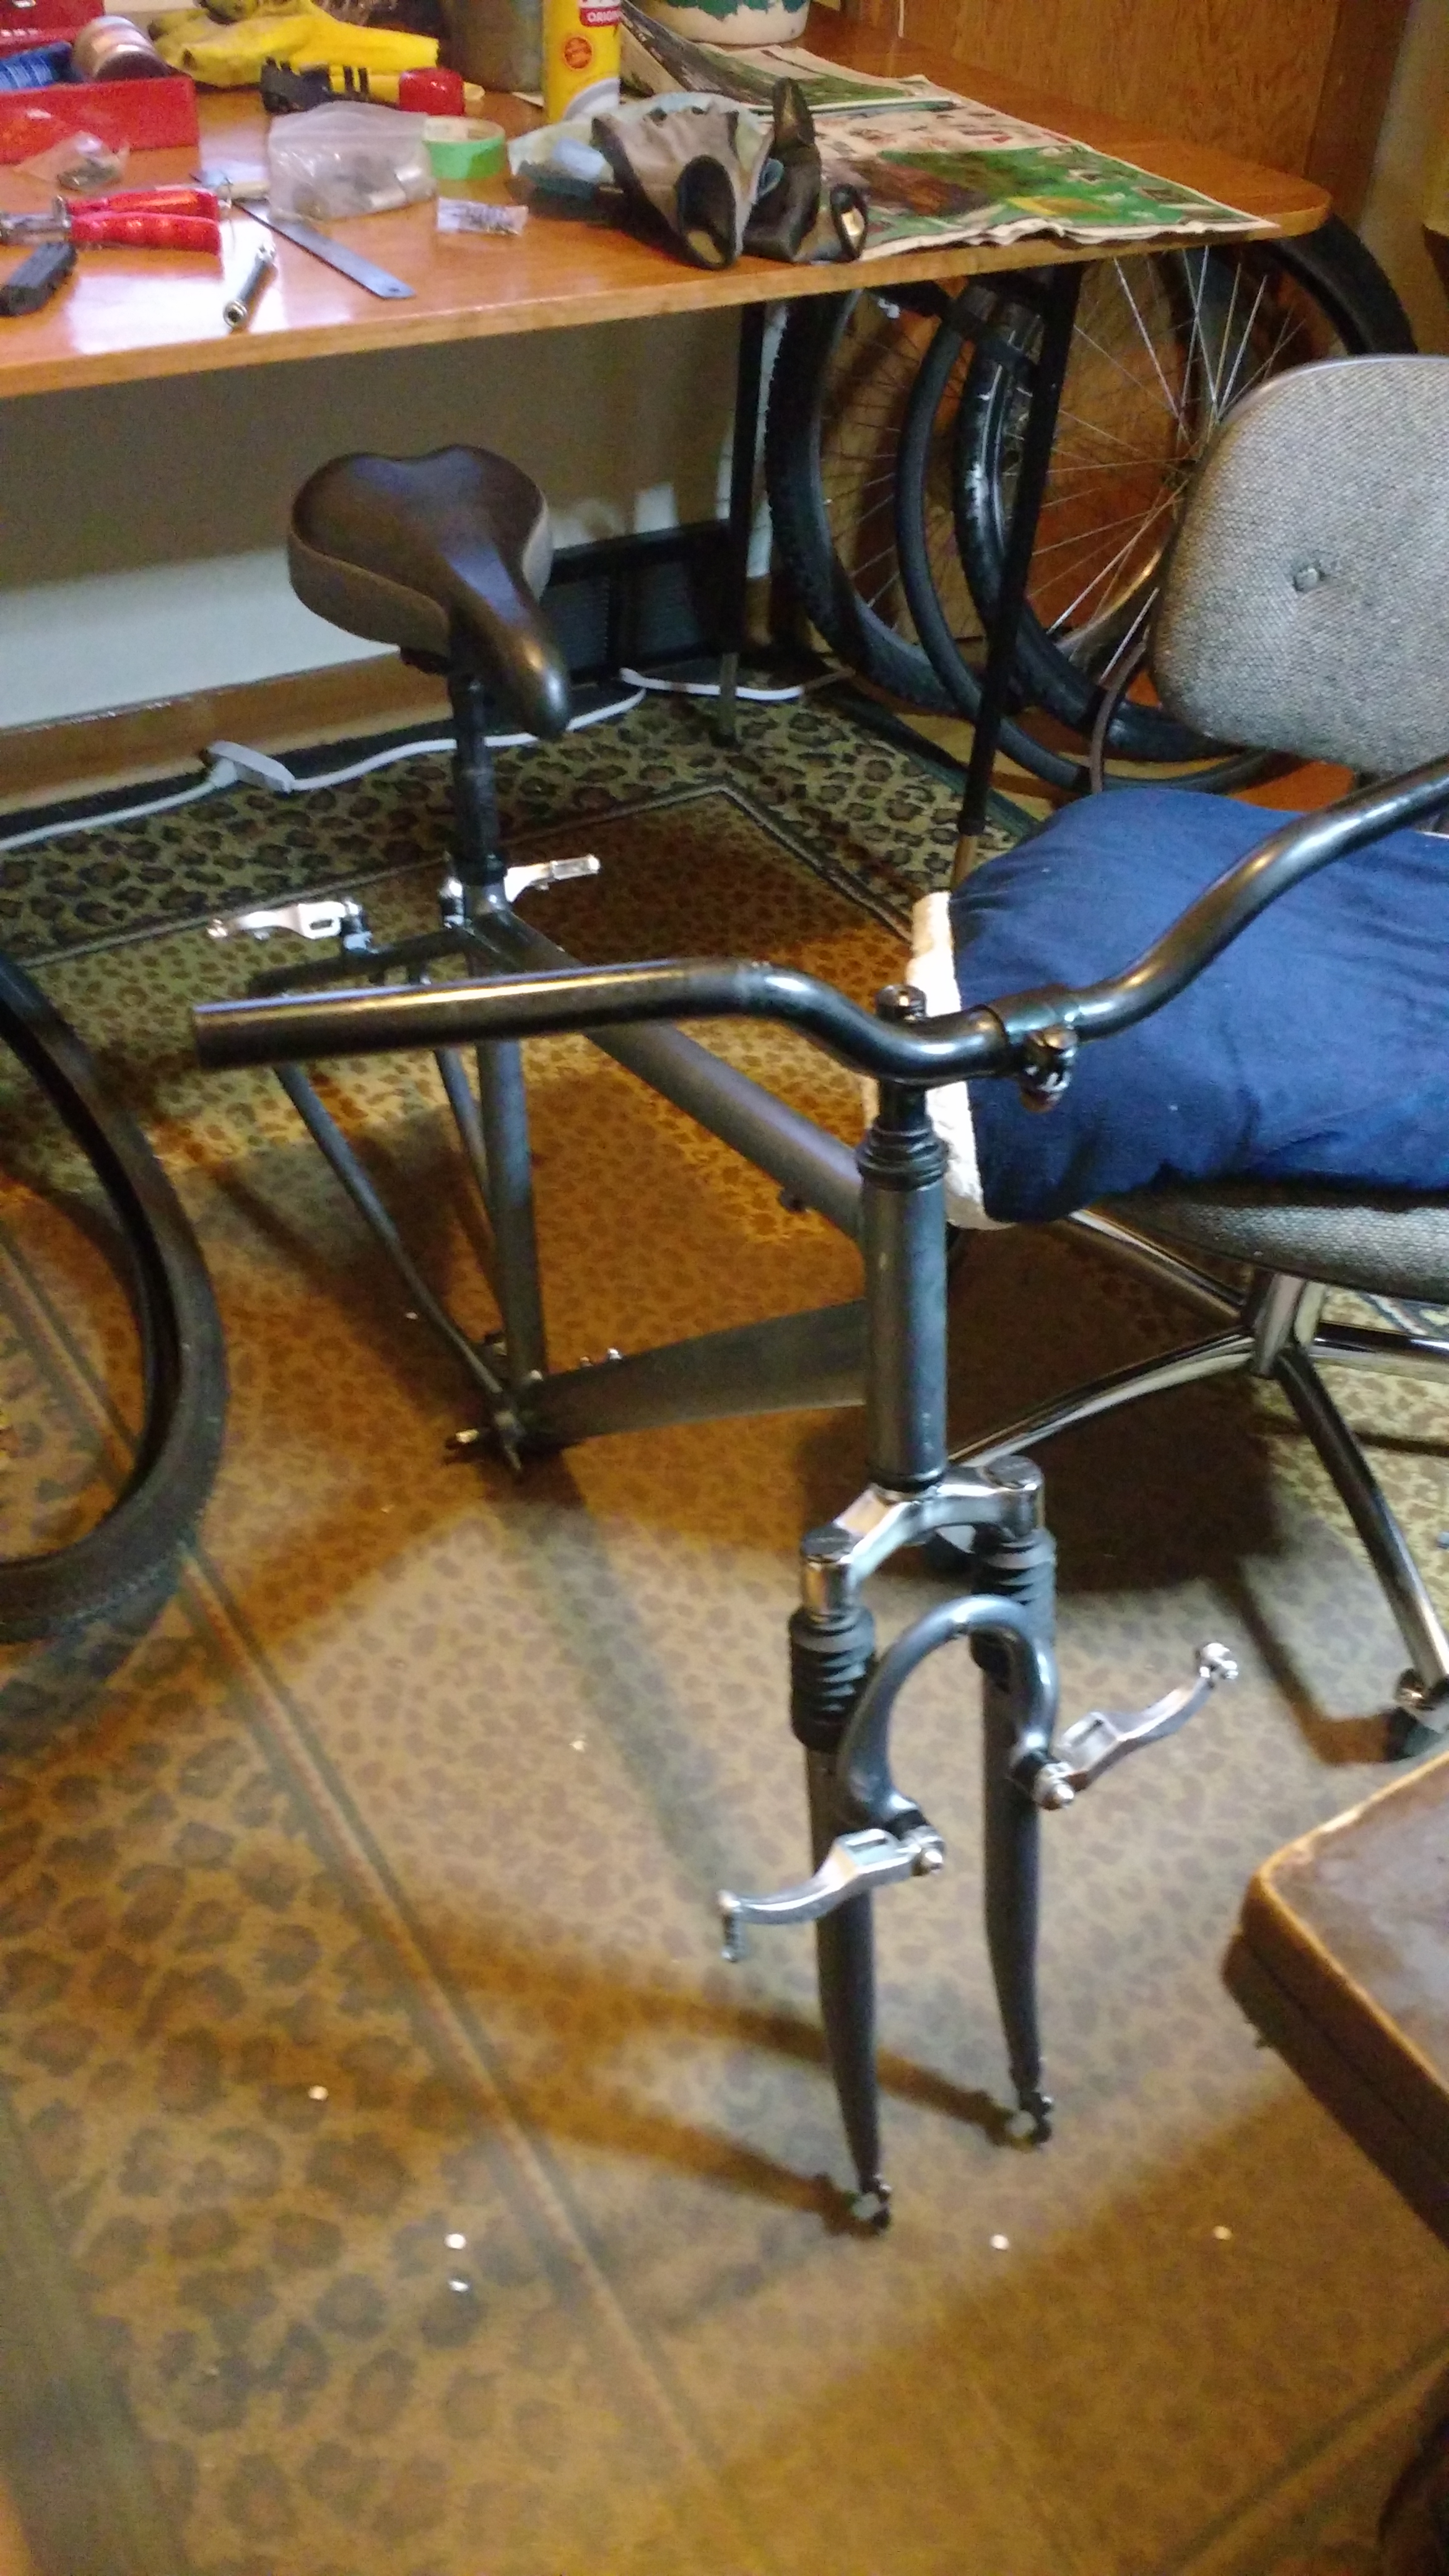
With all the parts organized, I started to get to work. This is actually the very first bike I built from scratch! As such, I didn’t really have a process. And I built it a fairly cramped space in my little office.
Now, I figured that the drivetrain would be an issue - derailleurs are extra moving parts, and they would almost immediately get seized up by ice and snow on my regular commuter. So I bought a small single speed conversion kit on Amazon and installed it on the freehub of this bike, using spacers to get the chainline just right.
I had an internally geared hub I plundered from a bike that had been in a car accident a while back, but the hub was too narrow to fit on this frame. (And plus, I have no confidence in my ability to build a wheel.) Maybe in the future I can get a nice internally geared hub that won’t mind the adverse conditions, but for now this was the cheapest and most attractive option.

I would have loved if I could find something with disc brakes, as lots of people told me they were necessary for riding in wet wintery conditions, but this didn’t turn out entirely true. The stopping power and simplicity of v-brakes is sufficient, in my opinion. Plus, who can argue with the low low price of Free?
It was also imperative that I over-grease every connection. The bottom bracket, the cranks, the any threaded component, the brake arms, the stem, everything. I’ve taken apart enough bikes to know how seized components can get, and I knew that over-greasing was a good defense against that. This bike was GREASY, even before spraying the bottom with Pam.

I installed the bell on the stem rather than the handlebars, since I figured it would make it easier to turn the bike upside down and rest it on its handlebars in case I needed to do some maintenance. It worked alright, but having the bell on the stem made it a little harder to ring while wearing thick gloves or mitts.

I installed my old rack and front fender, but opted to use the rear fender that I found with the frame. This turned out to be a mistake - there was very little clearance over the winter tires, and if the tires got caked with road grit or snow as they often did, they would rub against the fender and slow me down. It was a mistake I would have to fix later.

I kept the bike in my front room for a day or so, just to admire my handiwork. It was a satisfying thing, building a bike from scratch. I wanted to revel in it for a bit.
Shortly after, I started using it as my main mode of transportation. The single speed drivetrain turned out to be a great idea. As I recall, it was a 46 tooth front sprocket driving an 18 tooth rear sprocket. A fine gear ratio for riding on the flat, and I was able to make it up most hills on my usual routes with some grunting and sweating. (There’s one very nasty hill I never made it up, but I didn’t mind having an excuse to bail on it)
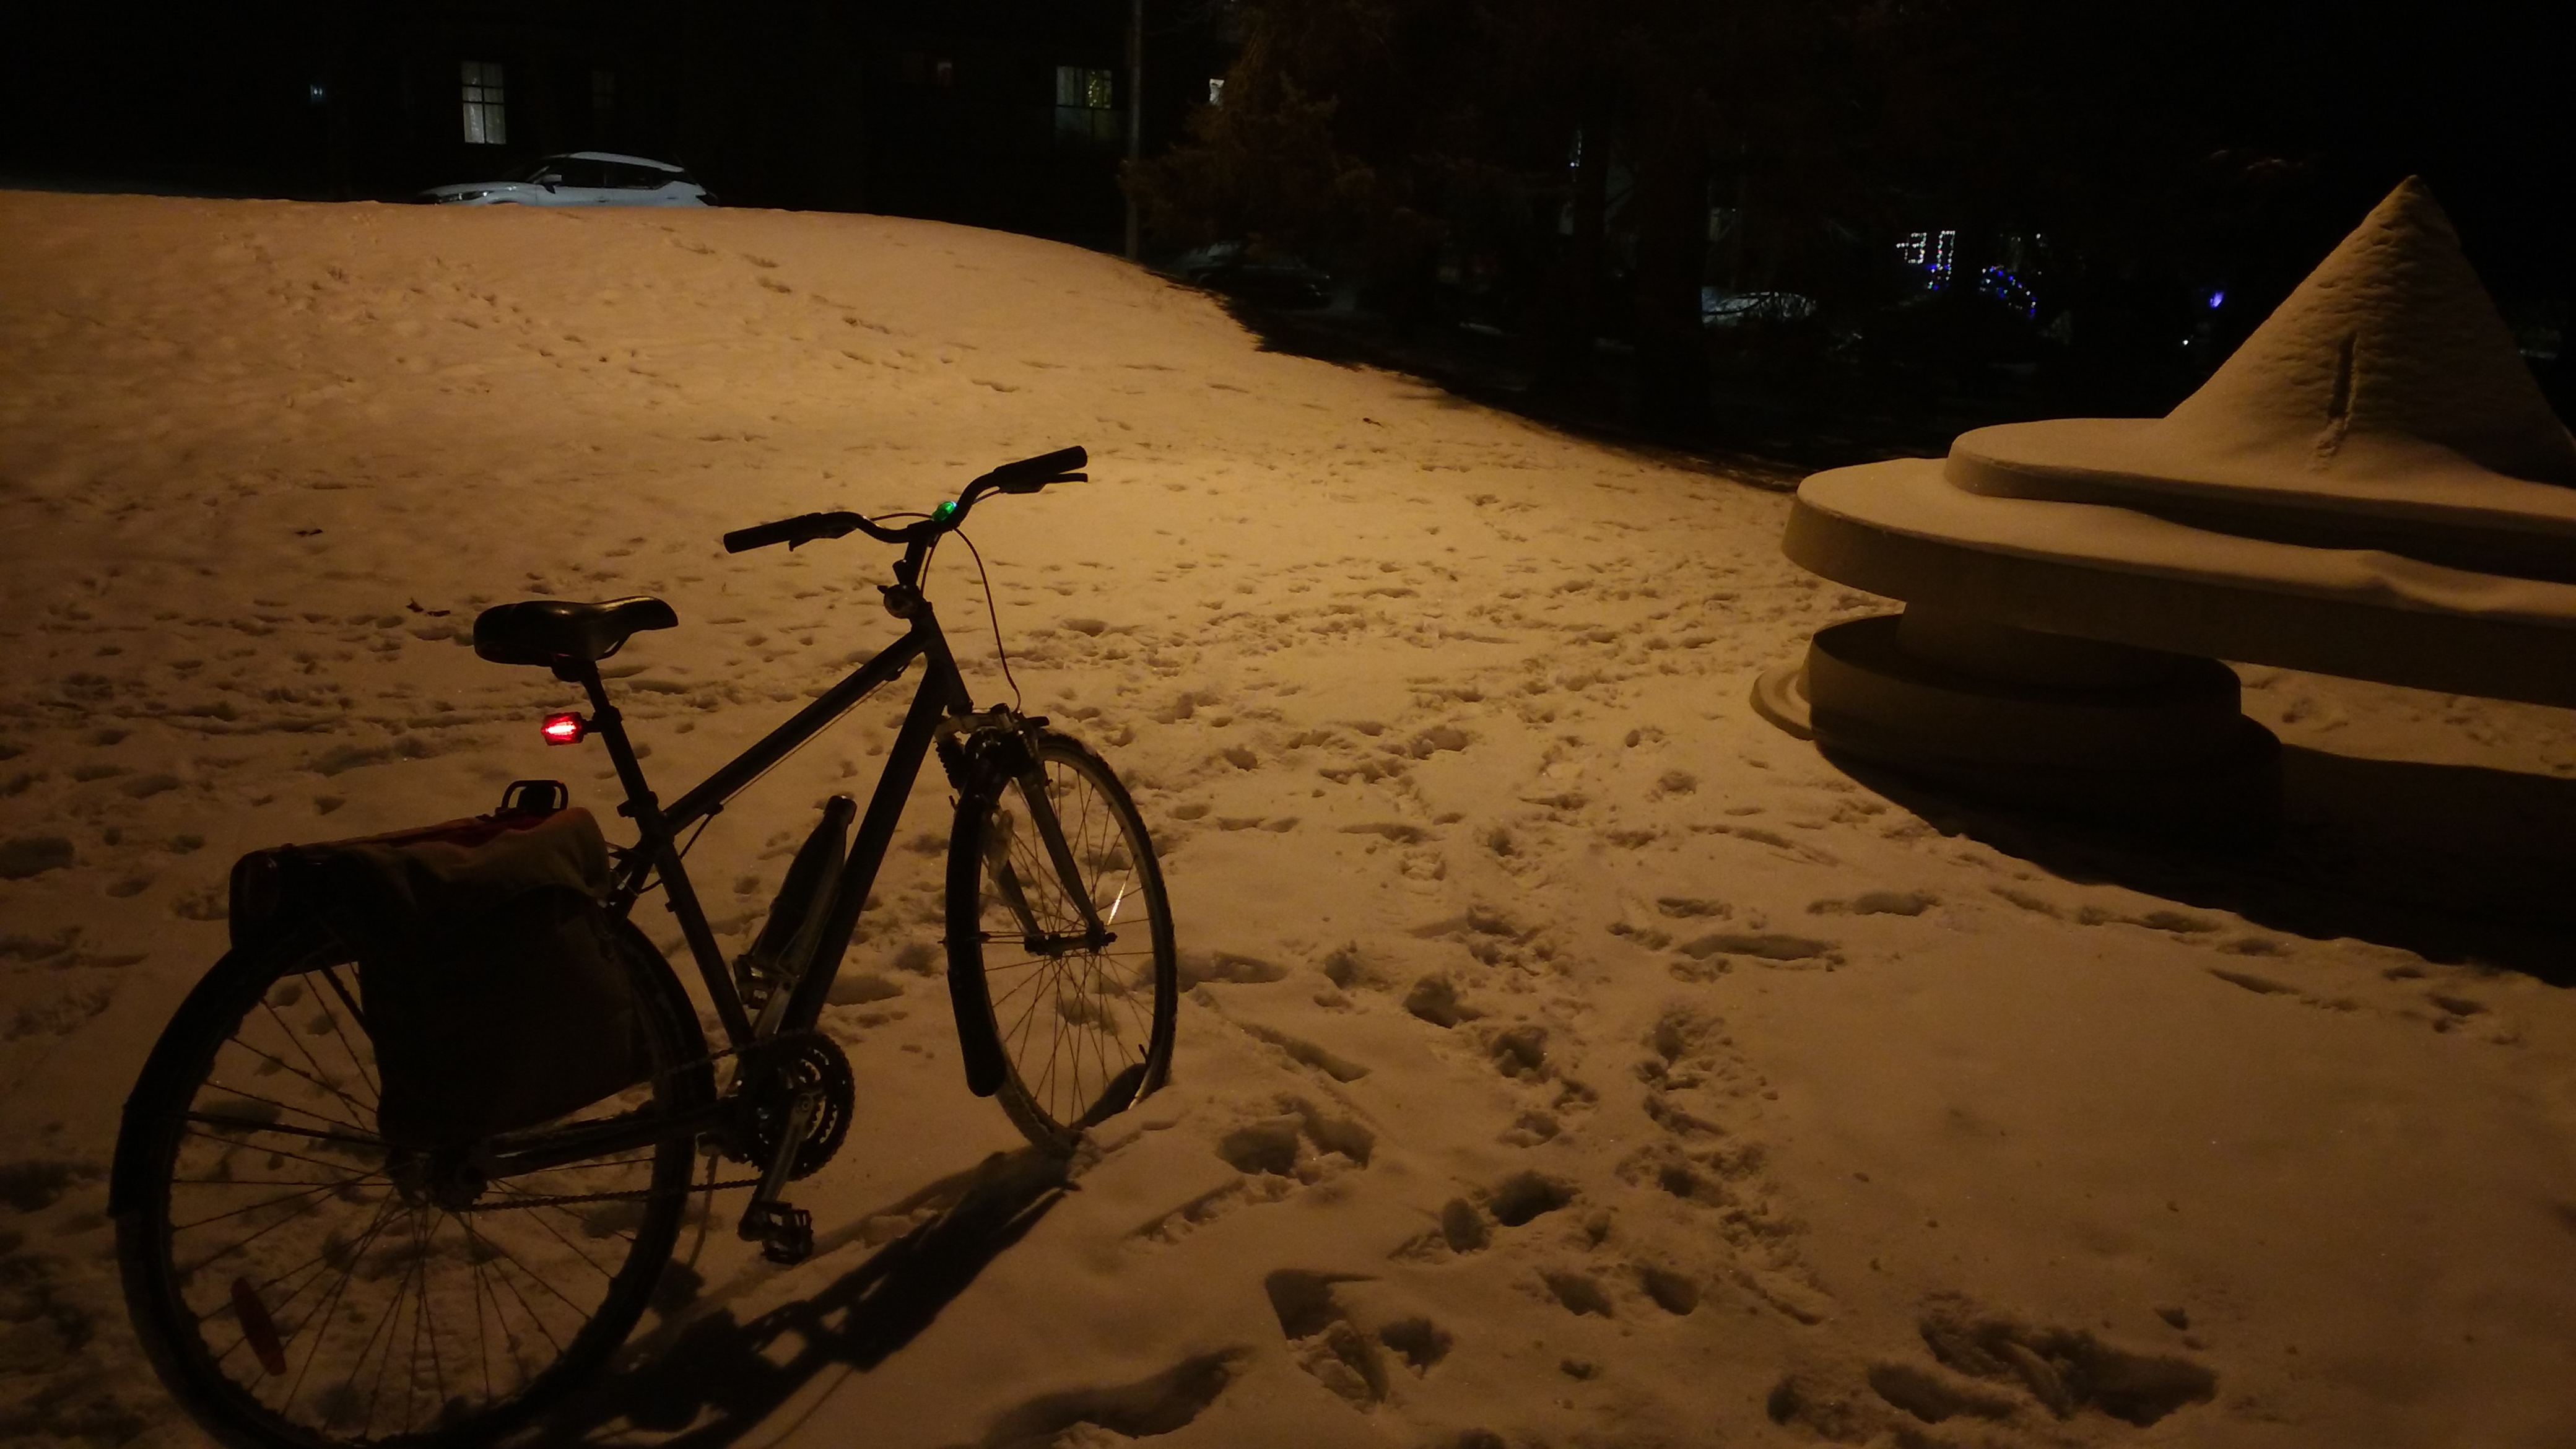
All told, I was quite happy with this. Winter was in full swing, and I was still able to get around by bike. It was a little more cumbersome - I had to prepare a lot more, with thicker clothes, gloves or mittens, and occasionally a ski mask if it was too cold, but it was absolutely doable, and still enjoyable.
There were, of course, some technical difficulties.
- The pedals. I built the bike with its original lightweight, cheap, narrow metal pedals. If I stepped off the pedals and got my boots snowy or wet, these would become immensely slippery, and a few times my feet slipped off. Worse still, on a particularly cold day, I stepped down hard and bent the brittle edge of one of the pedals, nearly wiping out in the process. After this, I switched to wider, rubbery mountain bike pedals with cleats on the top. This solved the problem.
- The aforementioned rear fender issues. I needed to swap out for a rear fender that had better clearance if I didn’t want to constantly fight with gravel and snow stuck between the tire and the rear fender.
- Cold hands. I got fairly thick grips to insulate my hands from the metal bars, but my mitts weren’t up to the task of stopping the wind. Even if they were, my circulation isn’t good enough to keep my hands warm forever.
Part 3 - Making Adjustments
After riding around for a few weeks, Christmas came and went. My parents got me some bike gear for winter - notably a seat bag for tools, and a pair of bike pogies (aka bar mitts). I brushed my winter bike off and took it inside, sat it atop a piece of cardboard, and allowed it to thaw out. I replaced the pedals, tested out the pogies, and swapped out the rear fender for my other planet bike fender. (The one that matches the front fender.)

As a side note, in my opinion fenders (aka mudguards) are required for winter riding. They’re a good idea for all commuting, of course, but if you’re riding in winter, fenders not only keep you clean and prevent you from getting constantly salt-and-grit blasted in the face by your front tire, they also save your drivetrain. Your bike will be tangibly less dirty (and thus less corroded at the end of the season) if you have full-sized fenders.


I later added a basket, which I highly recommend. Not only is it useful for grabbing takeout meals, it’s also a great place to shove your outer jacket when it’s sunny and warmer than you thought, and you’ve worked up a sweat.

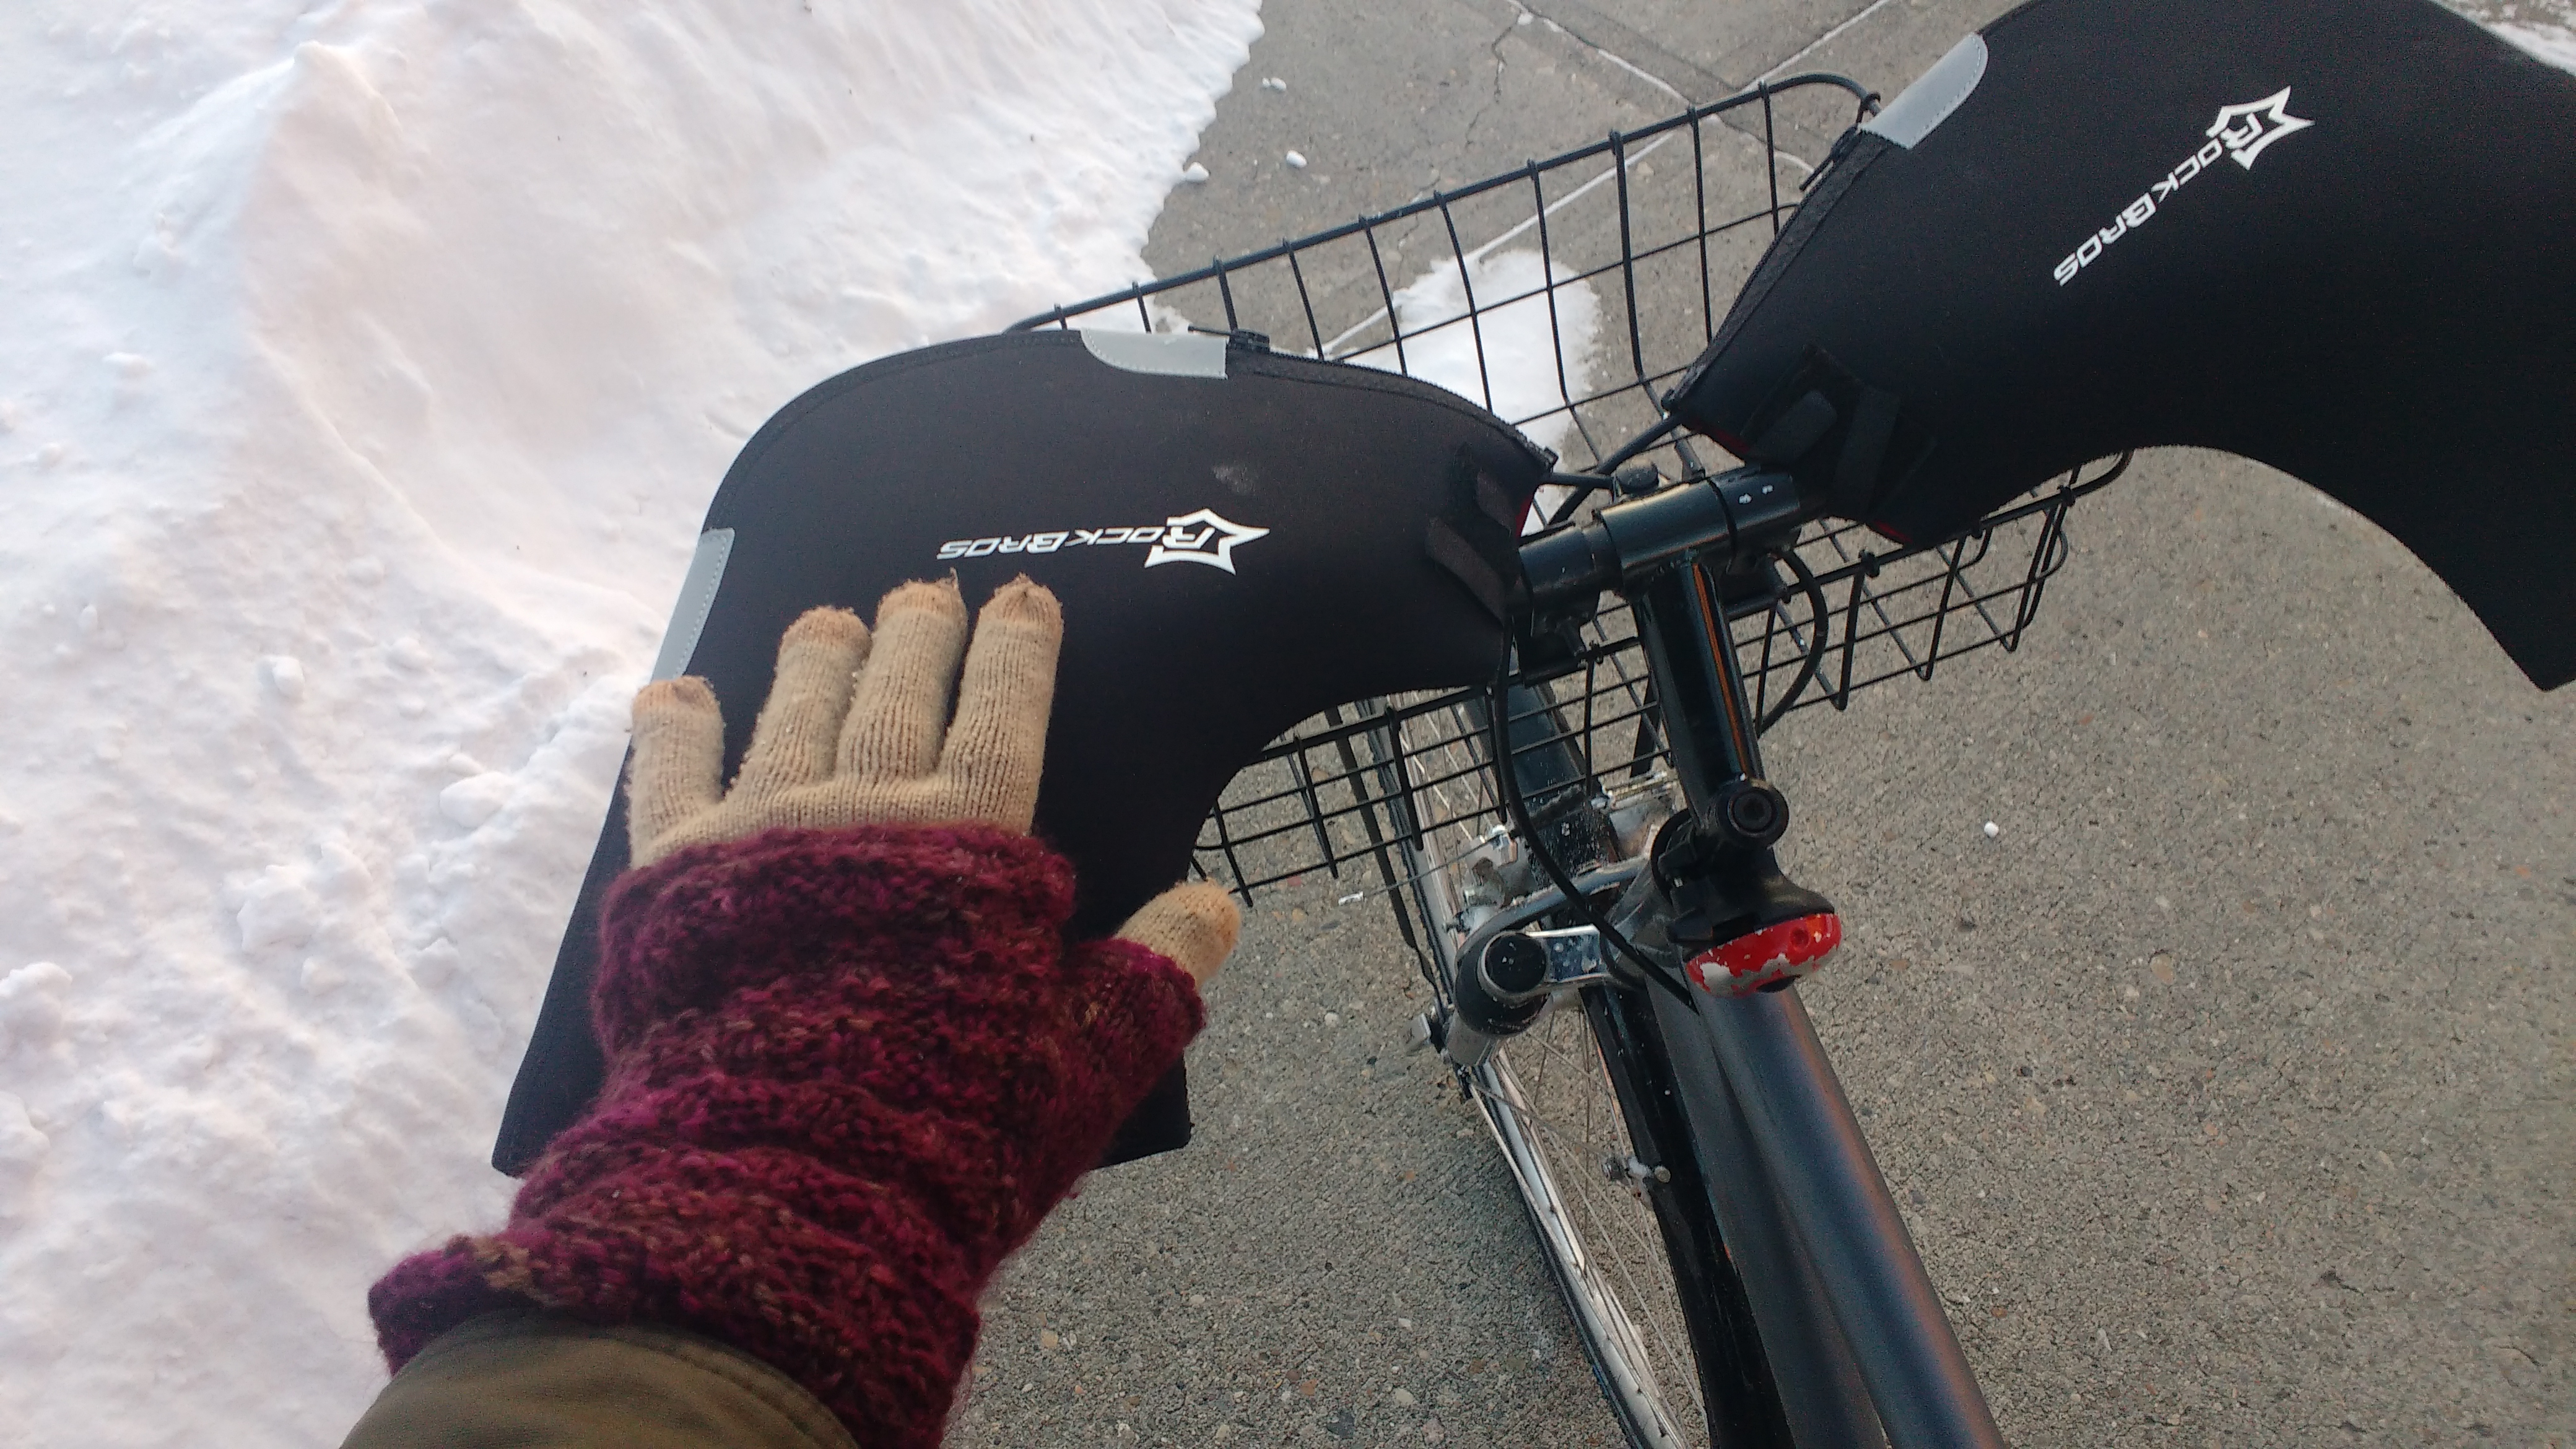
For particularly cold days, I would use disposable handwarmers (the ones that are a small bag of iron filings that oxidize when exposed to the air) inside a pair of calfskin snowmobiling mitts with inner linings.
And that’s it! I spent the rest of the winter happily riding this thing around. On average, I probably rode it four days a week.
I’ve written up a retrospective on my winter riding with this bike, as well as some post-season pictures in a post here
Cost Breakdown
Assume that anything not listen in the cost breakdown was free (or gifted to me).
| Item | Cost |
|---|---|
| Bicycle, from garbage | $0 |
| Kevlar Winter Tires w/ Tungsten Carbide Rivets | $170 |
| Single Speed Conversion Kit | $40 |
| Winterized Bike Helmet | $40 |
| Tubes | $12 |
| Total | $262 |