Adventures in Frame Painting
Tagged: bike diy projectMy daily driver is a black commuter bike with hybrid geometry. It’s got a black paint job, black handlebars, a black stem, black grips, black pedals, a black bottle cage, a black rack, and black fenders. I’ve taken to calling it Johnny Cash, a monicker that came about just by outfitting it with parts that match. Beggars can’t be choosers, of course. And black is a common denominator for scrap bike parts since it goes with everything.
But Black is boring. I want a purple bike.
I want an obnoxious purple bike. Black is nice for the unassuming commuter you’re going to leave locked up in downtown. But if you want to ride something fun, you should have a bit of colour. I’m also not really one for obnoxious branding. The only thing worse than a bland black bike is a bike that’s absolutely bursting with logos and iconography. With a custom paint job you can have something truly unique: a bright and fun bicycle that’s free of logos.
Months ago I learned that, one of the dangers of watching bike restoration videos on youtube is that you start to get ideas. You watch enough old guys sand down bike frames and give new rattlecan paint jobs, and think “I can do that.”
And so I set out to Do That.
Preparing the Frame
As with every story on this website, it starts with a thing I found in the garbage. In this case, it was an old 90s mountain bike. Specifically, it’s a “Leader LE 60750” and it’s got 26" wheels, friction shifters, center pull cantilever brakes, and a pretty lackluster set of drivetrain components. I found this bike long before I had any plans for it, or proper tools for disassembly. It mostly sat in my back yard while I learned how to take it apart. Then it sat, disassembled and unused, in my closet.
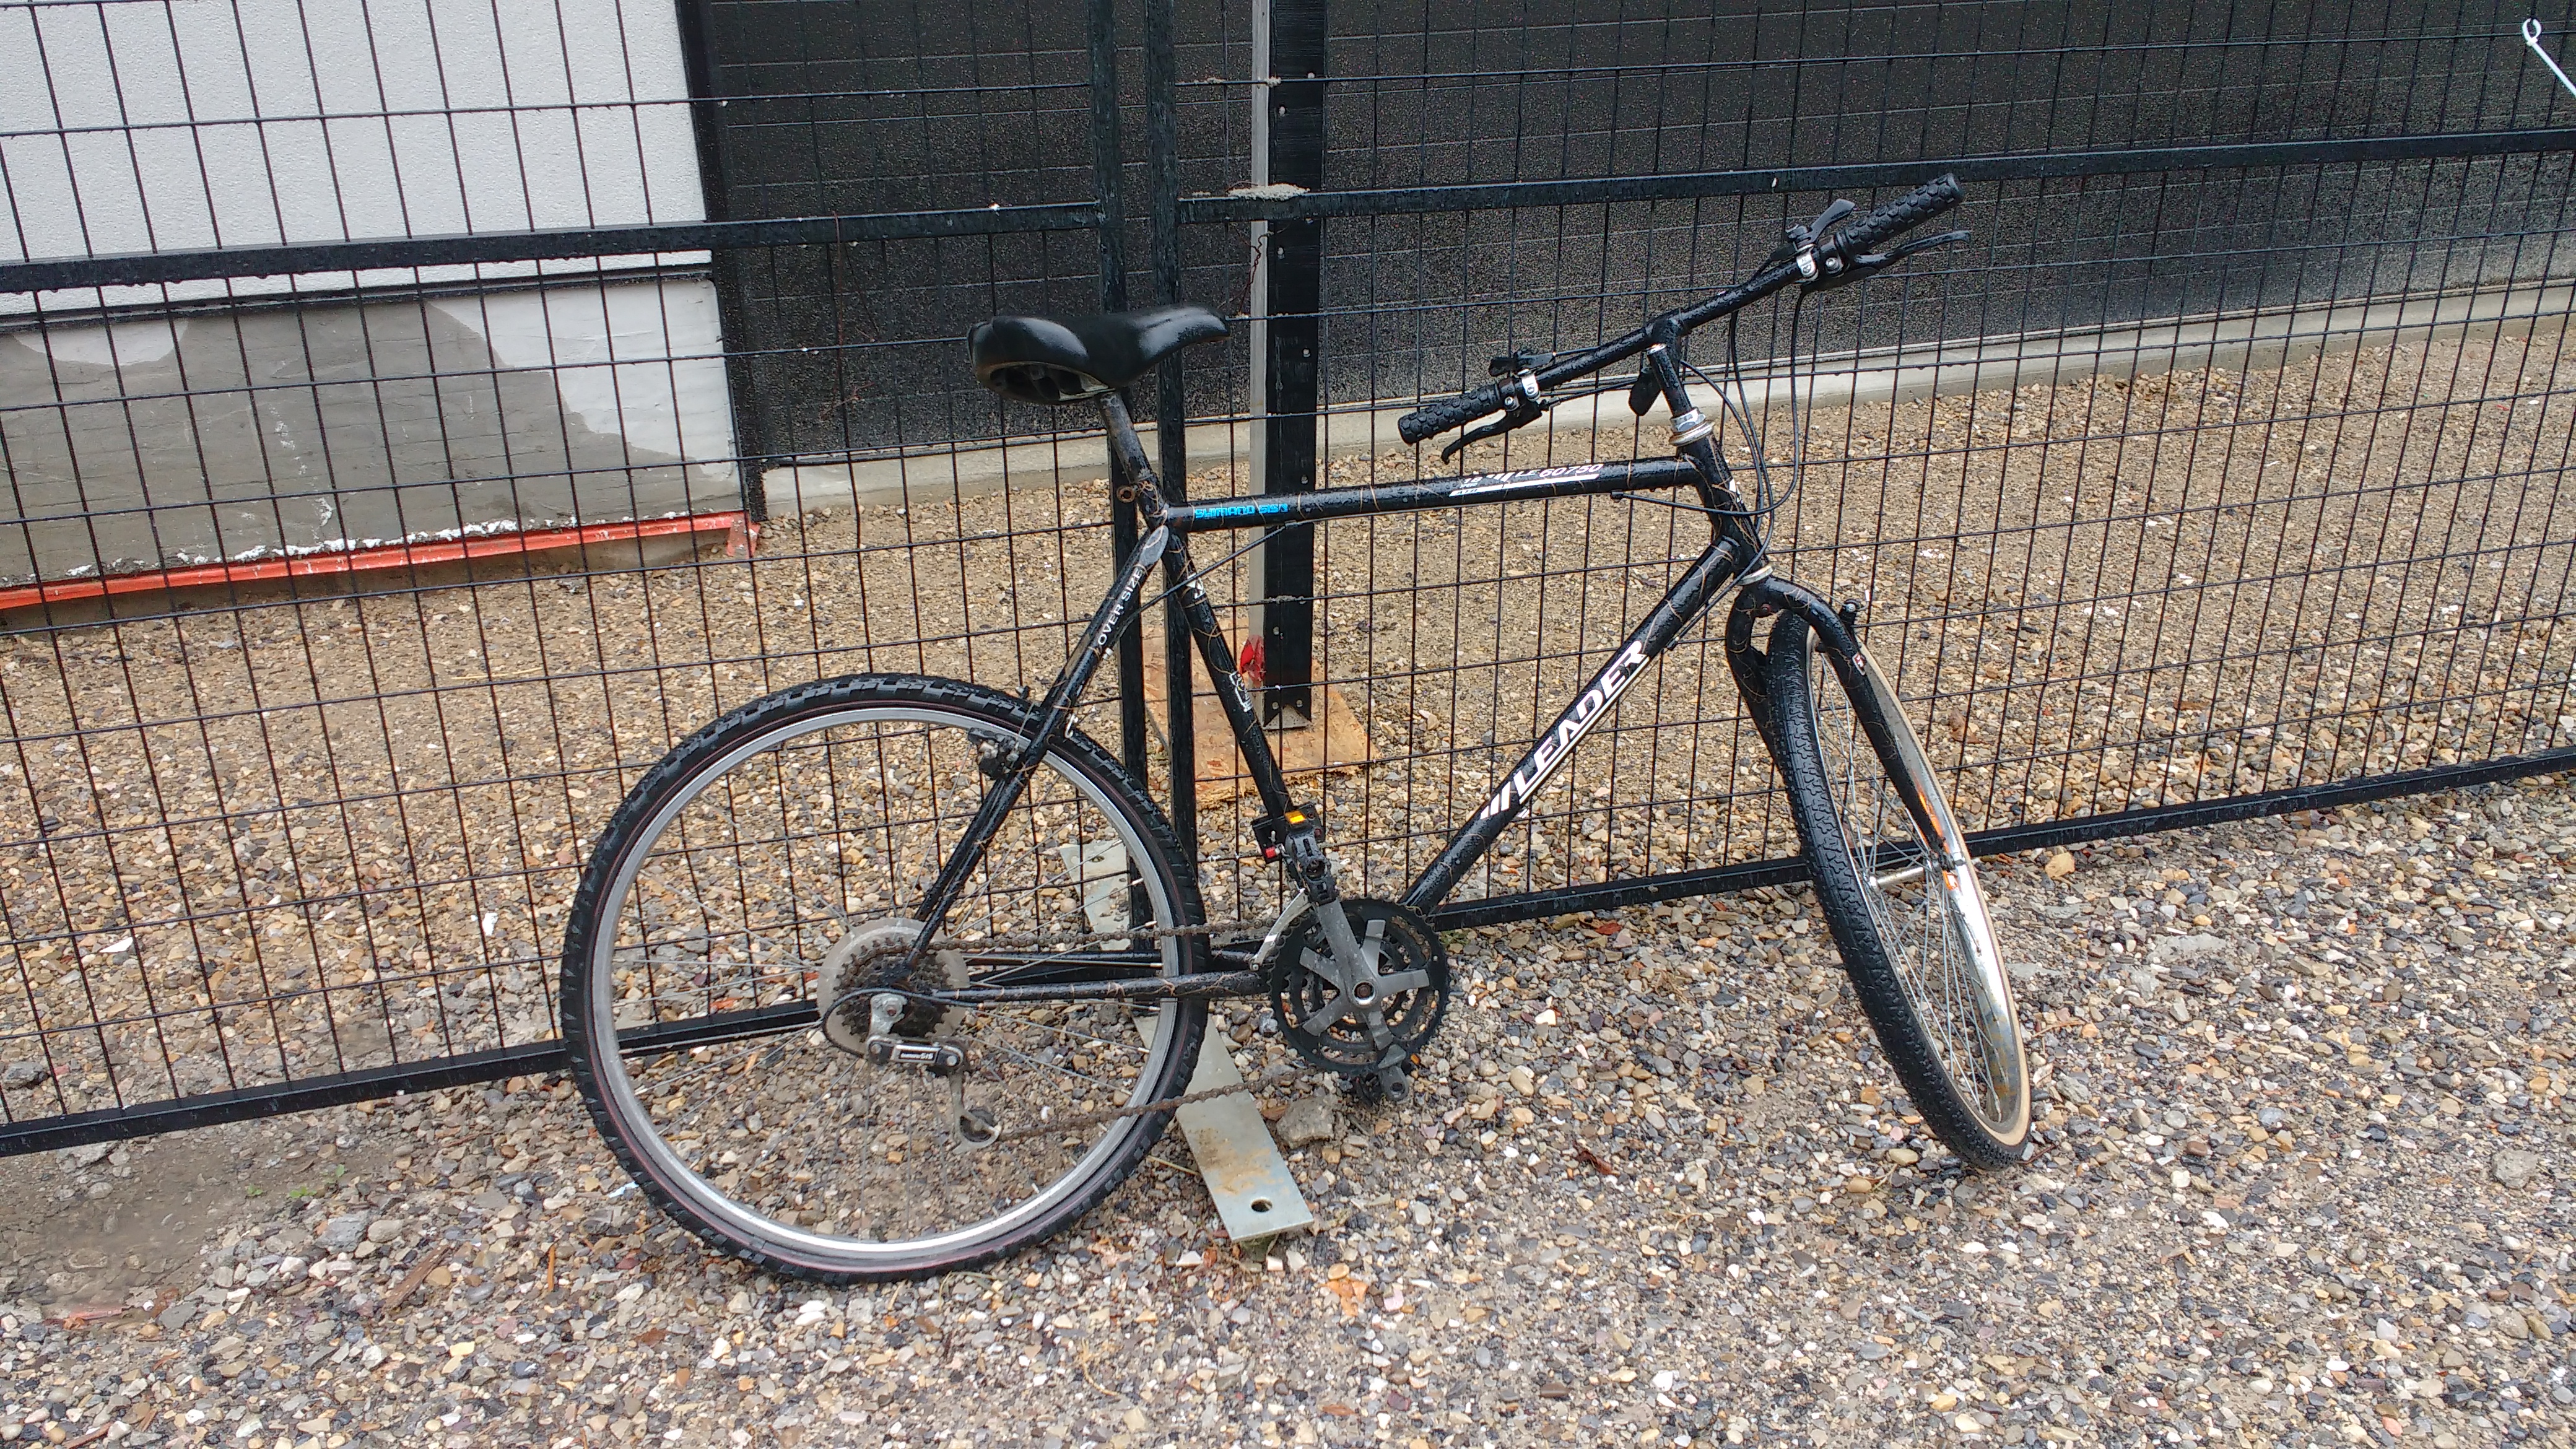
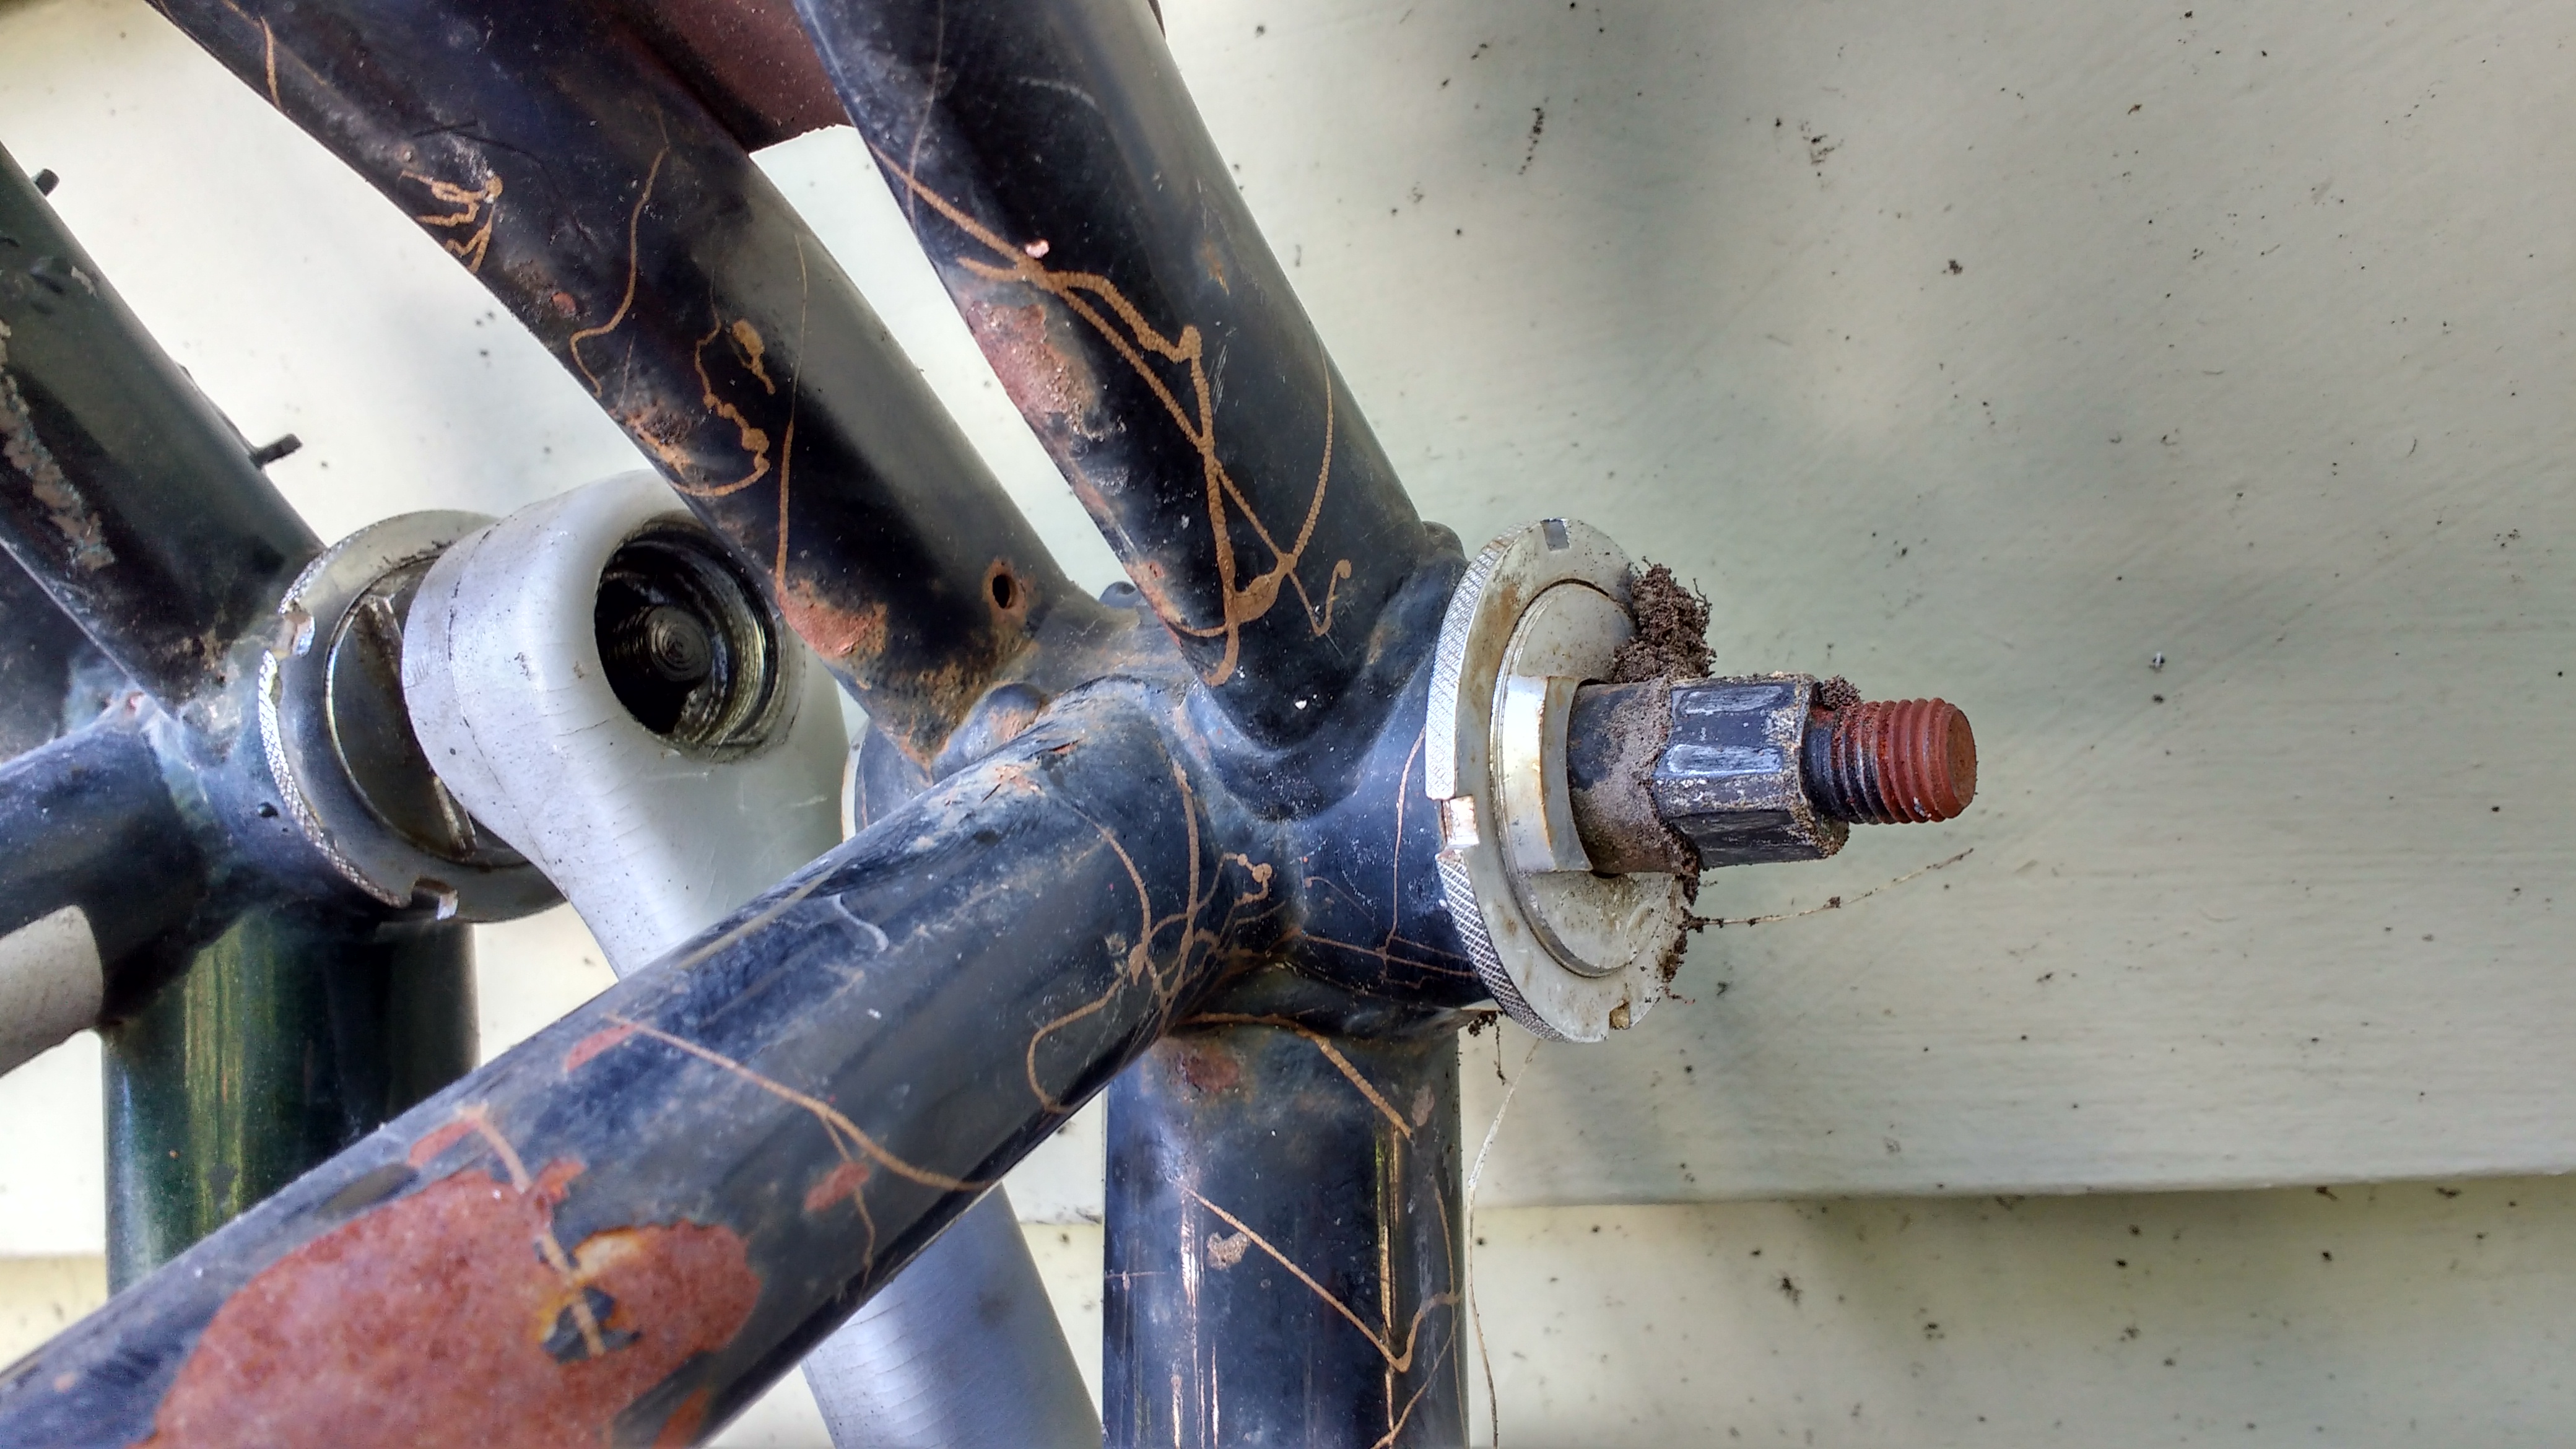
When I decided I wanted to try painting a bike frame, this frame seemed like a good choice - the original paint was peeling, and there was a ton of surface level rust. Plus, it wasn’t too nice. I was certain to make a bunch of mistakes and learn a bunch of lessons, so I decided to start with something where I wouldn’t be heartbroken if I ruined it.
As for removing the paint, a friend of mine has access to a sand blaster at his job. He offered to take the frameset and blast it down during a night shift. He had done a couple bikes before, and I graciously accepted. He did an impeccable job on this old steel frame, and it came out fantastic.
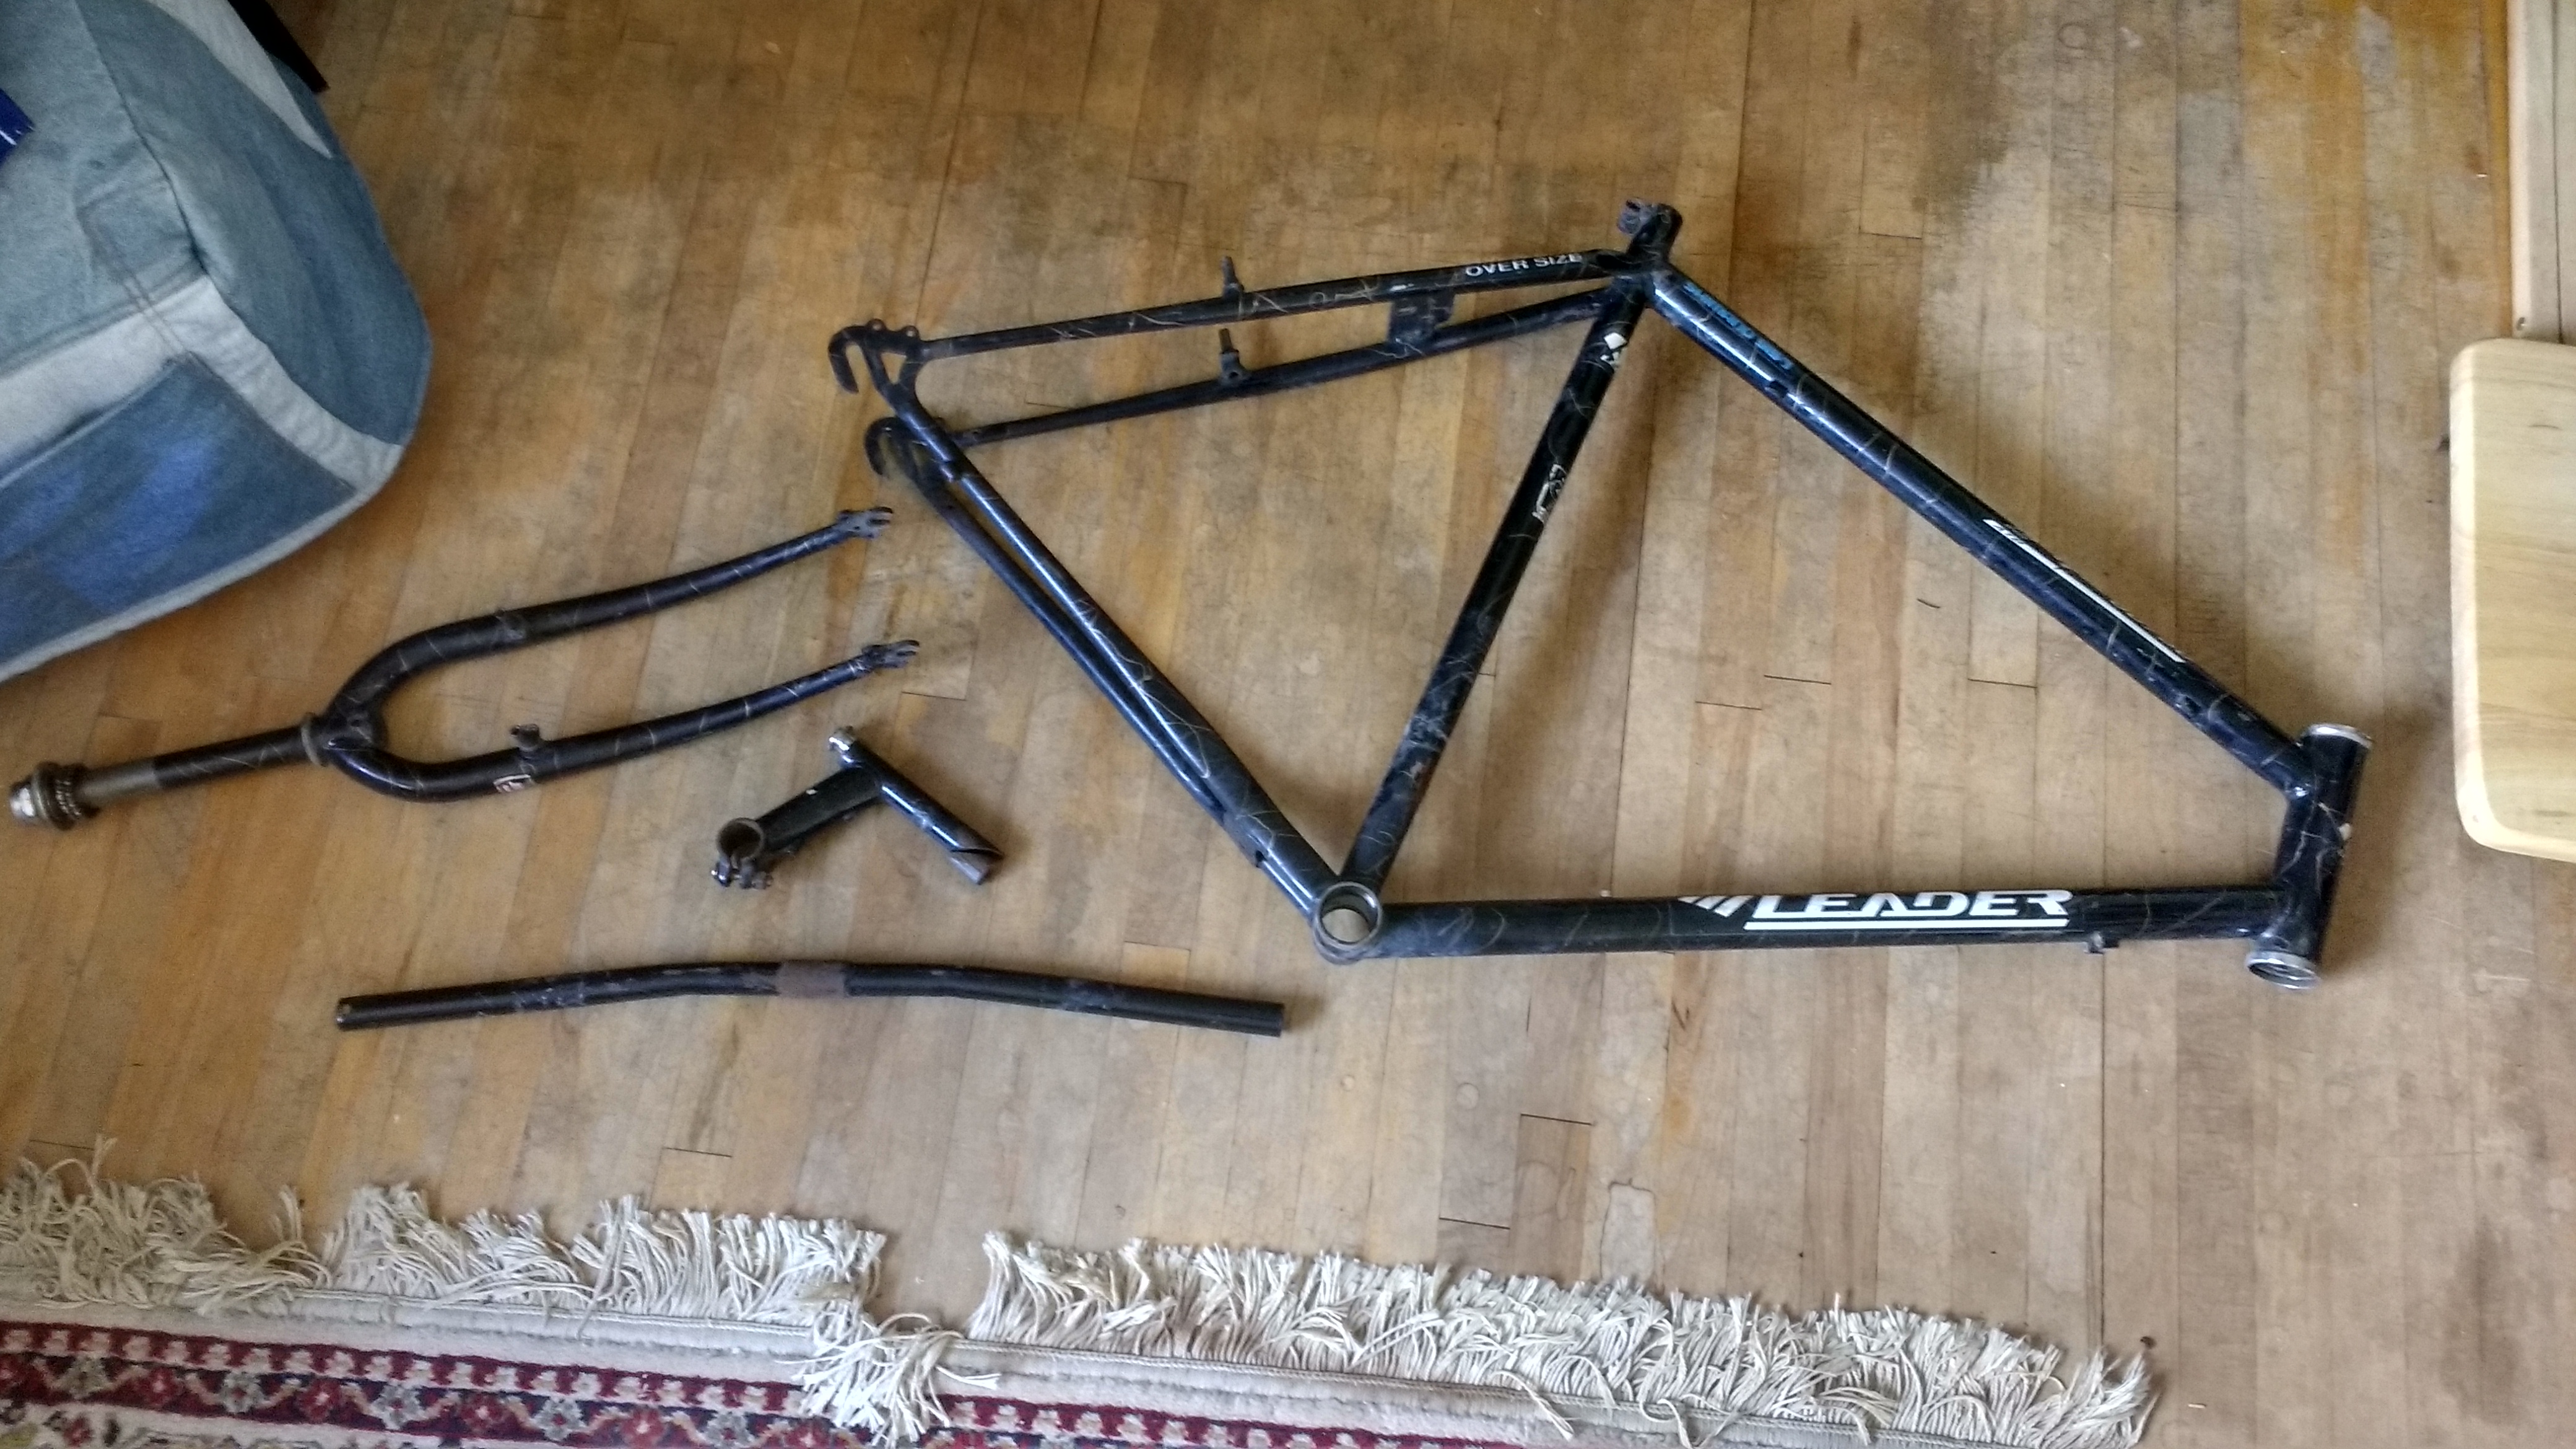

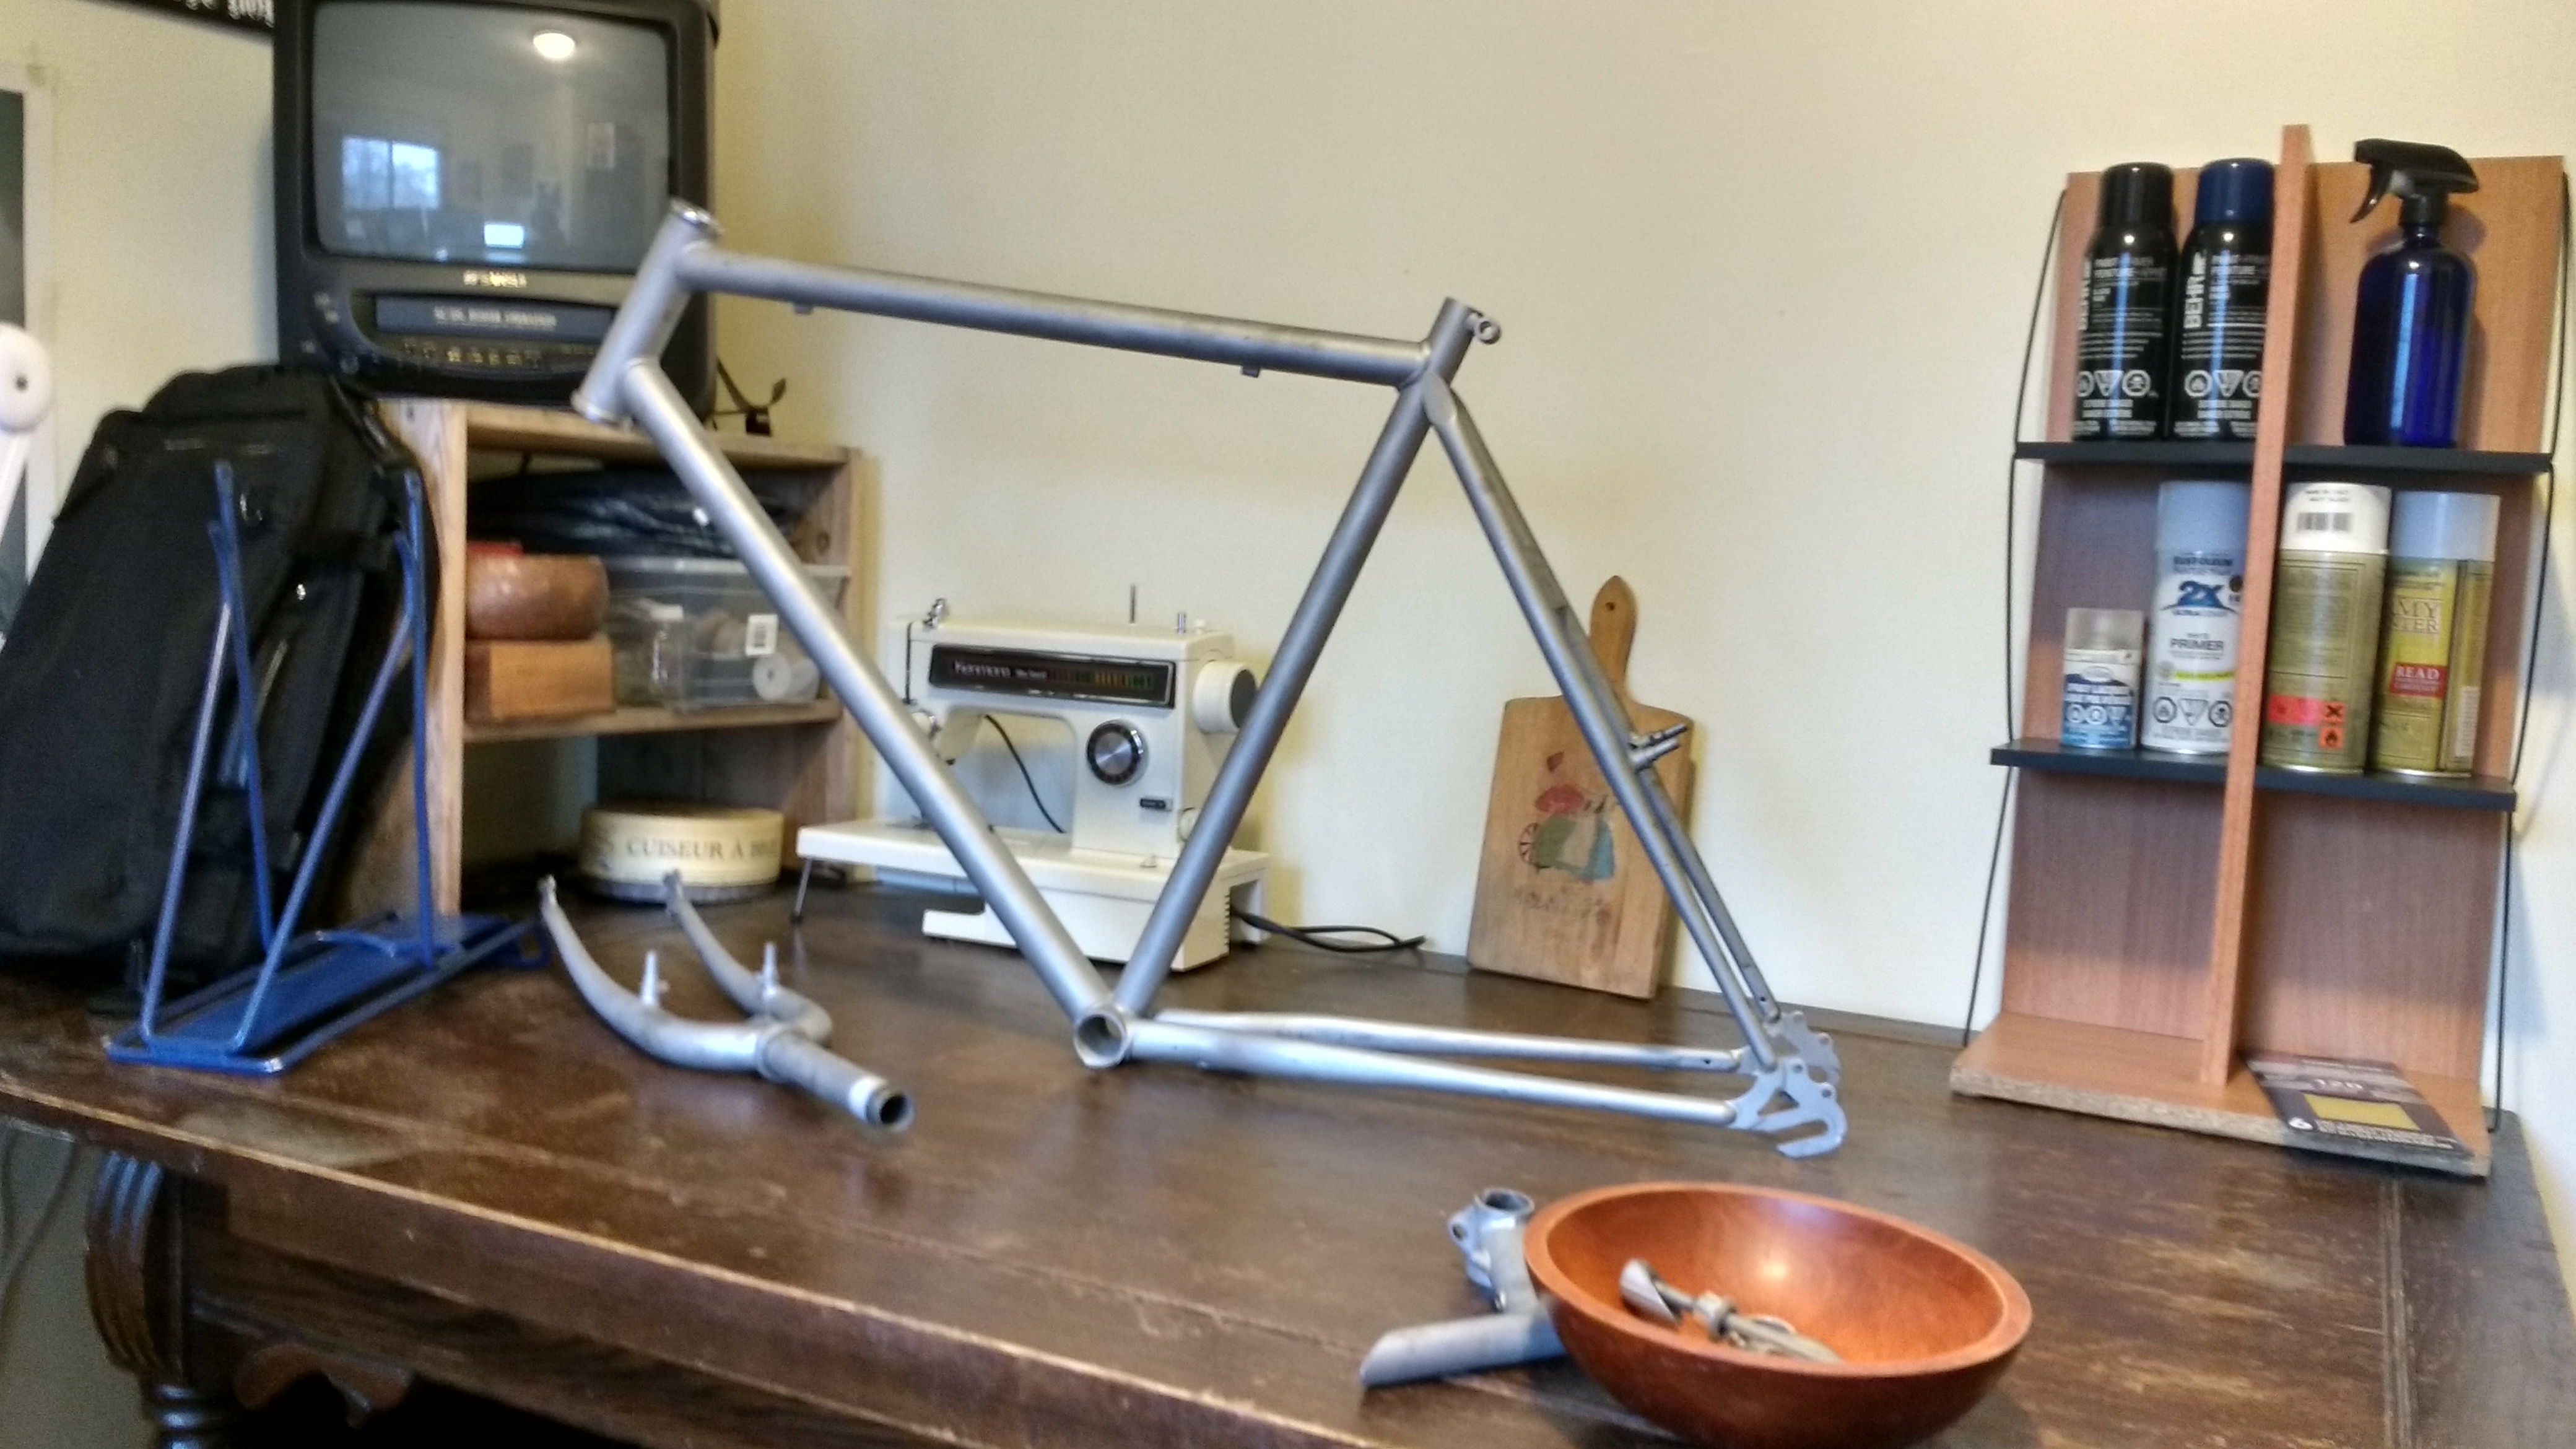
There was some particulate still stuck to the frameset, and leftover patches, so I spent a bit of time doing touch-up sanding and cleaning the bike with rubbing alcohol and rags. Once it was sufficiently clean, it would be ready for a coat of primer.

At this point, we were well into Winter, and it was too cold to paint outside. I debated using a friend’s heated garage or booking a painting space somewhere, but eventually, there was a small stretch where the temperature was above freezing, and I was able to set up a painting station outside.
The Paint Job
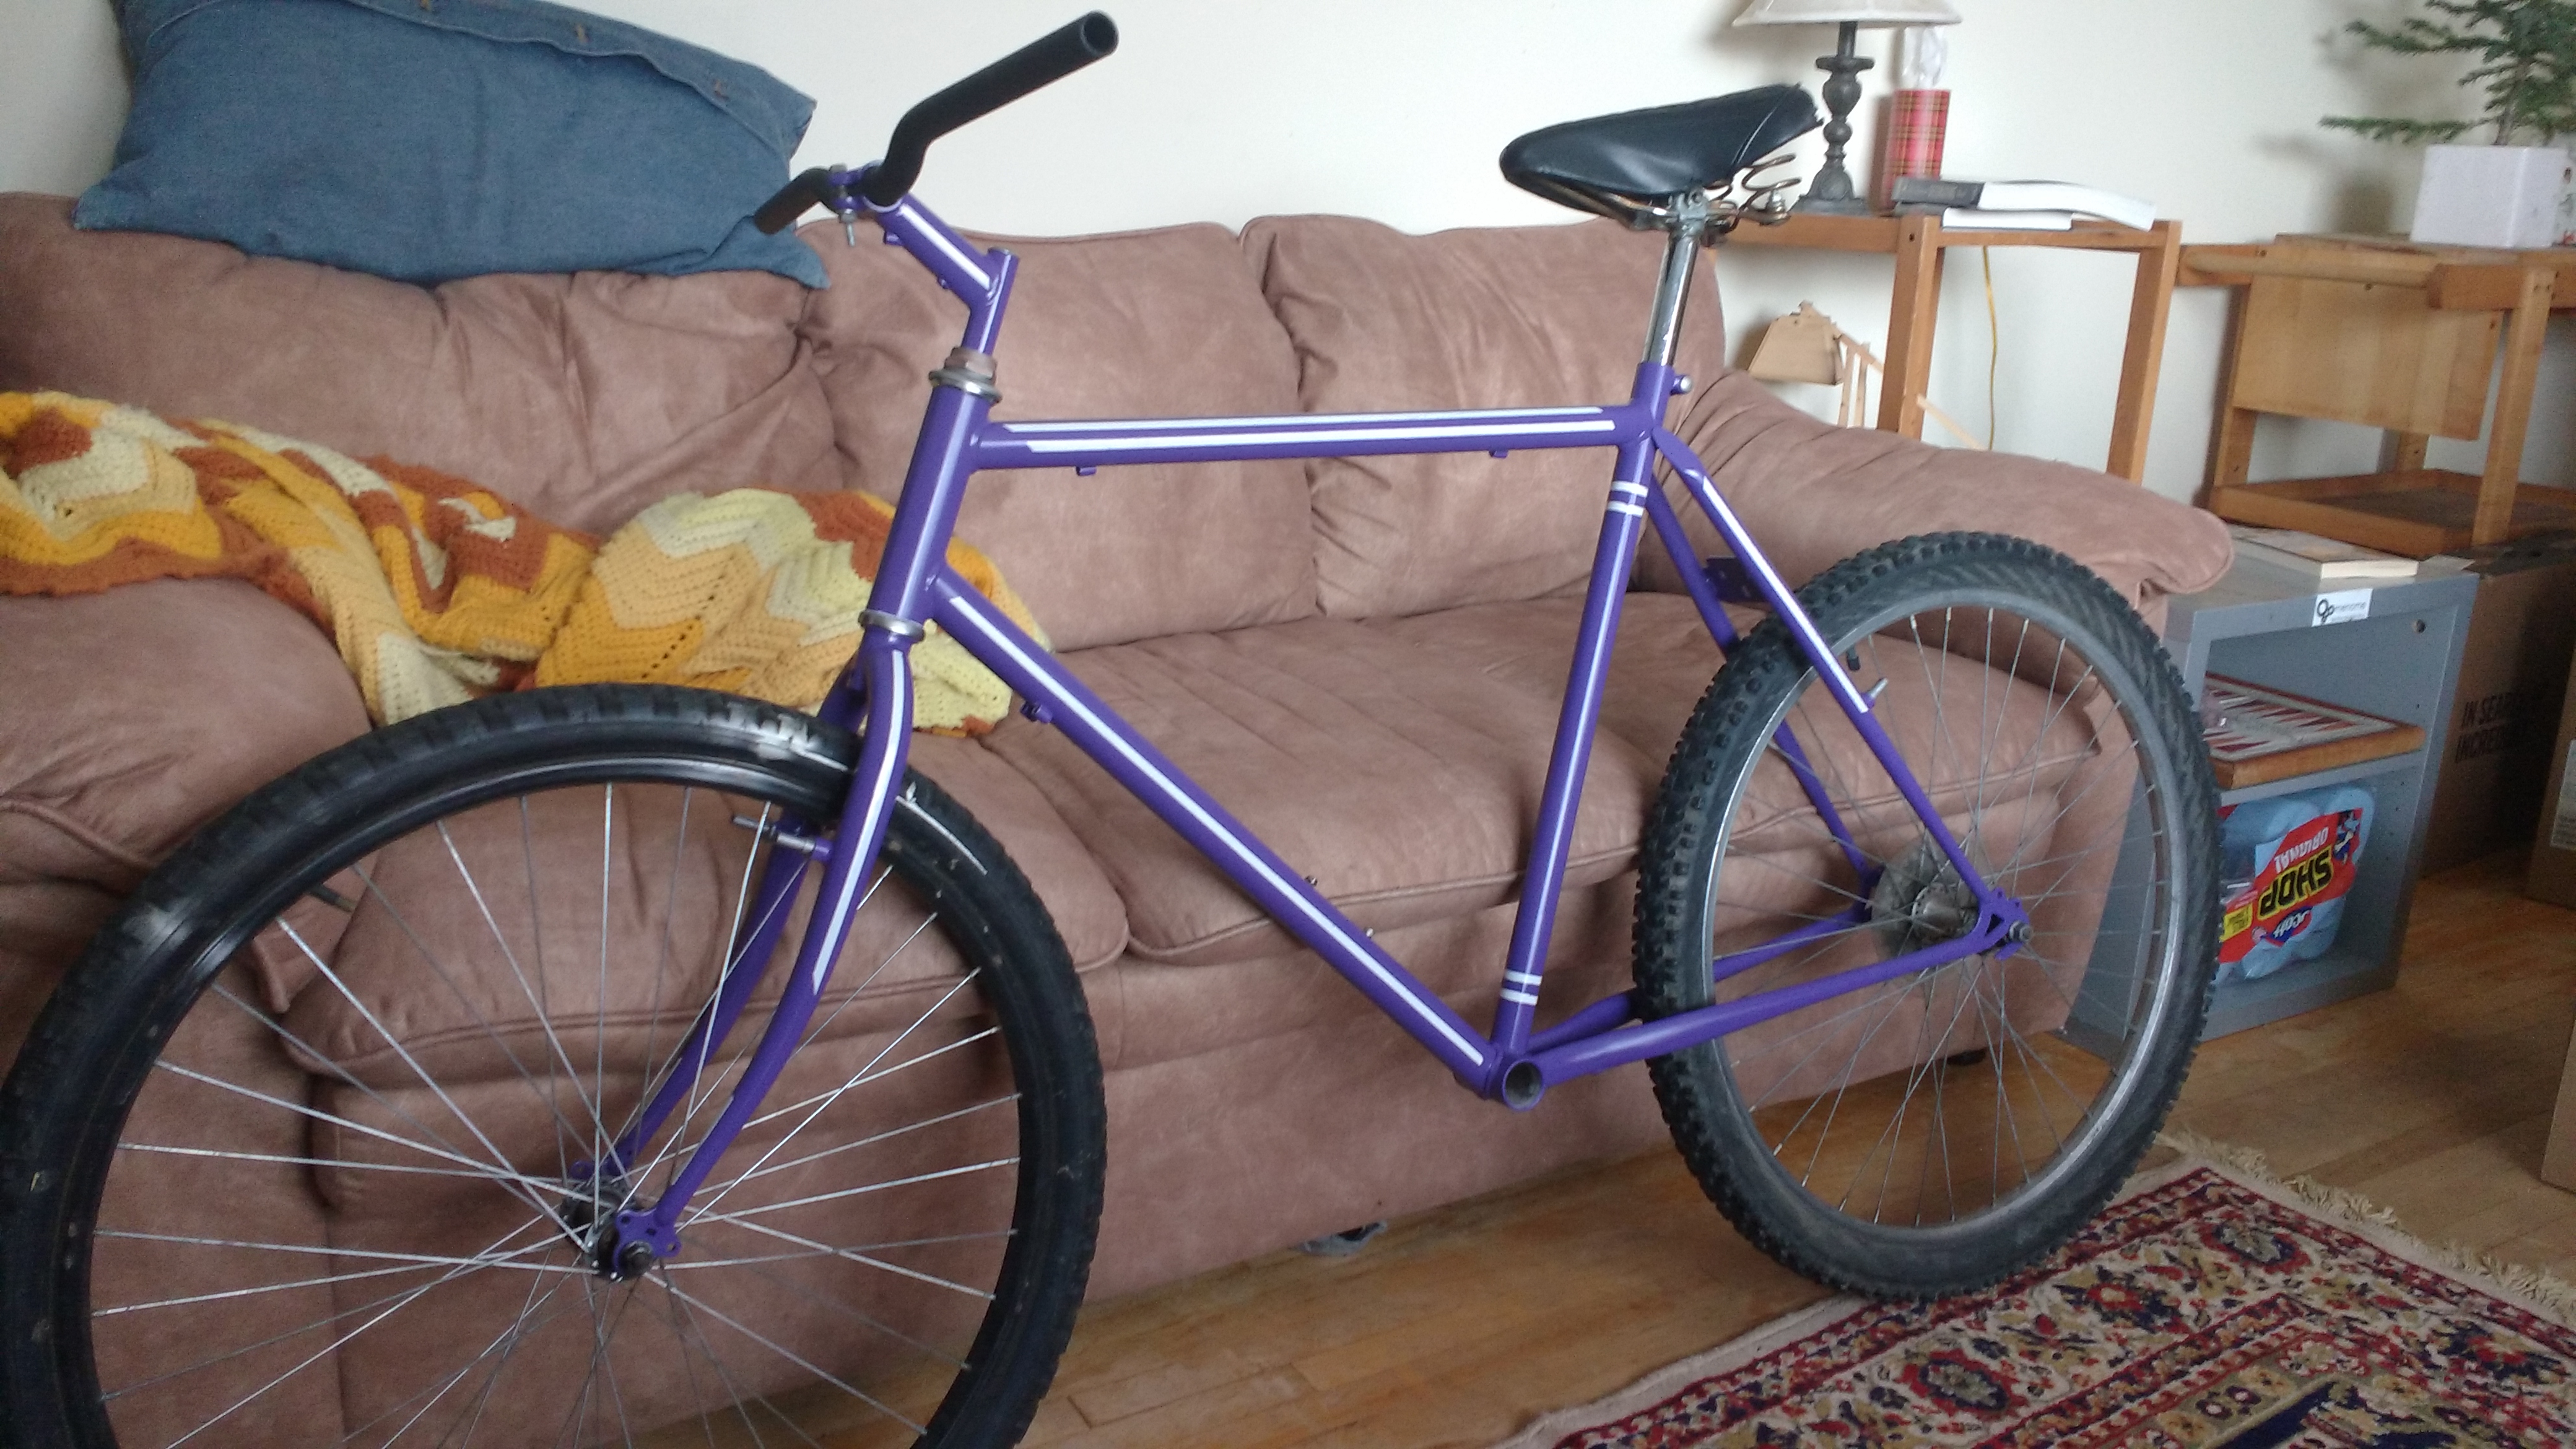
After some brainstorming and moodboarding, I had decided on what sort of paint job I wanted to do: purple with white racing stripes. Clean lines, no logos, nothing too fancy. I would do a couple layers of white primer on the frame, add some masking tape for the racing lines and painting over in purple. I purchased rattle cans of white primer, purple paint, and protective topcoat.

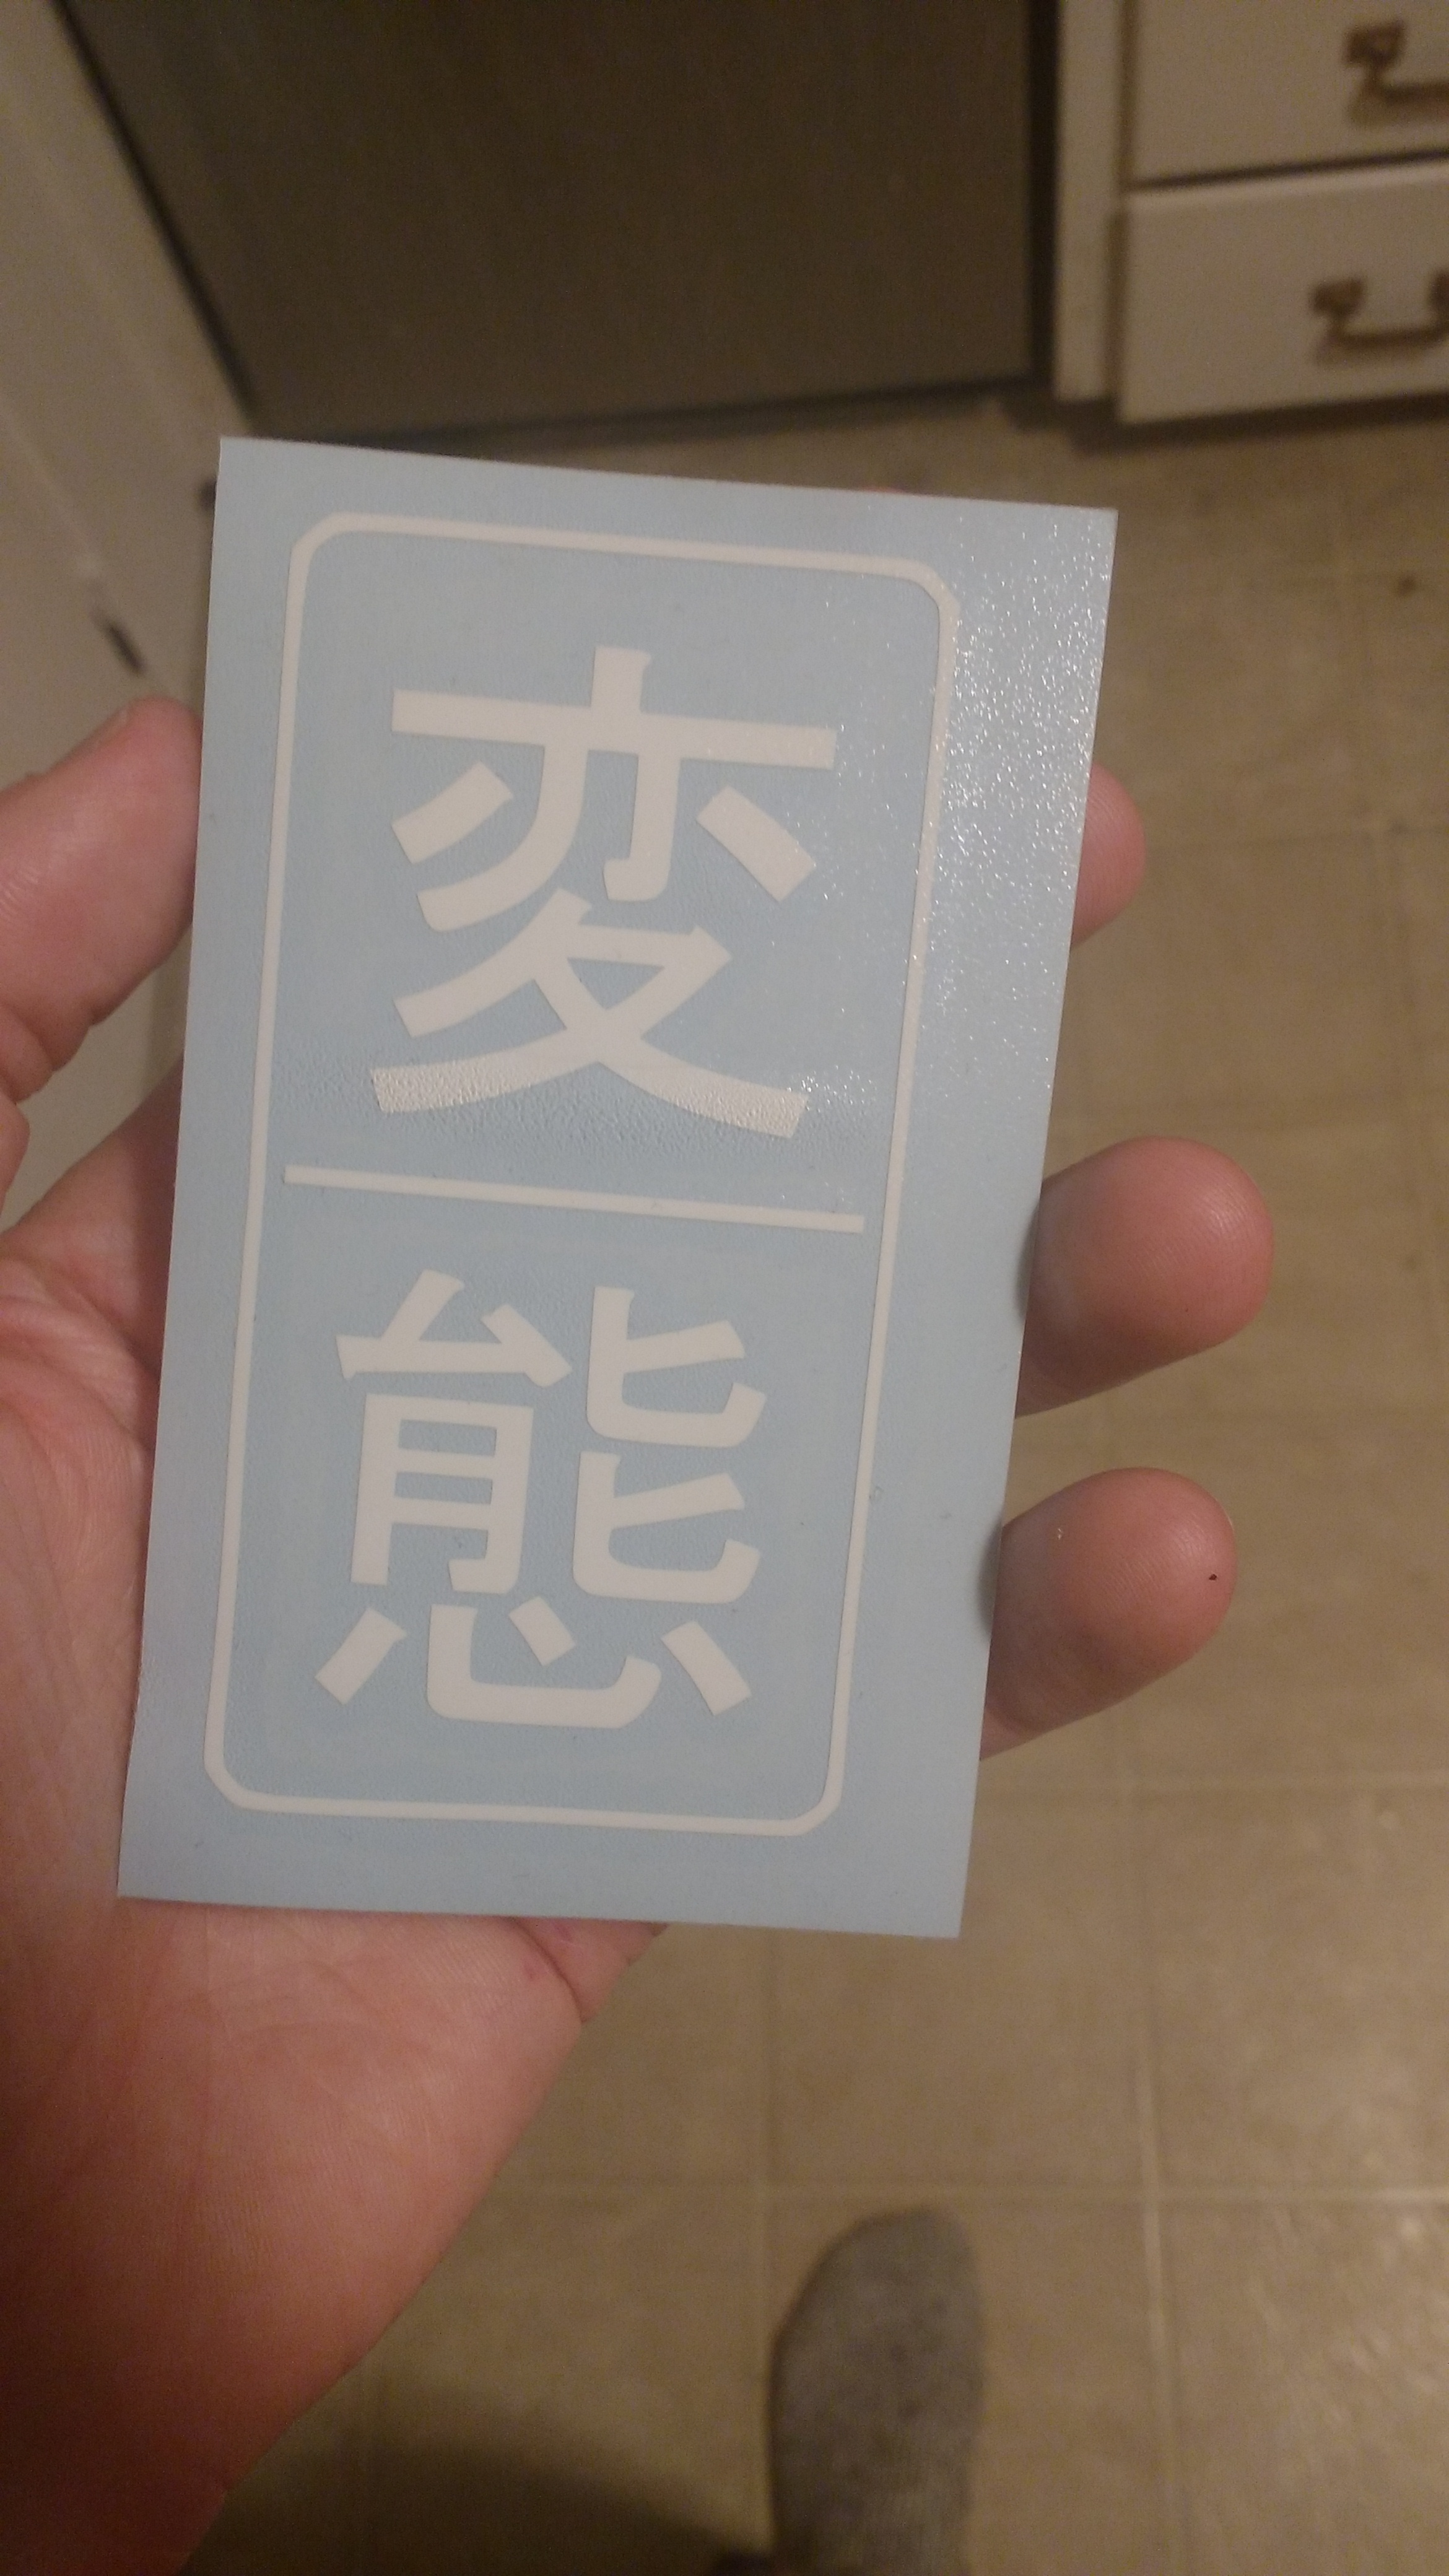
Another friend of mine had a car decal he didn’t want, and told me that it was mine if I wanted it. The decal was just the word “Hentai”, written in Japanese characters. (Kanji I think? I’m not well versed.) I said yes, absolutely, I’m embarrassing enough to put that on a bike.
I verified with some Japanese-speaking friends, and they said that the word Hentai can also be read as “altered state”, so that’s what I’ll say if anyone asks what it says. Regardless, I figured it would look spiffy on the head tube in lieu of a headbadge. It also got me thinking that a custom headbadge would be a fun future project.
I took our old porch swing (one that my roommate had dragged home when our neighbours’ house got demolished) and hung the parts from it with twine. I put up a tarp and some newspaper to catch the worst of the mess. After that, it was a several-day process of spraying and waiting and masking.

After the primer layers had dried, I took the bike in for masking. My spray paint technique was pretty bad - I left a few drips here and there, but I sanded some of the worse spots down and left the others as a happy little accident. I didn’t think it was bad for my first attempt at painting a frame, and next time would be better. Note to self: always spray with a sweeping motion. Never focus on just one spot.


If I were to do it again, I’d do a proper layer of white on top of the primer. The primer itself seemed to attract dust or muddiness or some similar thing very readily, and ended up a little bit muted in places. I have to imagine that white paint would have looked much nicer.


Once it was dry enough to handle, I brought it inside and left it for a few days for it to completely cure. This was a minor mistake - once the paint and topcoat were fully dry, it was difficult to cleanly remove the masking tape around the headtube races and the bottom bracket. A lesson learned for next time. Though next time, it would be nice to get the proper tools to remove and reinstall the headtube races so I don’t have to mask them.
Once it was all cured, I installed the “Hentai” car decal. I could have applied it during the masking phase and then peeled it off so it was as permanent of the stripes, but can you blame me for wanting it to be removable? Especially if I might end up gifting the final bike to someone else.

At this point, it was well into winter, and I didn’t have the space nor the desire to build the bike until at least summer. After all, it would be terrible to build a bike with a custom paint job, and have it immediately get filthy and blasted with road salt. I figured I’d need some time to ride around and admire it before it inevitably got dirty.
Before putting the bike away for a good long while, I did a thorough cleaning job of the headset assembly and the bottom bracket, and regreased and reinstalled the bottom bracket. Just stuff to save me time when reassembling later.

After that, I stuck the whole thing in my closet indefinitely.

Honestly, I’m still not entirely sure I picked the right paints for this bike, particularly the top coat. It doesn’t feel especially durable. I’ll try to update this page with more info in a few months time, with an update on how the paint is holding up.
Next I’ll write about the process of building this thing into a functional bike.
Cost Breakdown
| Item | Cost |
|---|---|
| Bike Frame | $0 |
| Tremclad Rust White Primer | $10.48 |
| Montana Gold Spray Paint, Lavender | $10.25 |
| Tremclad Clear Gloss | $10.48 |
| Total | $31.21 |